In this post, we’ll cover how to build out an Angular application using Kendo UI for Angular and then deploy it on Firebase hosting platform.
Angular
Angular, Google’s JavaScript (TypeScript) framework for building web applications, mobile or desktop has over 77,000 stars on GitHub. It’s maintained by the Angular Team at Google and a host of community members and organizations.
Before You Start
To be able to follow through in this article’s demonstration you should have:
- An integrated development environment like VS Code
- Node version 11.0 installed on your machine
- Node Package Manager version 6.7 (it usually ships with Node installation)
- Angular CLI version 8.0 or above
- Version 12 of Angular
Other nice-to-haves include:
- Working knowledge of the Angular framework at a beginner level.
In this post, you will be introduced to hosting in Angular’s Firebase and how easy it is to set up.
Building a Simple Angular App
There are a lot of ways to build an Angular application today, one of the most popular ways is using the Angular CLI to scaffold a project. In today’s post, we will use the Kendo UI Wizard to scaffold our Angular application. Kendo UI for Angular is a UI library that provides tools to build accessible and usable web applications with seamless integration with your favorite frontend frameworks like Angular.
Note: Kendo UI for Angular is a commercial UI component library, and as a part of this you will need to provide a license key when you use the components in your Angular projects. You can snag a license key through a free trial or by owning a commercial license. For more information, you can head over to the Kendo UI for Angular Licensing page.
Scaffolding With Kendo UI for Angular
Open your VS Code and navigate to the Extensions tab on the far left side of the application. Search for Kendo UI Wizard and install the extension. After you have done that, make sure to reload the VS Code application so you can start to use the newly downloaded tool.
Open the Command Palette. Either go to View -> Command Palette, or use shortcut Command + Shift + P for Mac or Ctrl + Shift + P on a PC. You’ll see a task runner prompt, where you can click on the Kendo UI Wizard and create a new project by answering the step-by-step prompt.

I called mine the Firebaseapp, but you can call yours any name of your choosing. Select the directory where you want this project to be saved on your machine.
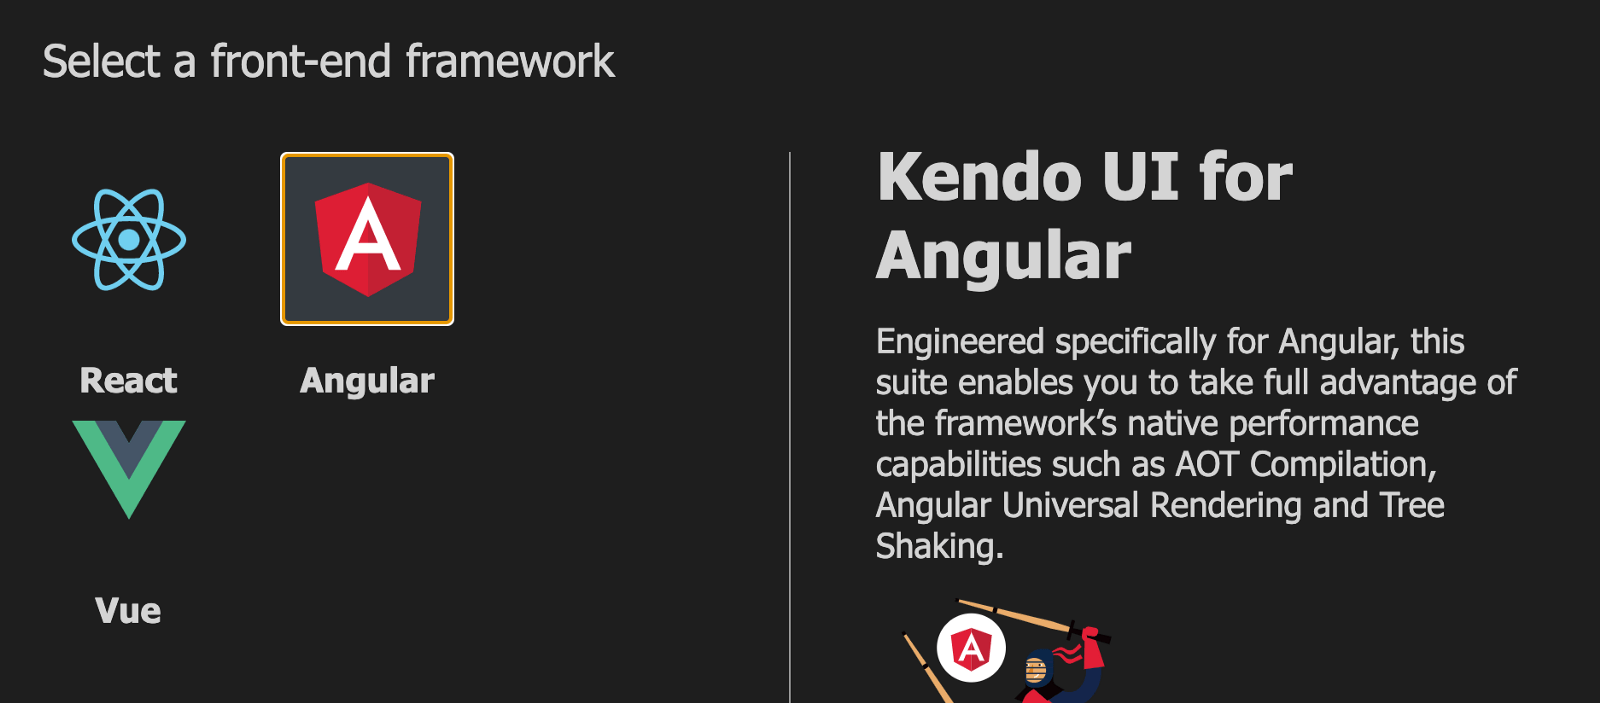
Select Angular as the framework and then click the next button to choose the pages you want to have on startup. Choose one blank page, and click the next button.
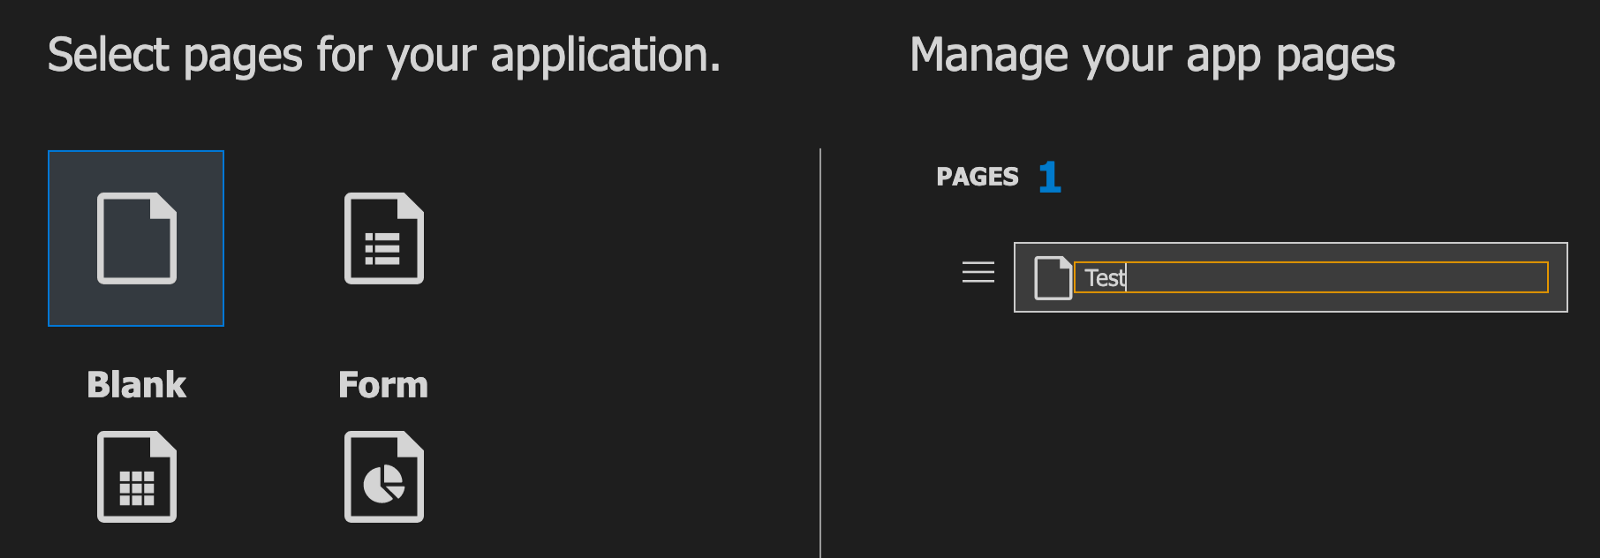
This will ensure that a new (blank) component is created for you when the app is generated—how cool is that? You can still add a few new pages to be generated, but for our app today, one blank page is fine.
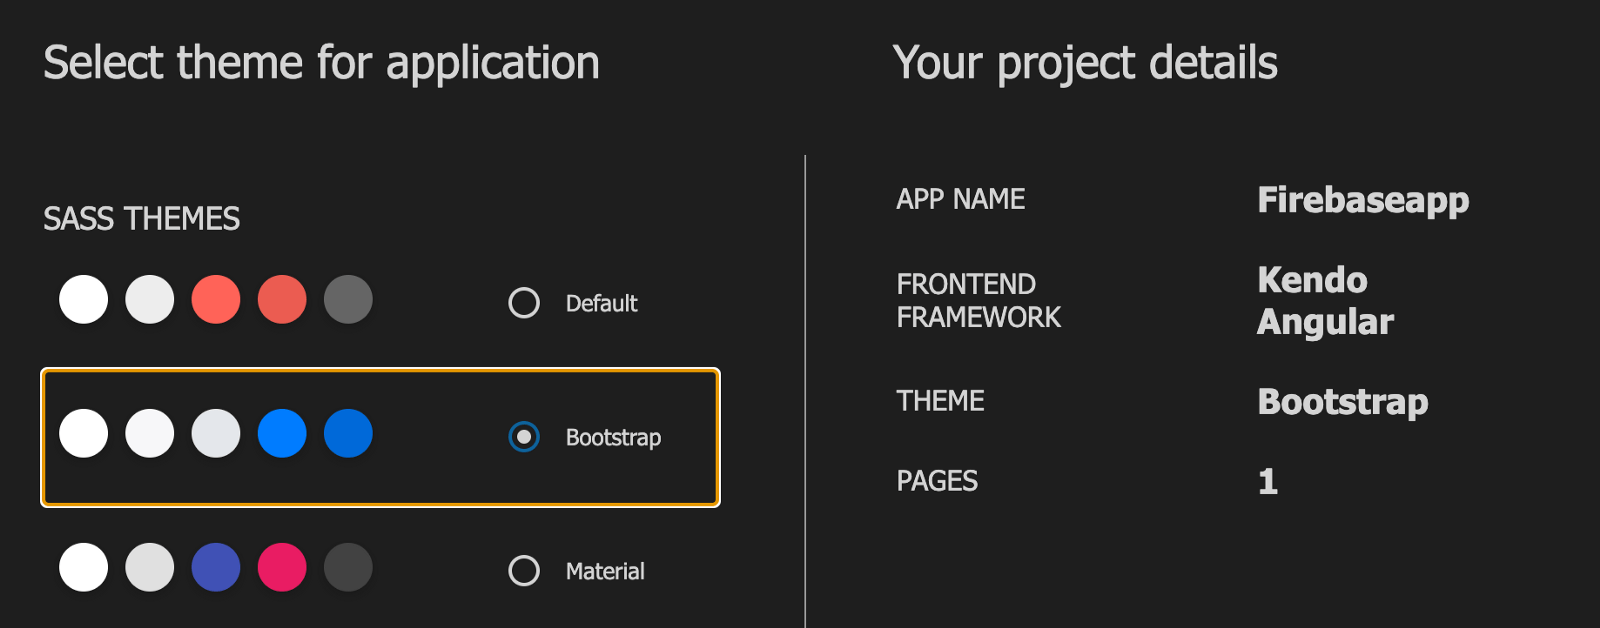
The last thing to pick is your style theme, and I picked Bootstrap styling. You can choose the Default or even Material theme.
After generating the project, open it in VS Code and in the terminal run the command below:
npm install
This is to install all dependencies, now you can check the app you generated by running the serve command:
ng serve
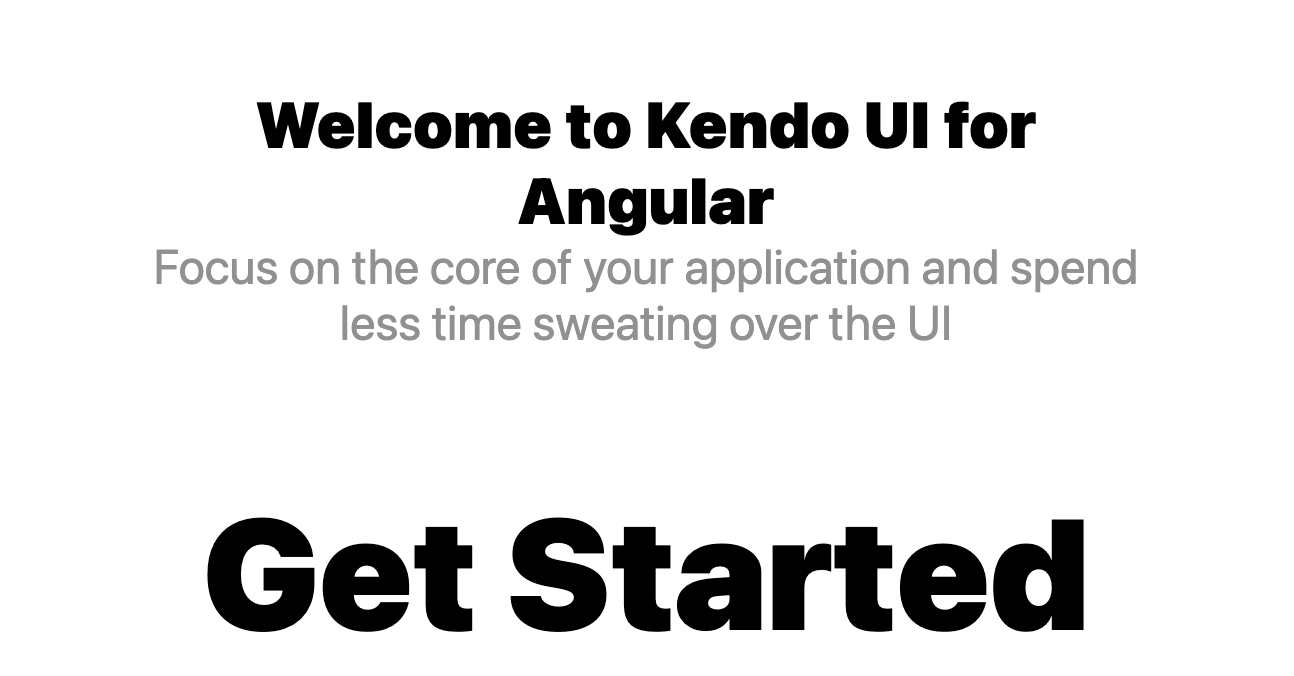
Now that you see it live on your development server, let us talk about hosting this same application online for everyone to be able to access it.
Hosting Your Angular App
There are a lot of platforms that let you host your Angular application easily. Most of the very popular ones are free. Some of them include Netlify, GitHub pages, Firebase hosting, AWS, Azure and many others. Today we will be using the Firebase cloud hosting platform to host our Angular application.
Firebase Hosting
Google’s Firebase provides cloud services, a database, authentication infrastructure, hosting, cloud functions, analytics for usage by customers, and tools that help you build native and web apps. The hosting service is an easy-to-use platform to host both static and dynamic web apps and even microservices with a single command. No configuration is required to use Firebase—yes, zero configs!
Setting Up Your Account
Open the Firebase Dashboard here and log in with your Google credentials, and then click “Add project" and go through the process of creating a new project.
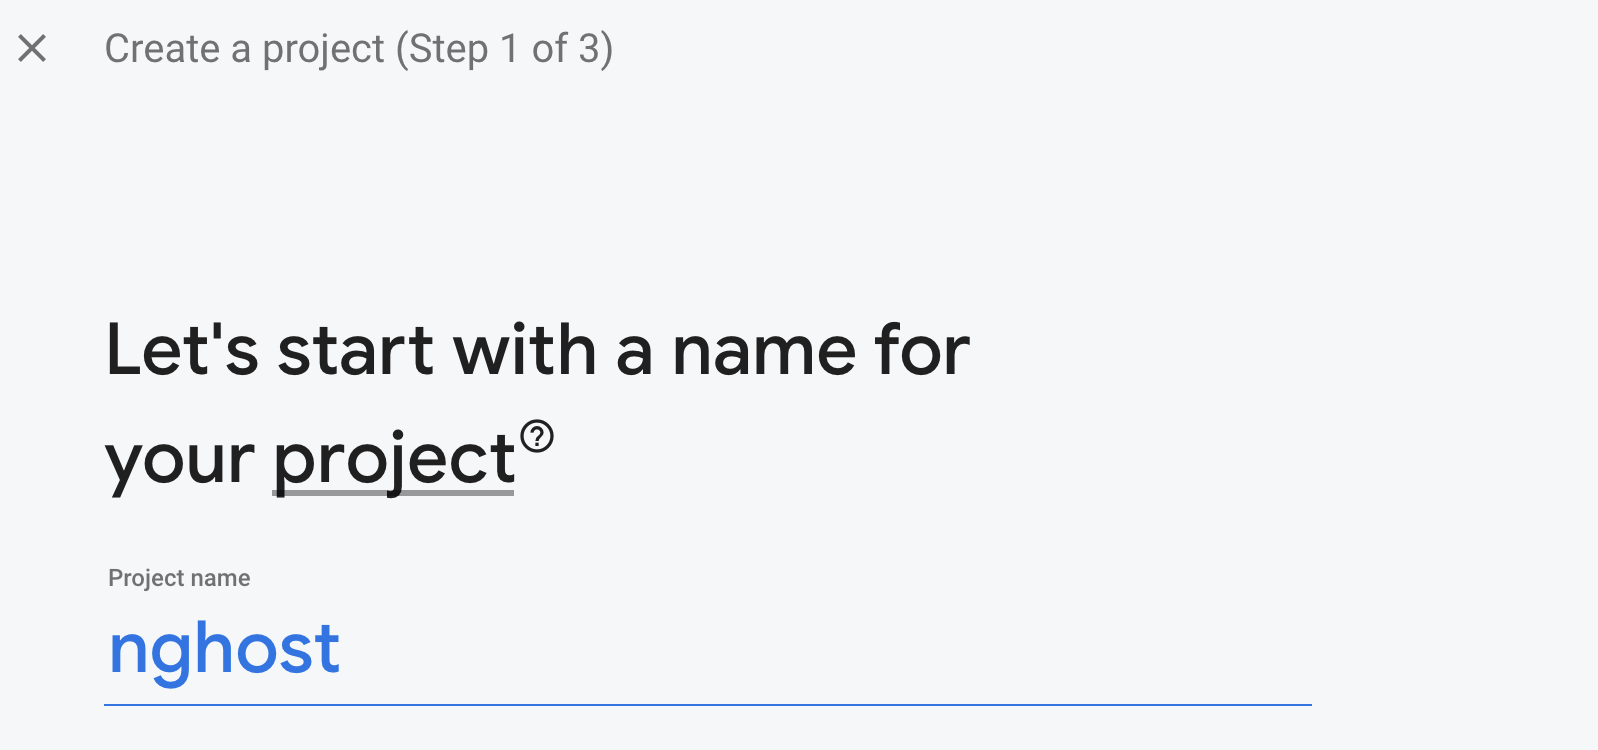
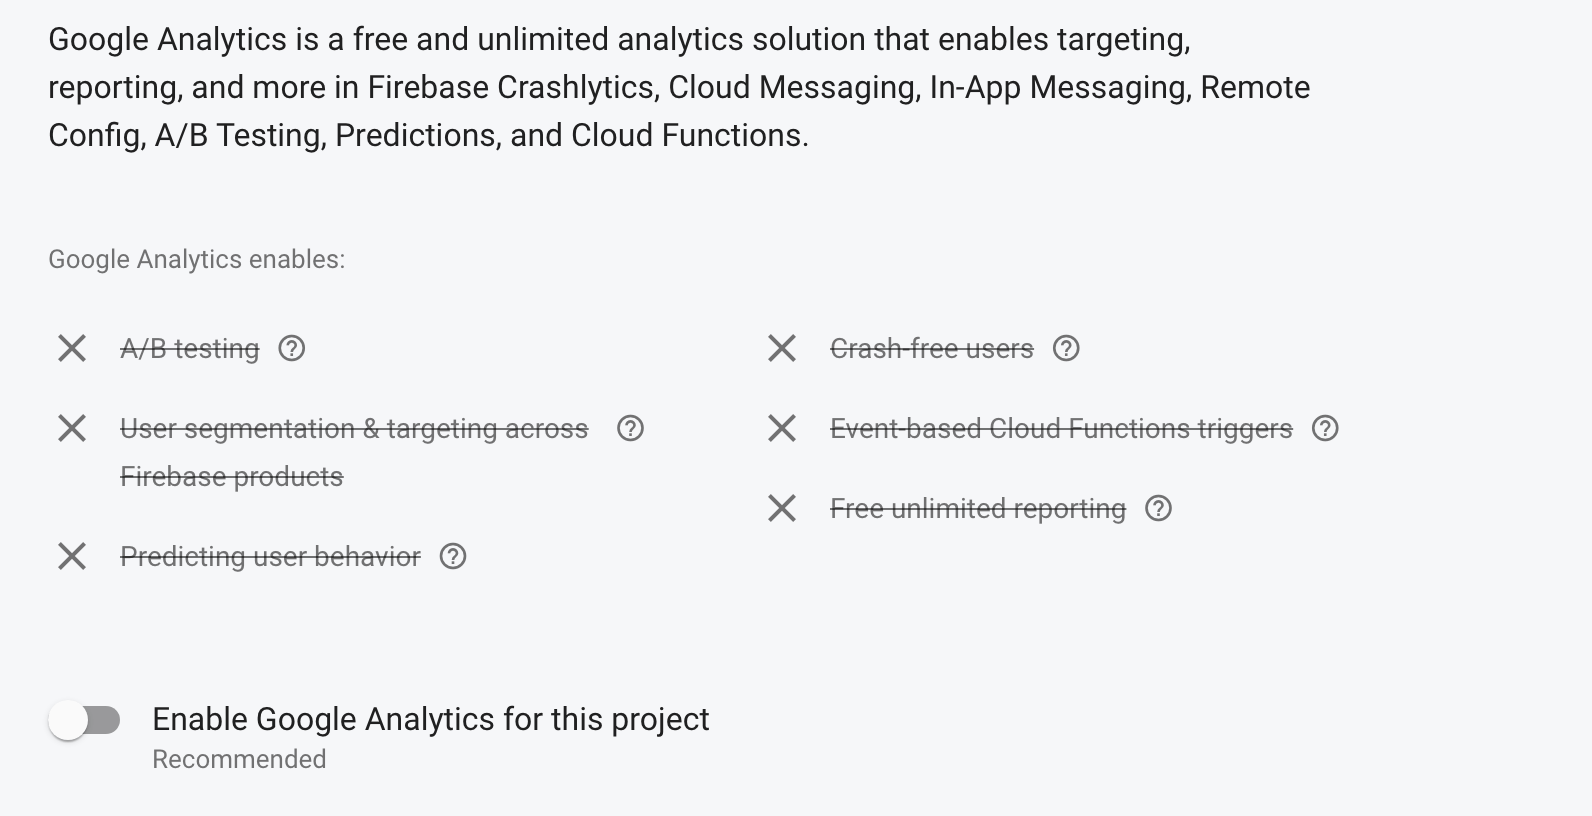
First provide the project name—in our case, nghost. Then click “Next,” and you’ll be asked to choose if you would like Analytics. Make sure to toggle that off, as we do not need Analytics for this tutorial.
Then click “Finish” to generate your new project called nghost.
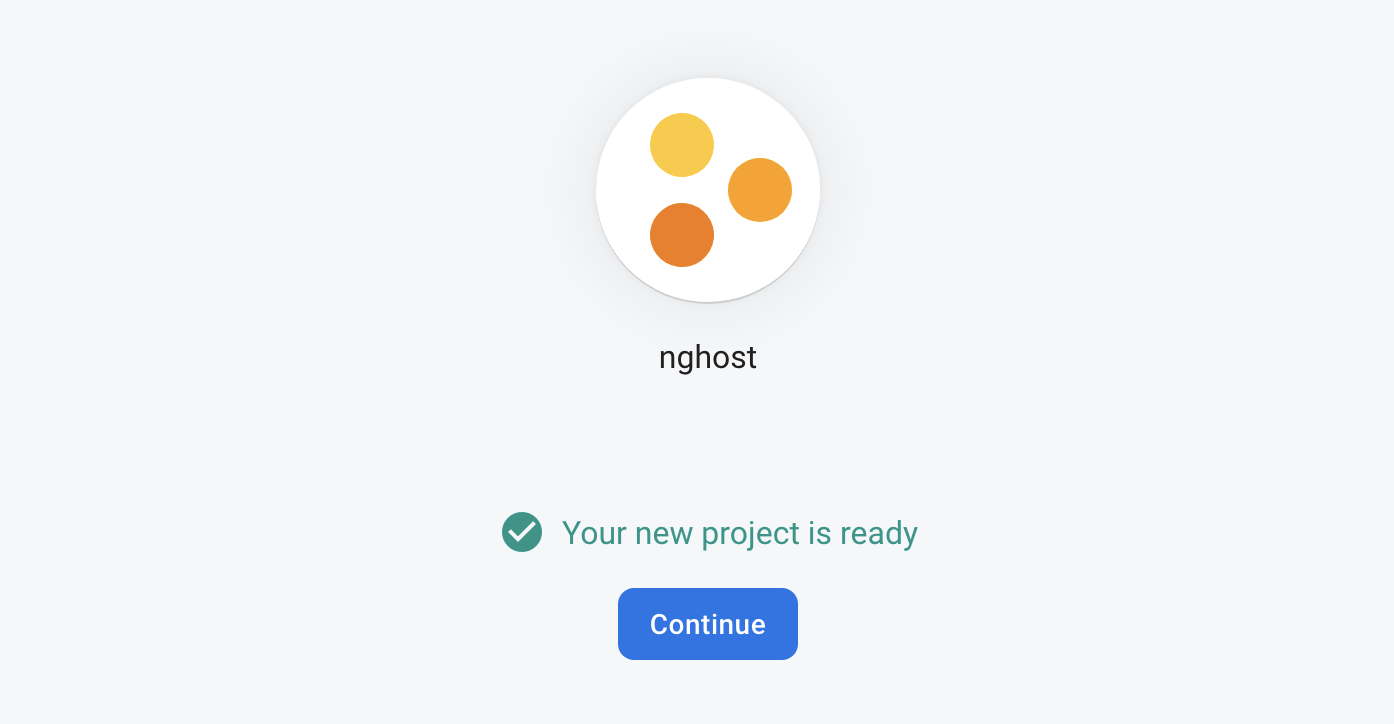
Click on “Continue” and then, at the navigation tab at the left, click on “Hosting.” It should show you a screen like this:

The next step is for us to build for production and then do the deployment of the Angular app we have built.
Deploying the Application
There is a simple way to build your app in Angular to be ready for deployment. This means telling Angular to compile the project code, do code splitting and create a public folder that can be uploaded on any hosting platform like Firebase Hosting.
In your VS Code, run the command below:
ng build --prod
This creates the dist folder with the generated files to upload. Now to connect our project to Firebase, you have to install the Firebase tools and then confirm your identity to be able to access the project you created from the CLI in VS Code.
npm install -g firebase-tools
firebase login
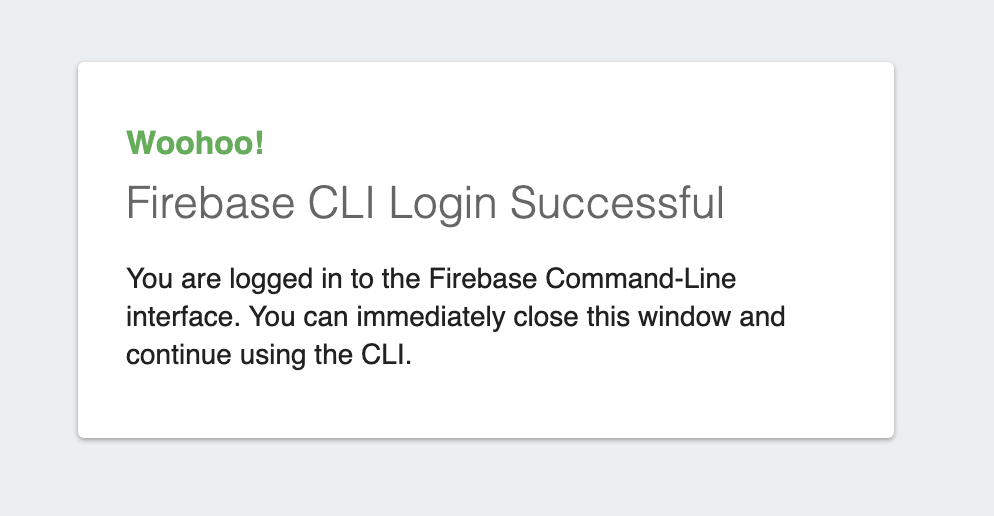
The login will open up an authentication service in your browser, and, once you are done, you will see a success message:
Then you can deploy the app with this command:
firebase init
This shows you a series of prompts and you have to choose based on your needs. The first prompt asks you what service you want to use, choose the hosting option:
? Which Firebase features do you want to set up for this directory? Press Space to select features, then Enter to confirm your choices. **Hosting: Configure files for Firebase Hosting and (optionally) set up GitHub Action deploys**
The next one asks if you have created a project on Firebase before.
? Please select an option: Use an existing project
? Select a default Firebase project for this directory: nghost-68106 (nghost)
i Using project nghost-68106 (nghost)
Choose “Yes” and select nghost (or whatever you named your own project).
The last few questions are about deployment details.
? What do you want to use as your public directory? dist/kendo-angular-seed
? Configure as a single-page app (rewrite all urls to /index.html)? Yes
? Set up automatic builds and deploys with GitHub? No
? File dist/kendo-angular-seed/index.html already exists. Overwrite? No
After hitting “Enter,” you should see a success message with a link you can visit to view the app live:
✔ Deploy complete!
Project Console: [https://console.firebase.google.com/project/nghost-68106/overview](https://console.firebase.google.com/project/nghost-68106/overview)
Hosting URL: [https://nghost-68106.web.app](https://nghost-68106.web.app)
And just like that, your application is live. Congratulations!
Conclusion
In this post, we looked at how to easily build out an Angular application using Kendo UI for Angular. We also saw the various ways to deploy our applications and went step-by-step to deploy our Angular application on Firebase hosting platform. What will you be building next?