Every now and then we visit websites that allow us to view images of people or places or even pictures of ourselves we uploaded. When you view your profile images on Facebook and you scroll left or right to view previous or more recent versions of your profile picture uploads, you are using an image gallery. The same can be said for Instagram, Pinterest and other image-based websites. In this tutorial, we will demonstrate how to build an image gallery with the Kendo UI ScrollView widget and jQuery.
Prerequisites
jQuery: jQuery is a lightweight JavaScript library that makes it easier to use JavaScript to accomplish difficult tasks in your website with just a few lines of code.
Kendo UI: Kendo UI is a JavaScript library developed by Telerik. It enables you to build the UI of a web application rapidly. Kendo UI’s core library provides a wide set of easy-to-use UI components such as grids, text boxes, numeric text boxes, charts, etc. Kendo UI provides components for popular JavaScript libraries like jQuery, Angular, React and VueJS.
In this tutorial we will be building a single-page image gallery using one of Kendo UI’s components called ScrollView widget.
Our image gallery will be built with jQuery / HTML and CSS. Therefore, to follow along with this tutorial, a basic understanding of JavaScript / jQuery is required. HTML and CSS knowledge is also recommended but not mandatory.
Initializing Our Application
To start creating our application, we need to create a folder to work in. Create a folder called imagegallery. Next we need to create an index.html file and add the projects dependencies (Kendo UI and jQuery).
Adding Kendo UI to our project can be done in 3 ways:
- Installing via npm
- Downloading and bundling the core files
- Through a CDN
However, for brevity’s sake, in this tutorial we will import jQuery and Kendo UI through a CDN.
In your index.html file go ahead and add the following lines of code:
    // ./index.html
    <html>
       <head>
        <link rel="stylesheet" href="https://kendo.cdn.telerik.com/2019.1.220/styles/kendo.common.min.css">
        <link rel="stylesheet" href="https://kendo.cdn.telerik.com/2019.1.220/styles/kendo.rtl.min.css">
        <link rel="stylesheet" href="https://kendo.cdn.telerik.com/2019.1.220/styles/kendo.default.min.css">
        <link rel="stylesheet" href="https://kendo.cdn.telerik.com/2019.1.220/styles/kendo.mobile.all.min.css">
      <script src="https://cdnjs.cloudflare.com/ajax/libs/jquery/3.3.1/jquery.min.js"></script>
       <script src="https://kendo.cdn.telerik.com/2019.1.220/js/kendo.all.min.js"></script>
         <title>Image Gallery</title>
       </head>
       <body>
       </body>
    </html>
In our index file we have imported 3 things:
- The Kendo UI default stylesheet
- The latest version of jQuery
- A minified version of all Kendo UI’s core components
The main advantage of the CDN approach is that your users may be able to leverage a primed cache version of Kendo UI Core or jQuery if they’ve visited other sites using the framework.
An upside to using other installation approaches is that you can import just the components you need for your application, which can optimize page speed. However, for this demonstration purpose we will stick to our CDN approach.
Next we need to create a div where Kendo UI will place all the images and then initialize Kendo UI.
Add the following lines of code to the body of your index.html:
    // ./index.html
    <div style="margin: auto; width:70%">
            <div id="scrollView" style="width: 820px; height: 568px; max-width: 100%;">
                <div class="photo photo1" data-role="page"> </div>
                <div class="photo photo2" data-role="page"> </div>
                <div class="photo photo3" data-role="page"> </div>
                <div class="photo photo4" data-role="page"> </div>
                <div class="photo photo5" data-role="page"> </div>
            </div>
     </div>
Next we need to initialize ScrollView to automatically inject images into our divs. Under the last div add the following lines of code:
<script>
            $(document).ready(function() {
                $("#scrollView").kendoScrollView({
                    enablePager: true,
                    contentHeight: "100%"
                });
            });
     </script>
This will initialize ScrollView on our page. However, we have not supplied it any images. For ScrollView to work, we need to pass it images to display. Let’s supply a bunch of images to it. We will set the images as backgrounds for the divs we created. To do this, let’s create a styles.css file inside a CSS folder at the root of our project:
    //  css/styles.css
      #scrollview-home .photo {
          display: inline-block;
          background-size: cover;
          background-repeat: no-repeat;
          background-position: center center;
      }

      .photo1 {
          background-image: url("https://images.unsplash.com/photo-1551430957-10dbe76ddb34?ixlib=rb-1.2.1&ixid=eyJhcHBfaWQiOjEyMDd9&auto=format&fit=crop&w=900&q=80");
      }

      .photo2 {
          background-image: url("https://images.unsplash.com/photo-1550785116-fe550d4904cf?ixlib=rb-1.2.1&ixid=eyJhcHBfaWQiOjEyMDd9&auto=format&fit=crop&w=850&q=80");
      }

      .photo3 {
          background-image: url("https://images.unsplash.com/photo-1550780291-44fe6096919e?ixlib=rb-1.2.1&ixid=eyJhcHBfaWQiOjEyMDd9&auto=format&fit=crop&w=841&q=80");
      }

      .photo4 {
          background-image: url("https://images.unsplash.com/photo-1550778061-523e38d33df0?ixlib=rb-1.2.1&ixid=eyJhcHBfaWQiOjEyMDd9&auto=format&fit=crop&w=850&q=80");
      }

      .photo5 {
          background-image: url("https://images.unsplash.com/photo-1551200536-84057e779fac?ixlib=rb-1.2.1&ixid=eyJhcHBfaWQiOjEyMDd9&auto=format&fit=crop&w=889&q=80");
      }
Here we supplied basic styles for our divs and also added background images for each of the divs.
All images used in this tutorial are from Unsplash.
Now update the index.html to add a link to your css file like so:
    // ./index.html
    <head>
      <link rel="stylesheet" href="css/styles.css">
    </head>
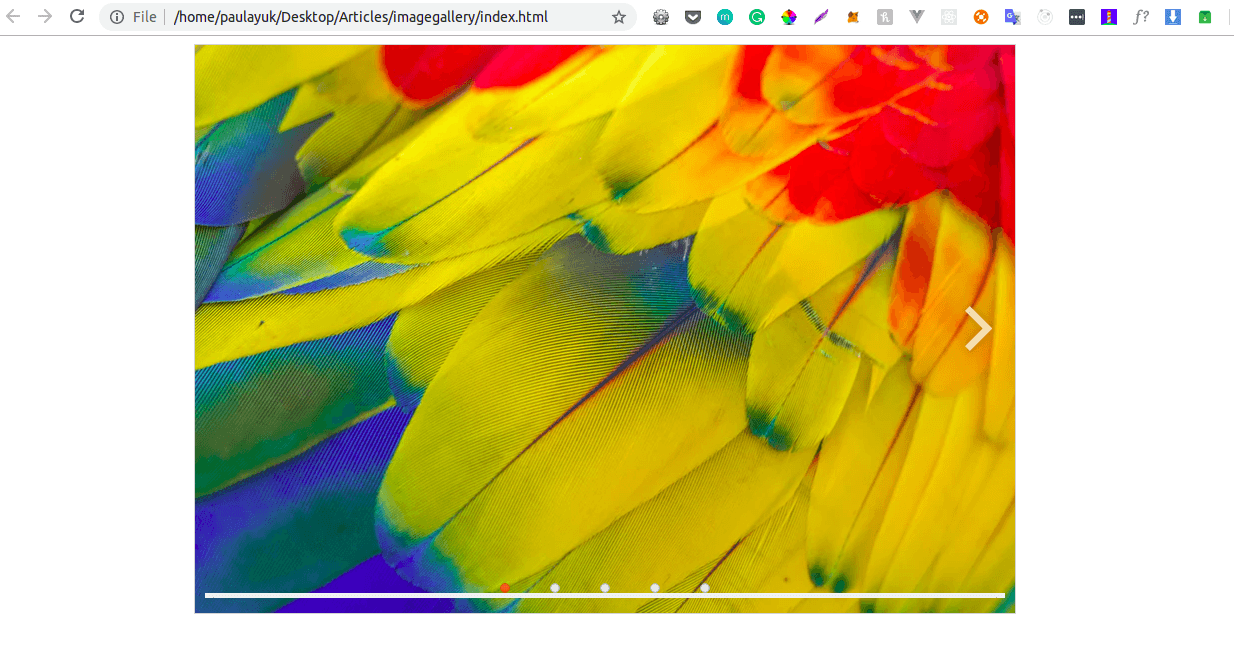
Next, load your index.html file in a browser, and you should see this:

We see that with the help of Kendo UI we have been able to reduce the amount of code we would have originally written to replicate such functionality.
Before we wrap up, let’s look at how we can get dynamic data to populate our divs dynamically. This example uses the Kendo UI Demos Service to grab the data.
Update your index.html to the following lines of code:
    // .index.html
    <div id="example" style="margin:auto; width:60%">
        <div id="scrollView" style="height: 600px; width:100%;"></div>

        <script id="scrollview-template" type="text/x-kendo-template">
            <div class="img-wrapper">
                # for (var i = 0; i < data.length; i++) { #
                <div>
                    <div style="width: 140px; height: 140px; background-image: #=setBackground(data[i].ProductID)#; background-repeat:no-repeat; background-size: cover;"></div>
                    <p>#= data[i].ProductName #</p>
                </div>
             # } #
            </div>
        </script>

        <script>
            var dataSource = new kendo.data.DataSource({
                type: "odata",
                transport: {
                    read: {
                        url:
                       "https://demos.telerik.com/kendo-ui/service/Northwind.svc/Products"
                    }
                },
                serverPaging: true,
                pageSize: 3
            });

            $("#scrollView").kendoScrollView({
                dataSource: dataSource,
                template: $("#scrollview-template").html(),
                contentHeight: "100%",
                enablePager: false
            });

            function setBackground(id) {
                return
              "url(https://demos.telerik.com/kendo-ui/content/web/foods/" + id + ".jpg)";
           }
        </script>
First we create the main div to house all the content. Then we go ahead and create a script tag inside our HTML. This is because we need to loop through the array of images and image names we will receive.
In our next script tag, we first create a datasource to read data from the Telerik URL.
After that, we send the data to the kendoScrollView through the datasource property and finally set the template.
Finally we create a function to set the background of a div.
We need to add some styling to make our page look neat. Update your styles.css to the following:
    // //css/styles.css

    div.k-scrollview ul.k-scrollview-wrap > li {
        text-align: center;
        display: table;
        box-sizing: border-box;
    }

    ul.k-scrollview-wrap > li > .img-wrapper {
        padding: 2em;
        display: table-cell;
        vertical-align: middle;
    }

    ul.k-scrollview-wrap > li > .img-wrapper > div {
        width: 30%;
        min-width: 150px;
        box-sizing: border-box;
        display: inline-block;
        vertical-align: top;
        margin-bottom: 1em;
    }

    ul.k-scrollview-wrap > li > .img-wrapper > div > div {
        margin: auto;
        margin-bottom: 0.5em;
    }
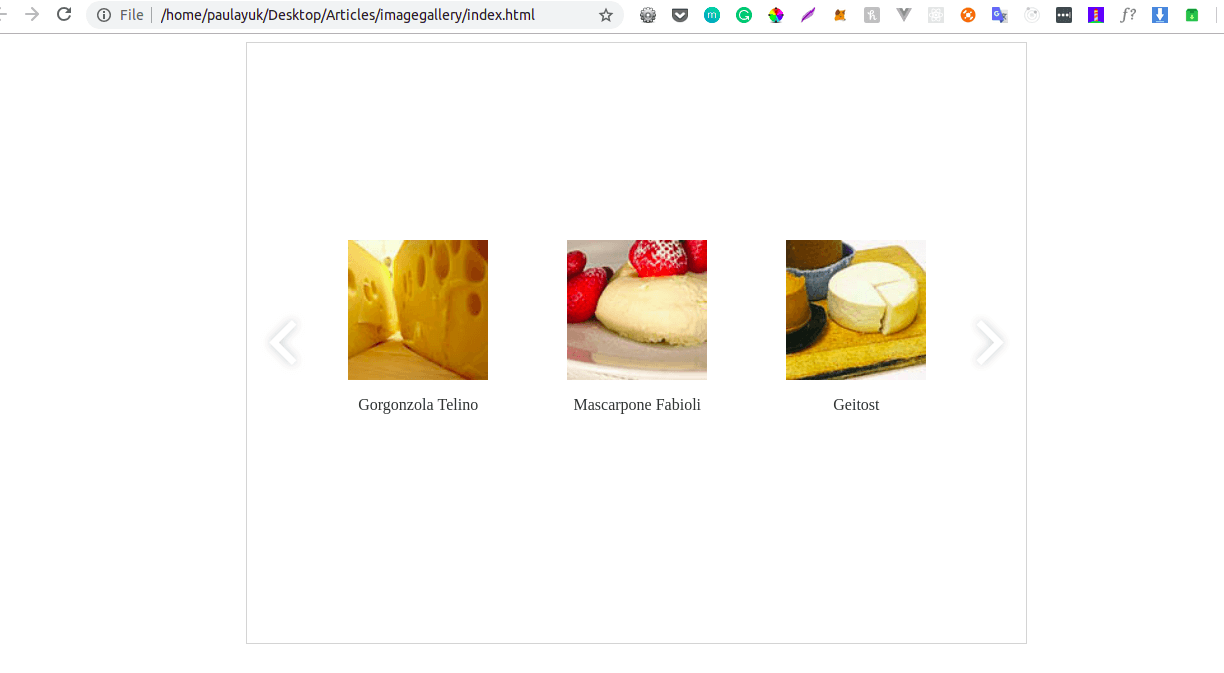
Now load your index.html and you should see this:

All files used in this tutorial can be found here.
Conclusion
In this tutorial we learned how to use Kendo UI’s ScrollWidget component to easily create an image gallery with very few lines of code. Kendo UI is a truly powerful tool. To find out more, be sure to check the official documentation. Happy coding!