Sponsored by the Kendo UI for Angular team
Want to learn more about creating great Angular web apps? It all starts out with Kendo UI for Angular - a complete UI component library that allows you to quickly build high-quality, responsive apps. It includes everything you need, from grids and charts to dropdowns and gauges.
We on the Kendo UI for Angular team are committed to bringing you the latest tips and tricks in the world of Angular development. We hope you enjoy the post!
In this article, we'll see how we can use Nx (Nrwl Extensions) to create a full-stack application. The application will feature a frontend application built with Angular and a backend application that uses Nest.js.
Nrwl Extensions (Nx) is a project started by Google developers. It is an open-source project that provides a set of extensions (schematics and builders) to extend the functionality of the Angular CLI. It provides commands for creating workspaces that contain multiple projects. Nrwl Extensions not only provides commands for managing complex and robust Angular projects but also for creating full-stack projects using Express and Nest.js.
In this article, we’ll look at how you can create and run a full-stack application using Nest.js and Angular. Both projects will be managed by Nx.
Before we get started, this article requires a basic understanding of Angular and Nest.js.
Initializing Application
Nrwl doesn’t replace the Angular CLI — rather it extends the functionality of the CLI with commands to create multiple apps within a workspace. To get started working with Nrwl, you’ll have to install the Angular CLI first. Run the following command to install the CLI:
npminstall -g @angular/cli
To use Nrwl, you have the options of installing it globally by running the following command:
npminstall -g @nrwl/schematics
Or you could leverage the power of npx to create a workspace using the create-nx-workspace:
npx create-nx-workspace my-workspace
If you wish to integrate Nx into an existing Angular application, run the following command in a terminal within your project folder:
ng add @nrwl/schematics
To begin creating our project, we’ll create a workspace using the create-nx-workspace command. Run the following command to create a workspace called fullstack-angular.
create-nx-workspace fullstack-angular
This command will generate a workspace with no bootstrapped applications within. A workspace provides setup for listing using tslint, editor support for linting using tsconfig.json and prettier for code formatting.
It also provides a jest config file for quick testing. Jest is a testing framework by Facebook.
Next, we’ll see how we can create and serve a frontend application that runs on Angular using the CLI and Nx.
Creating the Frontend Application
Nx is a smart tool that supports a mono-repo development style. It provides a way to allow the projects within the workspace to interact with each other. With Nx you can manage different project types within the workspace, ranging from libraries to applications.
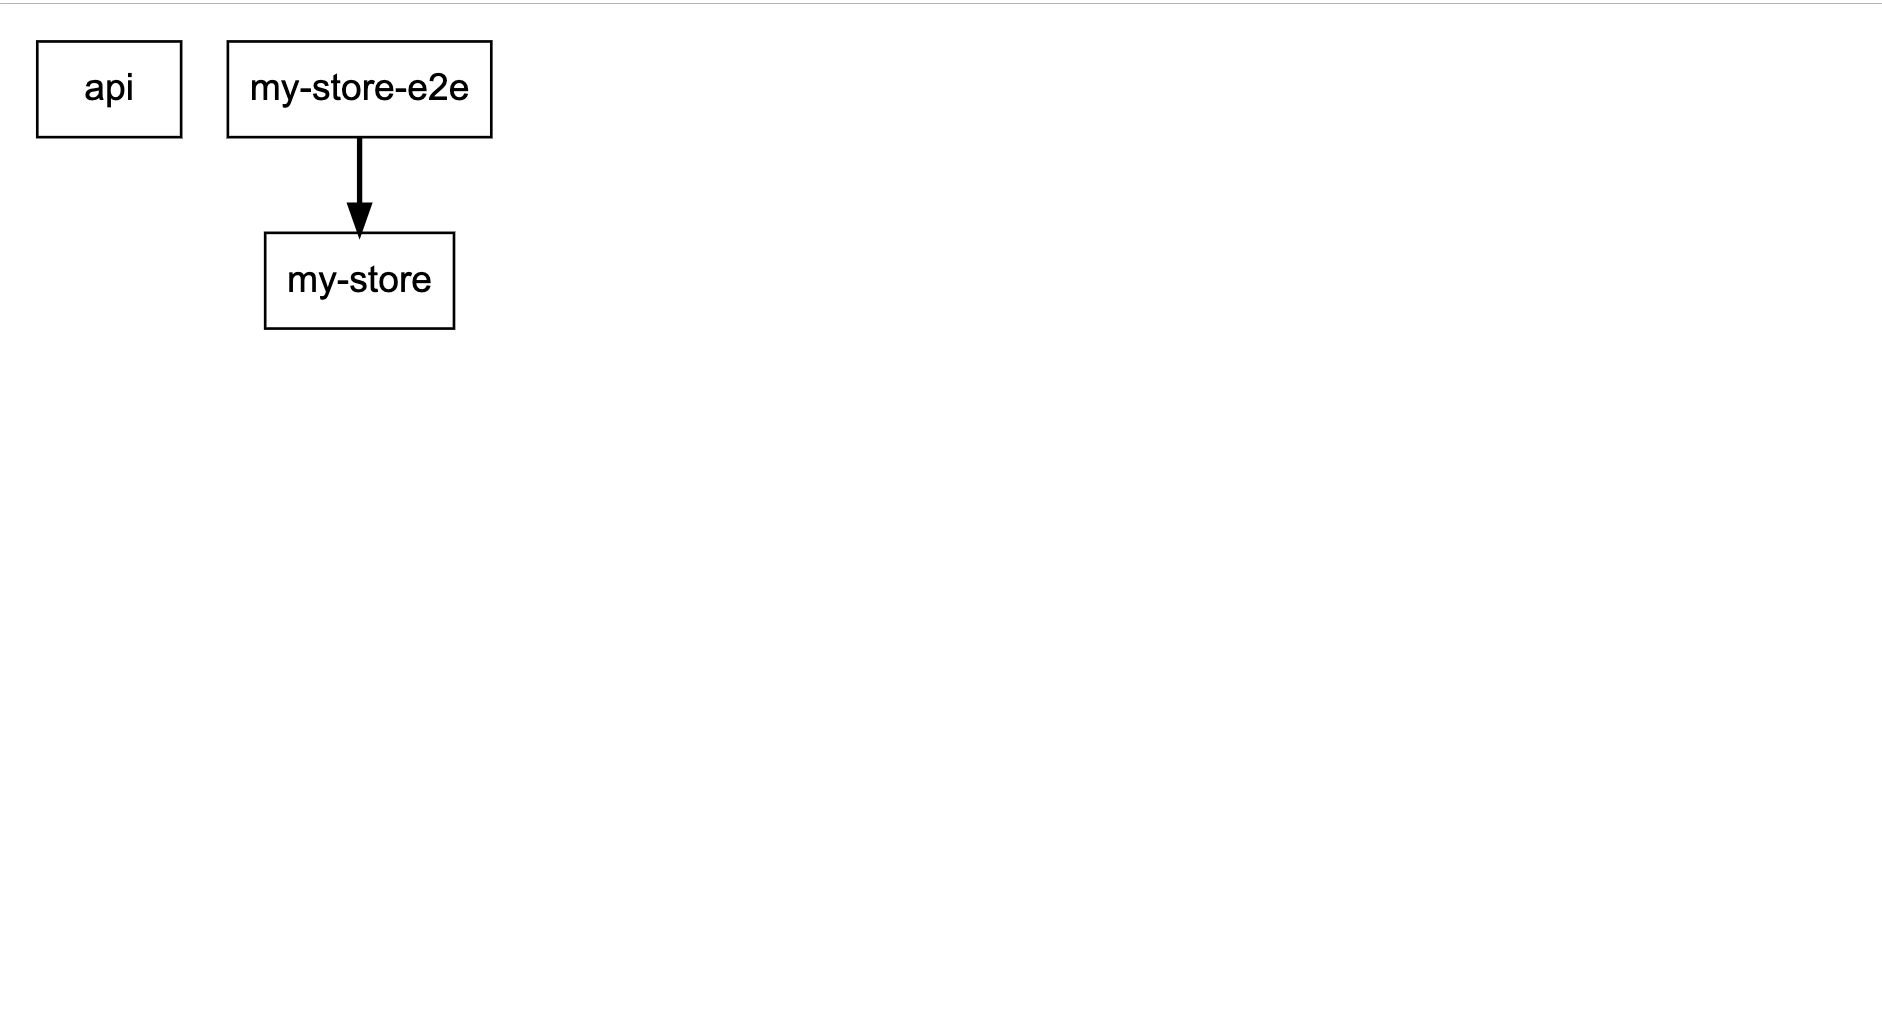
Nx provides a visualization tool that lets you see how the projects within your workspace are connected. You can access this tool by running the following command:
npm dep-graph


The screenshot above shows how the projects in the workspace are connected. Next we’ll create the frontend application using the CLI.
Run the following command on a terminal within the project folder:
ng generate application my-store
After running this command, you’ll see different prompts. Let’s walk through each one:
? In which directory should the application be generated?
The first command asks where you’d like your application to be generated. It’s best to leave this blank so your application will be generated within the apps folder in the workspace.
? Would you like to add Angular routing? (y/N)The next prompt is about routing. If you wish to create routes in your application, reply with y or you can skip this prompt.
PS: You can always add routing later on in your application.
? Which stylesheet format would you like to use? (Use arrowkeys)❯ CSS
  SCSS   [ http://sass-lang.com   ]
  SASS   [ http://sass-lang.com   ]
  LESS   [ http://lesscss.org     ]
  Stylus [ http://stylus-lang.com ]
The next prompt is asking about your stylesheet of choice. If you prefer working with pre-processors, you can choose whichever you’re most comfortable with.
? Which Unit Test Runner would you like to use for the application? (Use arrow keys)
  Karma [ https://karma-runner.github.io ]❯ Jest   [ https://jestjs.io ]
Here you have to choose the unit test runner you want to use with your application. Jest has been configured for the workspace already, so I’d recommend it. But you can still choose Karma if you’re more comfortable with it. It’s great to have options and Nx does well providing these options.
? Which E2E Test Runner would you like to use for the application? (Use arrow keys)❯ Cypress       [ https://www.cypress.io ]
  Protractor [ https://www.protractortest.org ]
Then you have the e2e prompt. You can use either of them, whichever suits your application.
Finally, there’s the tags prompt, which you can leave blank. This prompt is asking for tags you wish to add that will be used for linting in your application:
? Which tags would you like to add to the application? (used for linting)Again, you can leave this blank.
After the prompts, the command generates an Angular application within the apps folder, it also generates an e2e folder for running end-to-end testing for the application. You can start the application by running the command below:
ng serve my-store
This should start your application on http://localhost:4200.
Nx provides a command to integrate state management into our application using @ngrx/store. Running the command below will generate actions, effects, and actionTypes for populating your store and a reducer for acting on the dispatched actions. To read more on using @ngrx/store, you can visit their official website and read through their robust documentation.
Run the following command to add state management to the my-store application:
ng generate ngrx todos --module=apps/my-store/src/app/app.module.ts
The command above tells the CLI to generate an ngrx store named todos in the my-store app module. If you check your apps/my-store/app folder, you should see a newly generated folder named +state. It contains files for actions, effects, selectors, and reducer. It also contains spec files to test them.
Creating the Backend Application
The backend application will be making use of Nest.js. According to the documentation:
Nest is a framework for building efficient, scalable Node.js server-side applications. It uses progressive JavaScript, is built with TypeScript (preserves compatibility with pure JavaScript), and combines elements of OOP (Object Oriented Programming), FP (Functional Programming), and FRP (Functional Reactive Programming).
Nx offers two frameworks for creating backend applications: Express and Next.js. We’ll be going with Nest.js because of how similar it is to Angular and how it integrates seamlessly with Angular applications. It breeds familiarity because Nest.js uses similar techniques for development. They use modules, providers, and pipes just like Angular, and controllers in place of components.
With Nx, you can create a backend application that communicates seamlessly with the frontend application using the following command:
ng generate node-app store-api --frontend-project=my-store
The command above creates a Node application called store-api and creates a proxy to the my-store Angular application. This makes it easy for the Angular application to communicate with the server.
By running this command, you’ll be faced with some prompts asking about your framework of choice, the unit testing framework, etc. The framework for this project is Nest.js, so ensure you select that option.
After the command has been run successfully, start the server by running the command below:
ng serve store-api
Then you can visit http://localhost:3333/api. Your view should be similar to the screenshot below:


Making Requests
Let’s see how we can make requests to the backend application. Nx made this easier by creating a proxy to the backend. Within the my-store app, there’s a file proxy.conf.json, and within the file there’s the setup for proxying requests:
{"/api":{"target":"http://localhost:3333","secure":false}}Which means, if we want to communicate with the backend, we’ll make requests to /api endpoint and it’ll proxy to http://localhost:3333.
Next, let’s update the Angular application to fetch items from the backend(store-api). Open the apps/my-store/src/app/app.component.ts file and update it to make a request to the server using the HttpClient:
// apps/my-store/src/app/app.component.tsimport{ Component, OnInit }from'@angular/core';import{ HttpClient }from'@angular/common/http'import{ Observable }from'rxjs';interfaceProduct{
  name: String;
  price: Number;
  stock: Number
}

@Component({
  selector:'fullstack-angular-root',
  templateUrl:'./app.component.html',
  styleUrls:['./app.component.css']})exportclassAppComponent{
  products: Observable<Product[]>;constructor(private http: HttpClient){this.products =this.http.get<Product[]>('/api/products');}}
Then we’ll update the view template to render the list of products. Open the apps/my-store/src/app/app.component.html file and copy the snippet below into the file:
<section><ul><li*ngFor="let product of products | async">
      Name: <span>{{product.name}}</span><br/>
      Price: <span>{{product.price}}</span><br/>
      Stock: <span>{{product.stock}}</span><hr></li></ul></section>
Next, we’ll import the HttpClientModule into the project’s app.module.ts file. Open the file and include the HttpClientModule in the imports array.
// apps/my-store/src/app/app.module.tsimport{ BrowserModule }from'@angular/platform-browser';import{ NgModule }from'@angular/core';// ... others importsimport{ HttpClientModule }from'@angular/common/http';


@NgModule({
  declarations:[AppComponent],
  imports:[// ...other imports,
    HttpClientModule,],
  providers:[],
  bootstrap:[AppComponent]})exportclassAppModule{}
Creating the Products Endpoint
In the Angular application, we’re making a request to the api/products endpoint. This route hasn’t been created in the node application. Let’s update the app controller to create a products route that returns a list of products.
Open the apps/store-api/src/app/app.controller.ts file and update it to be similar to the code below:
// apps/store-api/src/app/app.controller.tsimport{ Controller, Get }from'@nestjs/common';import{ AppService }from'./app.service';

@Controller()exportclassAppController{constructor(private readonly appService: AppService){}

  @Get('products')getData(){returnthis.appService.getData();}}
Then update the service file (app.service.ts) to return the list of products:
import{ Injectable }from'@nestjs/common';interfaceProduct{
  name: String;
  price: Number;
  stock: Number
}

@Injectable()exportclassAppService{private products: Product[]=[{
      name:'First product',
      price:22.45,
      stock:10},{
      name:'Second product',
      price:12.45,
      stock:5}]getData(): Product[]{returnthis.products;}}
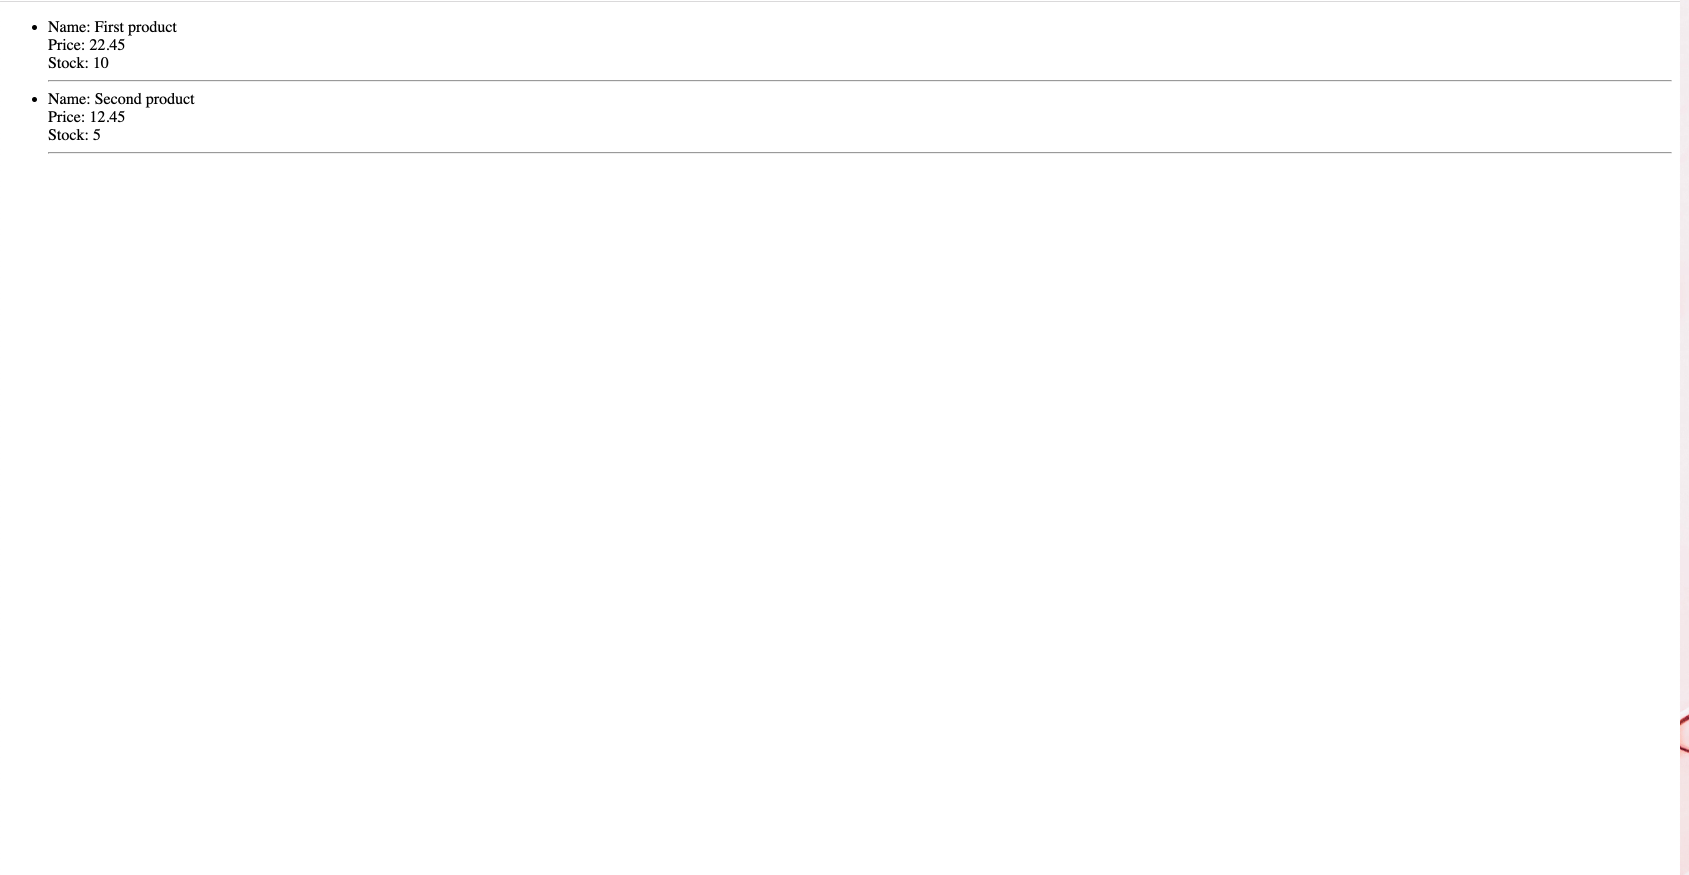
Start the node backend by running the following command (ng serve store-api) and the frontend using ng serve my-store. Navigate to http://localhost:4200 and you should see something similar to the screenshot below:


We’ve successfully set up a full-stack application with the help of Nrwl extensions. Nx is also useful for creating libraries — you can set up these libraries to communicate with your backend and frontend applications. You can also set up a library that can be easily published to npm. To learn more about creating libraries using Nx, visit their official documentation here.
Conclusion
In this article, we’ve seen how we can use Nx to create a full-stack application. The application will feature a frontend application built with Angular and a backend application that uses Nest.js. Nx provides extensions to the Angular CLI that help us manage workspaces that can feature multiple applications and libraries. These workspaces feature setup that supports linting using tslint and prettier for code formatting. Visit the project’s official documentation to read more about the project.
