Do you want to update existing WPF and WinForms apps to take advantage of all the features of .NET Core 3.0? Learn how to prepare your app today with Telerik UI for WPF and WinForms.
Today at the Connect(); 2018 conference Microsoft released the .NET Core 3.0 Preview version, which now supports our favorite desktop technologies - WinForms and WPF. This will allow Windows desktop apps to benefit from .NET Core features such as performance improvements, side-by-side deployment and UWP functionality. You can read more about how to enhance your existing desktop app with UWP features here.
However, the greatest thing for existing desktop apps is that, if they are converted to a .NET Core application, they can now be extended with everything new that .NET will include in the future.
What's more, I am super excited to announce that the Telerik UI for WinForms and Telerik UI for WPF controls are .NET Core 3.0 compatible!
So, are you excited about it? Do you want your app to be ready for this? Together, let’s prepare an existing Desktop app for this new adventure!
Updating an Existing Desktop App to .NET Core 3.0
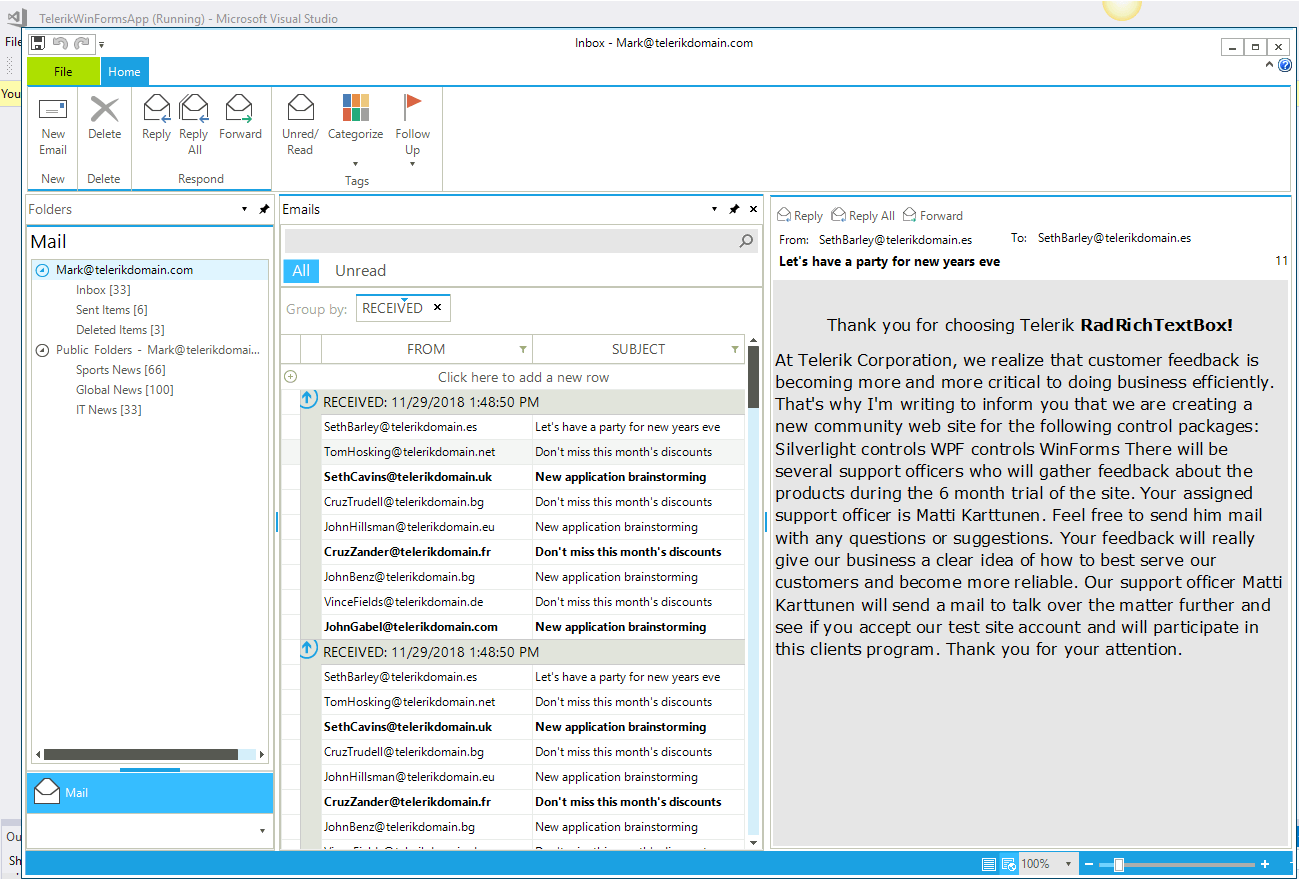
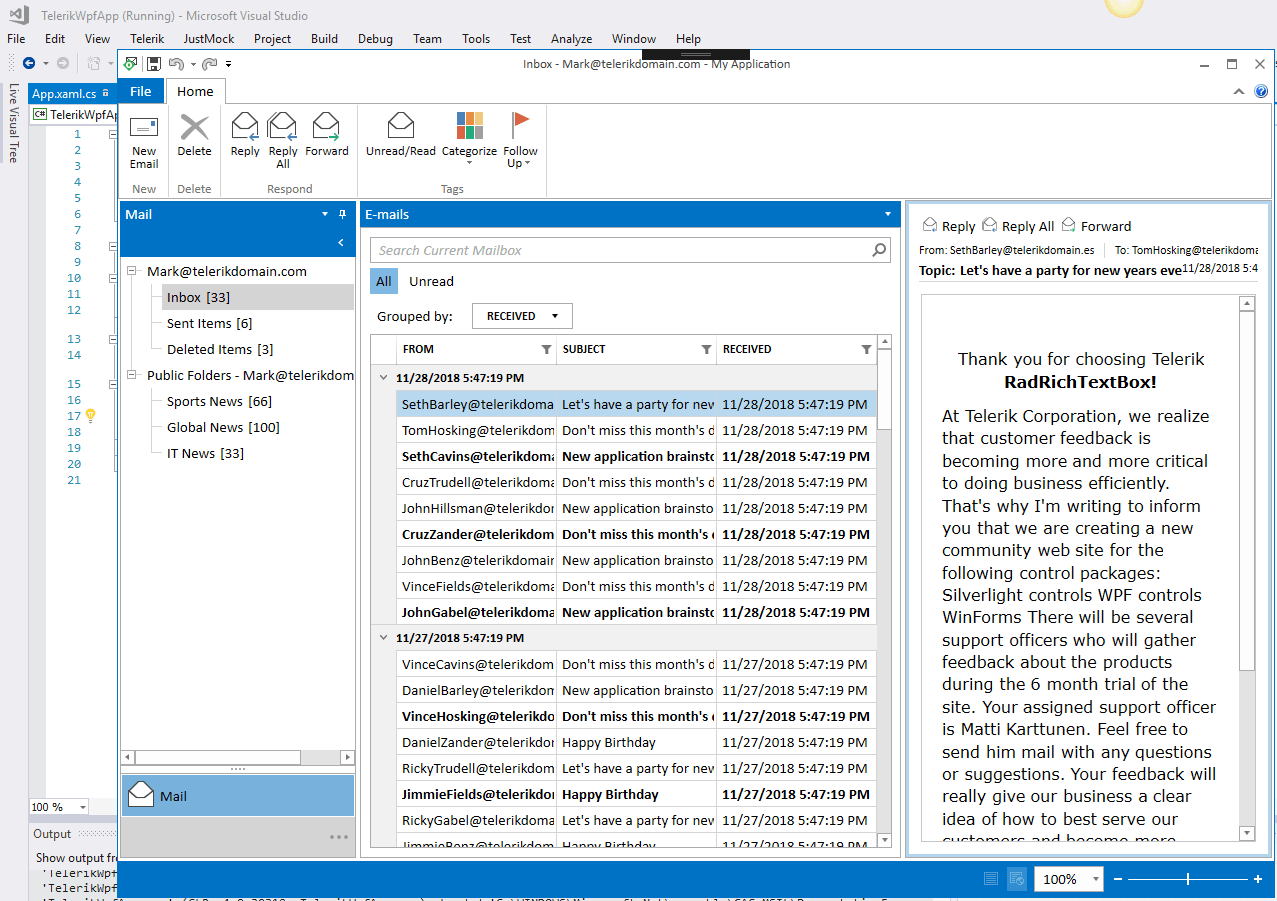
For the purpose of this post I’ll use an existing WPF app – Mail Application – created with the Telerik WPF Extensions wizard. The application includes separated view, ViewModels and Custom Styles built with Telerik UI for WPF. I will also do the same exercise with a version of this app built with Telerik UI for WinForms.
The Visual Studio extensions are fully compatible with Visual Studio 2019 so if you are excited about everything new – you can install and use them with VS 2019 right now.
WinForms
WPF
Download the Telerik Visual Studio extensions from the marketplace:
Ready to start? Go!
Step 0: Prepare Your Environment
Of course, first we need to Install the latest .NET Core 3.0 SDK daily build.
Note that you also should Install Visual Studio 2017 Update 15.8 or higher from .https://visualstudio.microsoft.com/downloads/, and select the .NET desktop development workload with the following options: .NET Framework 4.7.2 development tools and .NET Core 2.1 development tools.
Step 1: Check to See if the App is Compatible
To do this we will run the NET Portability tool using the instructions provided by Microsoft here.
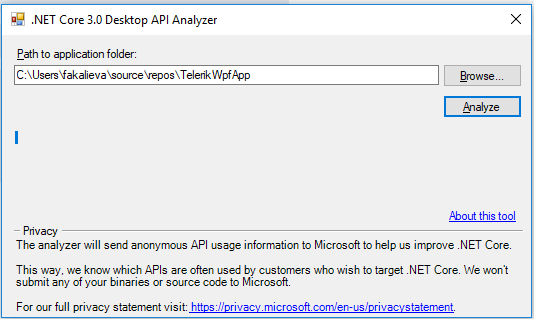
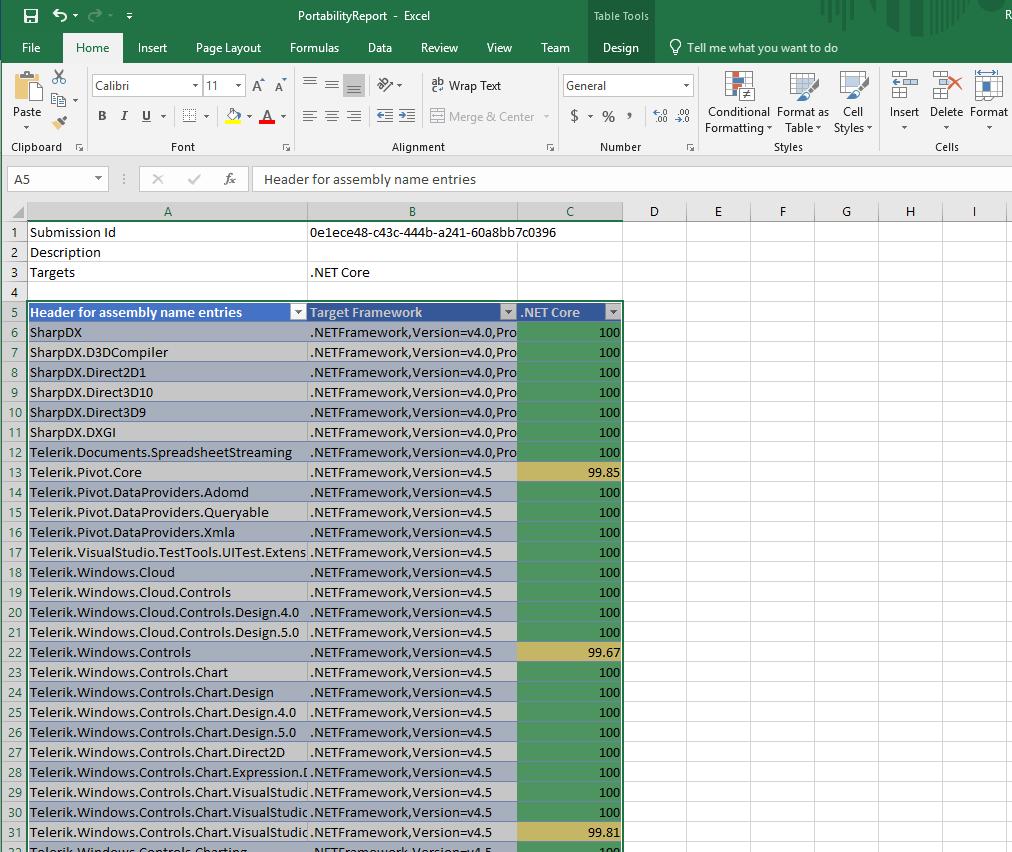
The output shows that we are almost 100% compatible, but there are some more steps we need to do!
Step 2: Create a New .NET Core 3.0 Application with the VS Command Prompt
At the moment there is no tool or built-in option in Visual Studio that allows you to simply convert the app. The project structure is now different, so we will need to create a new one project file from scratch. How?
It’s time to create a completely new .NET Core 3.0 app project using Command Tool of Visual Studio 2017 :)
Use the command below for WPF:
dotnet new wpf -o MyWPFApp

cd MyWPFApp

dotnet run
And use this one for WinForms:
dotnet new winforms -o MyTelerikWinformsApp

cd MyTelerikWinformsApp

dotnet run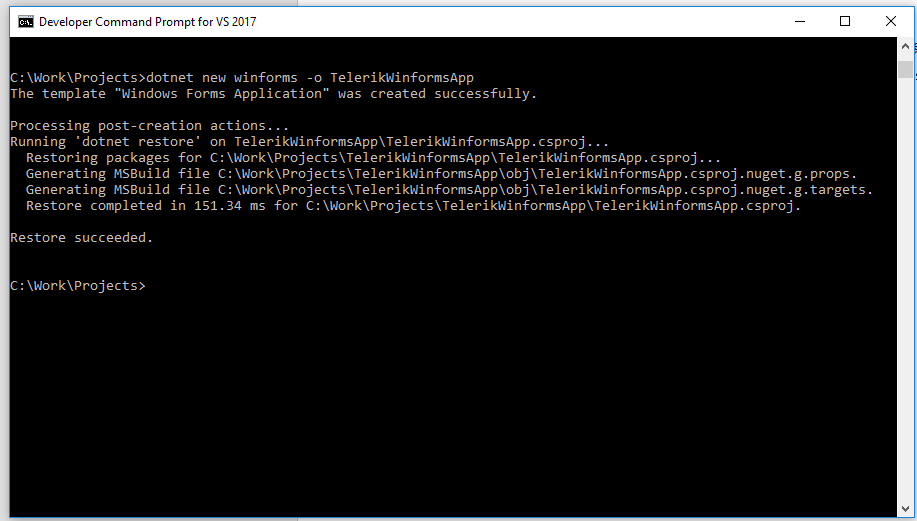
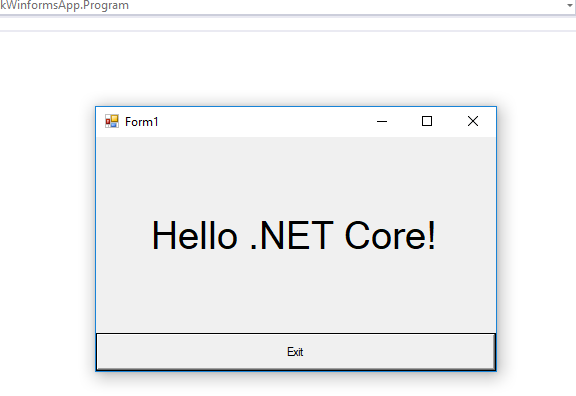
This command will create a new project in the current directory to the path that you have pointed. To check that everything is OK simply open it to the in Visual Studio and run it.
This will also create the needed solution file.
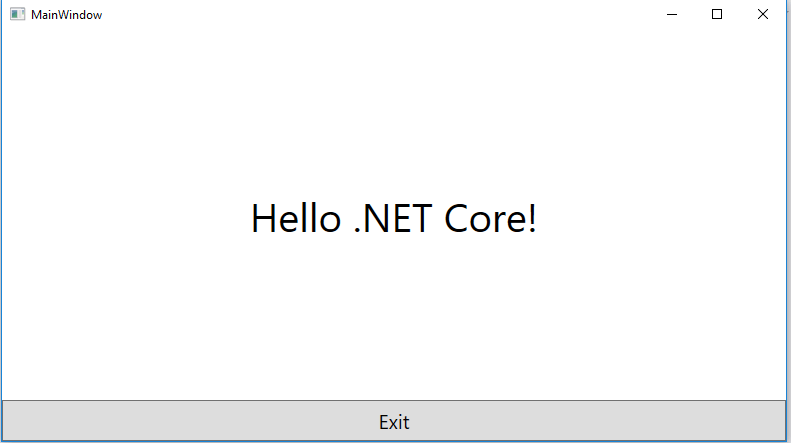
Below is what a WPF app built against .NET Core looks like!
Step 3: Add Existing Files from Original Project as Linked Files
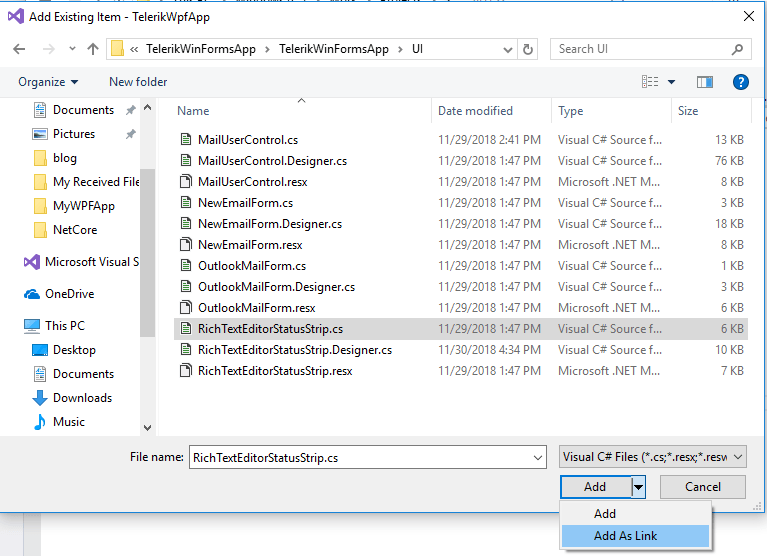
After you have done this, there are some interesting things you should consider/do:
If you have used images with the build action Resources, change it to Embeded resource or Content
If you add your AssemblyInfo or App.Manifest file, be sure to add this manually to the project file - the new project style uses a different approach and generates the same assembly attributes as part of the build process
If you have referred to some references which are still not available in .NET Core as Windows.Composition, you should Include the Windows.Compatibility Pack
There is no design time support at this time, however, Microsoft is working on it and we should expect it in near future
Step 4: Change the Telerik Binaries with the Version Built Against .NET Core 3
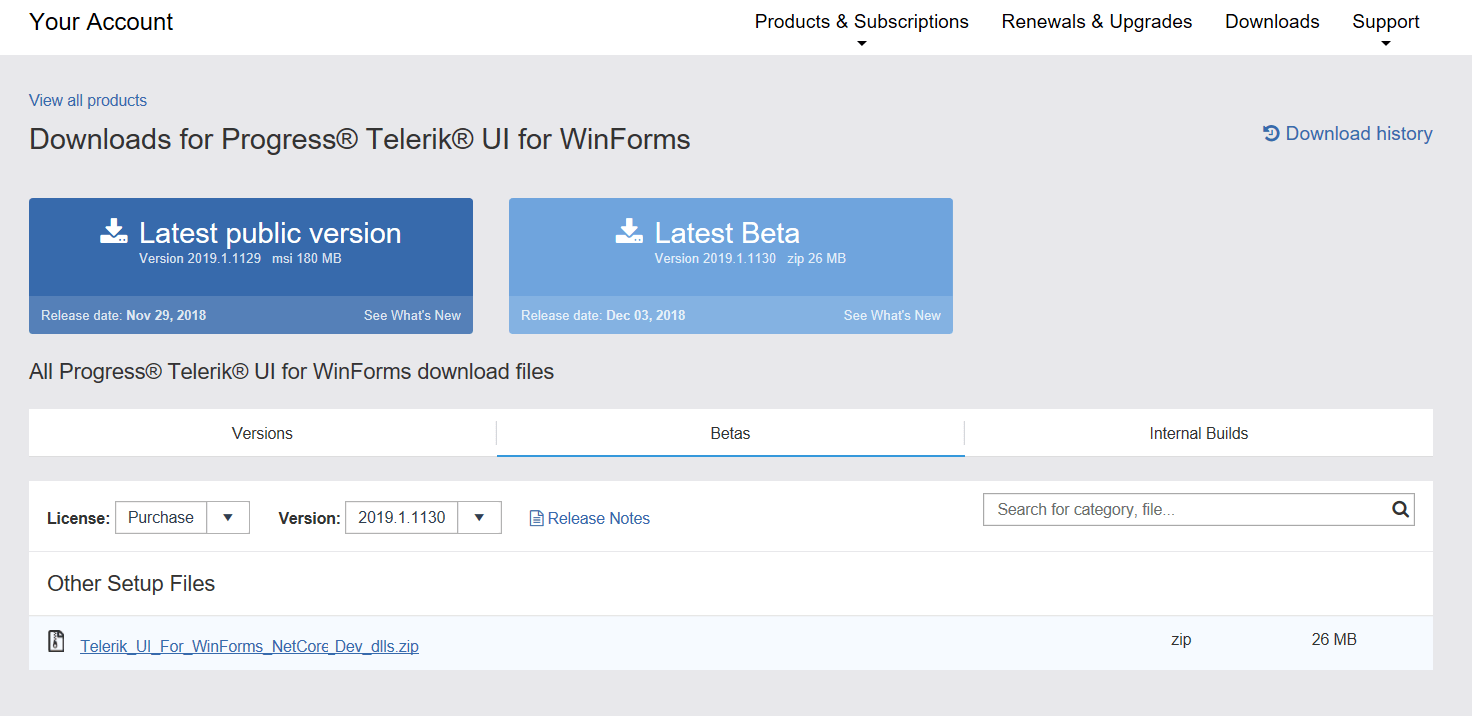
To do this, login to your account, go to the Downloads section of the latest release and download the .zip for WPF and .zip for WinForms containing the Preview of the .NET Core 3 controls for Telerik UI for WinForms or WPF.
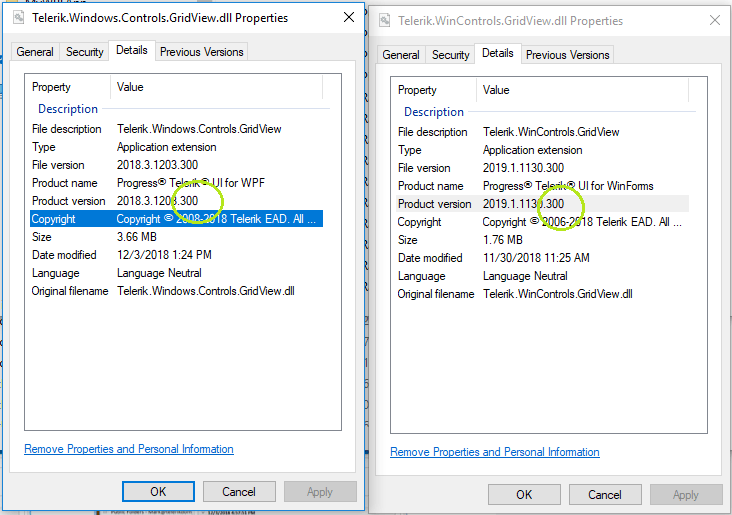
Now, add references to the .NET Core 3.0 alternative of the same Telerik binaries you previously used. The libraries have the same names and differ only in their versioning, They contain the 300 postfix in their versioning info.
Note for WPF applications, if you use RadRichTextBox for WPF, there is one additional step. The current implementation uses MEF to load additional UI and components (like dialogs and document format providers depends), which in turn by default uses Assembly.ReflectionOnlyLoadFrom(*) method to inspect the assemblies for possible suitable parts. The method is currently not implemented for .NET Core, so as a workaround you can provide a pre-defined type catalog at the beginning of your application:
RadCompositionInitializer.Catalog = new TypeCatalog(
                // format providers
                typeof(XamlFormatProvider),
                typeof(RtfFormatProvider),
                typeof(DocxFormatProvider),
                typeof(PdfFormatProvider),
                typeof(HtmlFormatProvider),
                typeof(TxtFormatProvider),

                // mini toolbars
                typeof(SelectionMiniToolBar),
                typeof(ImageMiniToolBar),

                // context menu
                typeof(Telerik.Windows.Controls.RichTextBoxUI.ContextMenu),

                // the default English spell checking dictionary
                typeof(RadEn_USDictionary),

                // dialogs
                typeof(AddNewBibliographicSourceDialog),
                typeof(ChangeEditingPermissionsDialog),
                typeof(EditCustomDictionaryDialog),
                typeof(FindReplaceDialog),
                typeof(FloatingBlockPropertiesDialog),
                typeof(FontPropertiesDialog),
                typeof(ImageEditorDialog),
                typeof(InsertCaptionDialog),
                typeof(InsertCrossReferenceWindow),
                typeof(InsertDateTimeDialog),
                typeof(InsertTableDialog),
                typeof(InsertTableOfContentsDialog),
                typeof(ManageBibliographicSourcesDialog),
                typeof(ManageBookmarksDialog),
                typeof(ManageStylesDialog),
                typeof(NotesDialog),
                typeof(ProtectDocumentDialog),
                typeof(RadInsertHyperlinkDialog),
                typeof(RadInsertSymbolDialog),
                typeof(RadParagraphPropertiesDialog),
                typeof(SetNumberingValueDialog),
                typeof(SpellCheckingDialog),
                typeof(StyleFormattingPropertiesDialog),
                typeof(TableBordersDialog),
                typeof(TablePropertiesDialog),
                typeof(TabStopsPropertiesDialog),
                typeof(UnprotectDocumentDialog),
                typeof(WatermarkSettingsDialog)
                );
And voila - run the project and see your new Desktop .Net Core 3 app with Telerik UI.
You can see that visually .NET Core 3.0 app (left) is the same as the original app(Right):
Now the apps are ready and you can continue to work with them. In the meantime, you can check out what else is cooking in our Telerik kitchen!. Stay tuned for the next major release of Telerik UI for Winforms and Telerik UI for WPF in early 2019.
Welcome to new era of .NET Core 3 apps and happy coding!