What is a button without a form? What is a to-do list without to-do items? We will answer these philosophical questions, along with other form related ones in this fourth video of the Angular and Kendo UI Unite series.
We’ll start off the to-do app using our marvelous Kendo UI Buttons as individual to-do items. We then add in the Kendo UI textbox input and get our to-do app fully functioning!
Hello and howdy, everyone. My name is Alyssa Nicoll, and welcome back to Angular and Kendo UI Unite. If you are new to the series, I suggest checking out the first post or watching the video series these posts are based on! In this article we're going to be going over a to-do application that I created and fleshing it out a bit more. We're going to be using Kendo UI for Angular buttons and a Kendo UI input to simply make this to-do application, and in the next few posts we'll add on some extras to snazz it up a bit more.
Follow along with the code found here!
So I've already created the to-do component for our application. I generated with ng generate component to-do . Once inside of that, I went ahead and created a to-dos array and it has an object with items that have the name of each to-do.
import { Component, ViewEncapsulation } from '@angular/core';
@Component({
  selector: 'todo',
  encapsulation: ViewEncapsulation.None,
  templateUrl: './todo.component.html',
  styleUrls: ['./todo.component.scss'],

})
export class TodoComponent {
  todos = [
    {
      item: 'Take dog to vet',
    },
    {
      item: 'Get oil change',
    },
    {
      item: 'Finish super hard puzzle',
    },
    {
      item: 'Pack for Denver',
    },
    {
      item: 'Create to-do app',
    }
  ];
  …
  }
I also have done an add todo and a remove todo function.
  addTodo(input: HTMLInputElement) {
    this.todos = [{ item: input.value }, ...this.todos];
    input.value = '';
  }
  removeTodo(todo, i) {
    this.todos.splice(i, 1);
  }
I'm literally grabbing the to-do item and sticking it in a new array, as well as using the spread operator on the array to spread it out inside the new array next to the new todo item. And setting all of that equal to this.todos. this.todos = [{ item: input.value }, ...this.todos];
And then, of course, erasing the input value so that after you're done typing and you press "enter", it will add the new to-do item and clear out that input value. input.value = '';
And then remove todo will just splice that todo off of the array. So if we go back to our app component we can see here that we're not using our button control panel right now, we're just using this to-do component.

I have also added some custom styles that will come into play here in a minute.
So the first thing we want to do is create a div, and that's just going to wrap things, and it will actually come very much in handy in our next video for animations. Then we're going to create an H1 with "What good shall I do today?" in it. Of course, you could just label it "To-do App" or some other boring title. ;)
<div>
  <h1>What good shall I do today?</h1>
</div>
We need an input field next and we’re going to use this one from Kendo UI. So if we go ahead and open up our terminal, we're going to use this ng add command: ng add @progress/kendo-angular-inputs.
Now we're going to create our input with a type of text. But we're also going to want to give it our kendoTextBox attribute as well as giving it a placeholder.
<div>
  <h1>What good shall I do today?</h1>
  <input kendoTextBox placeholder="Add a todo item" class="new-todo-input" />
</div>
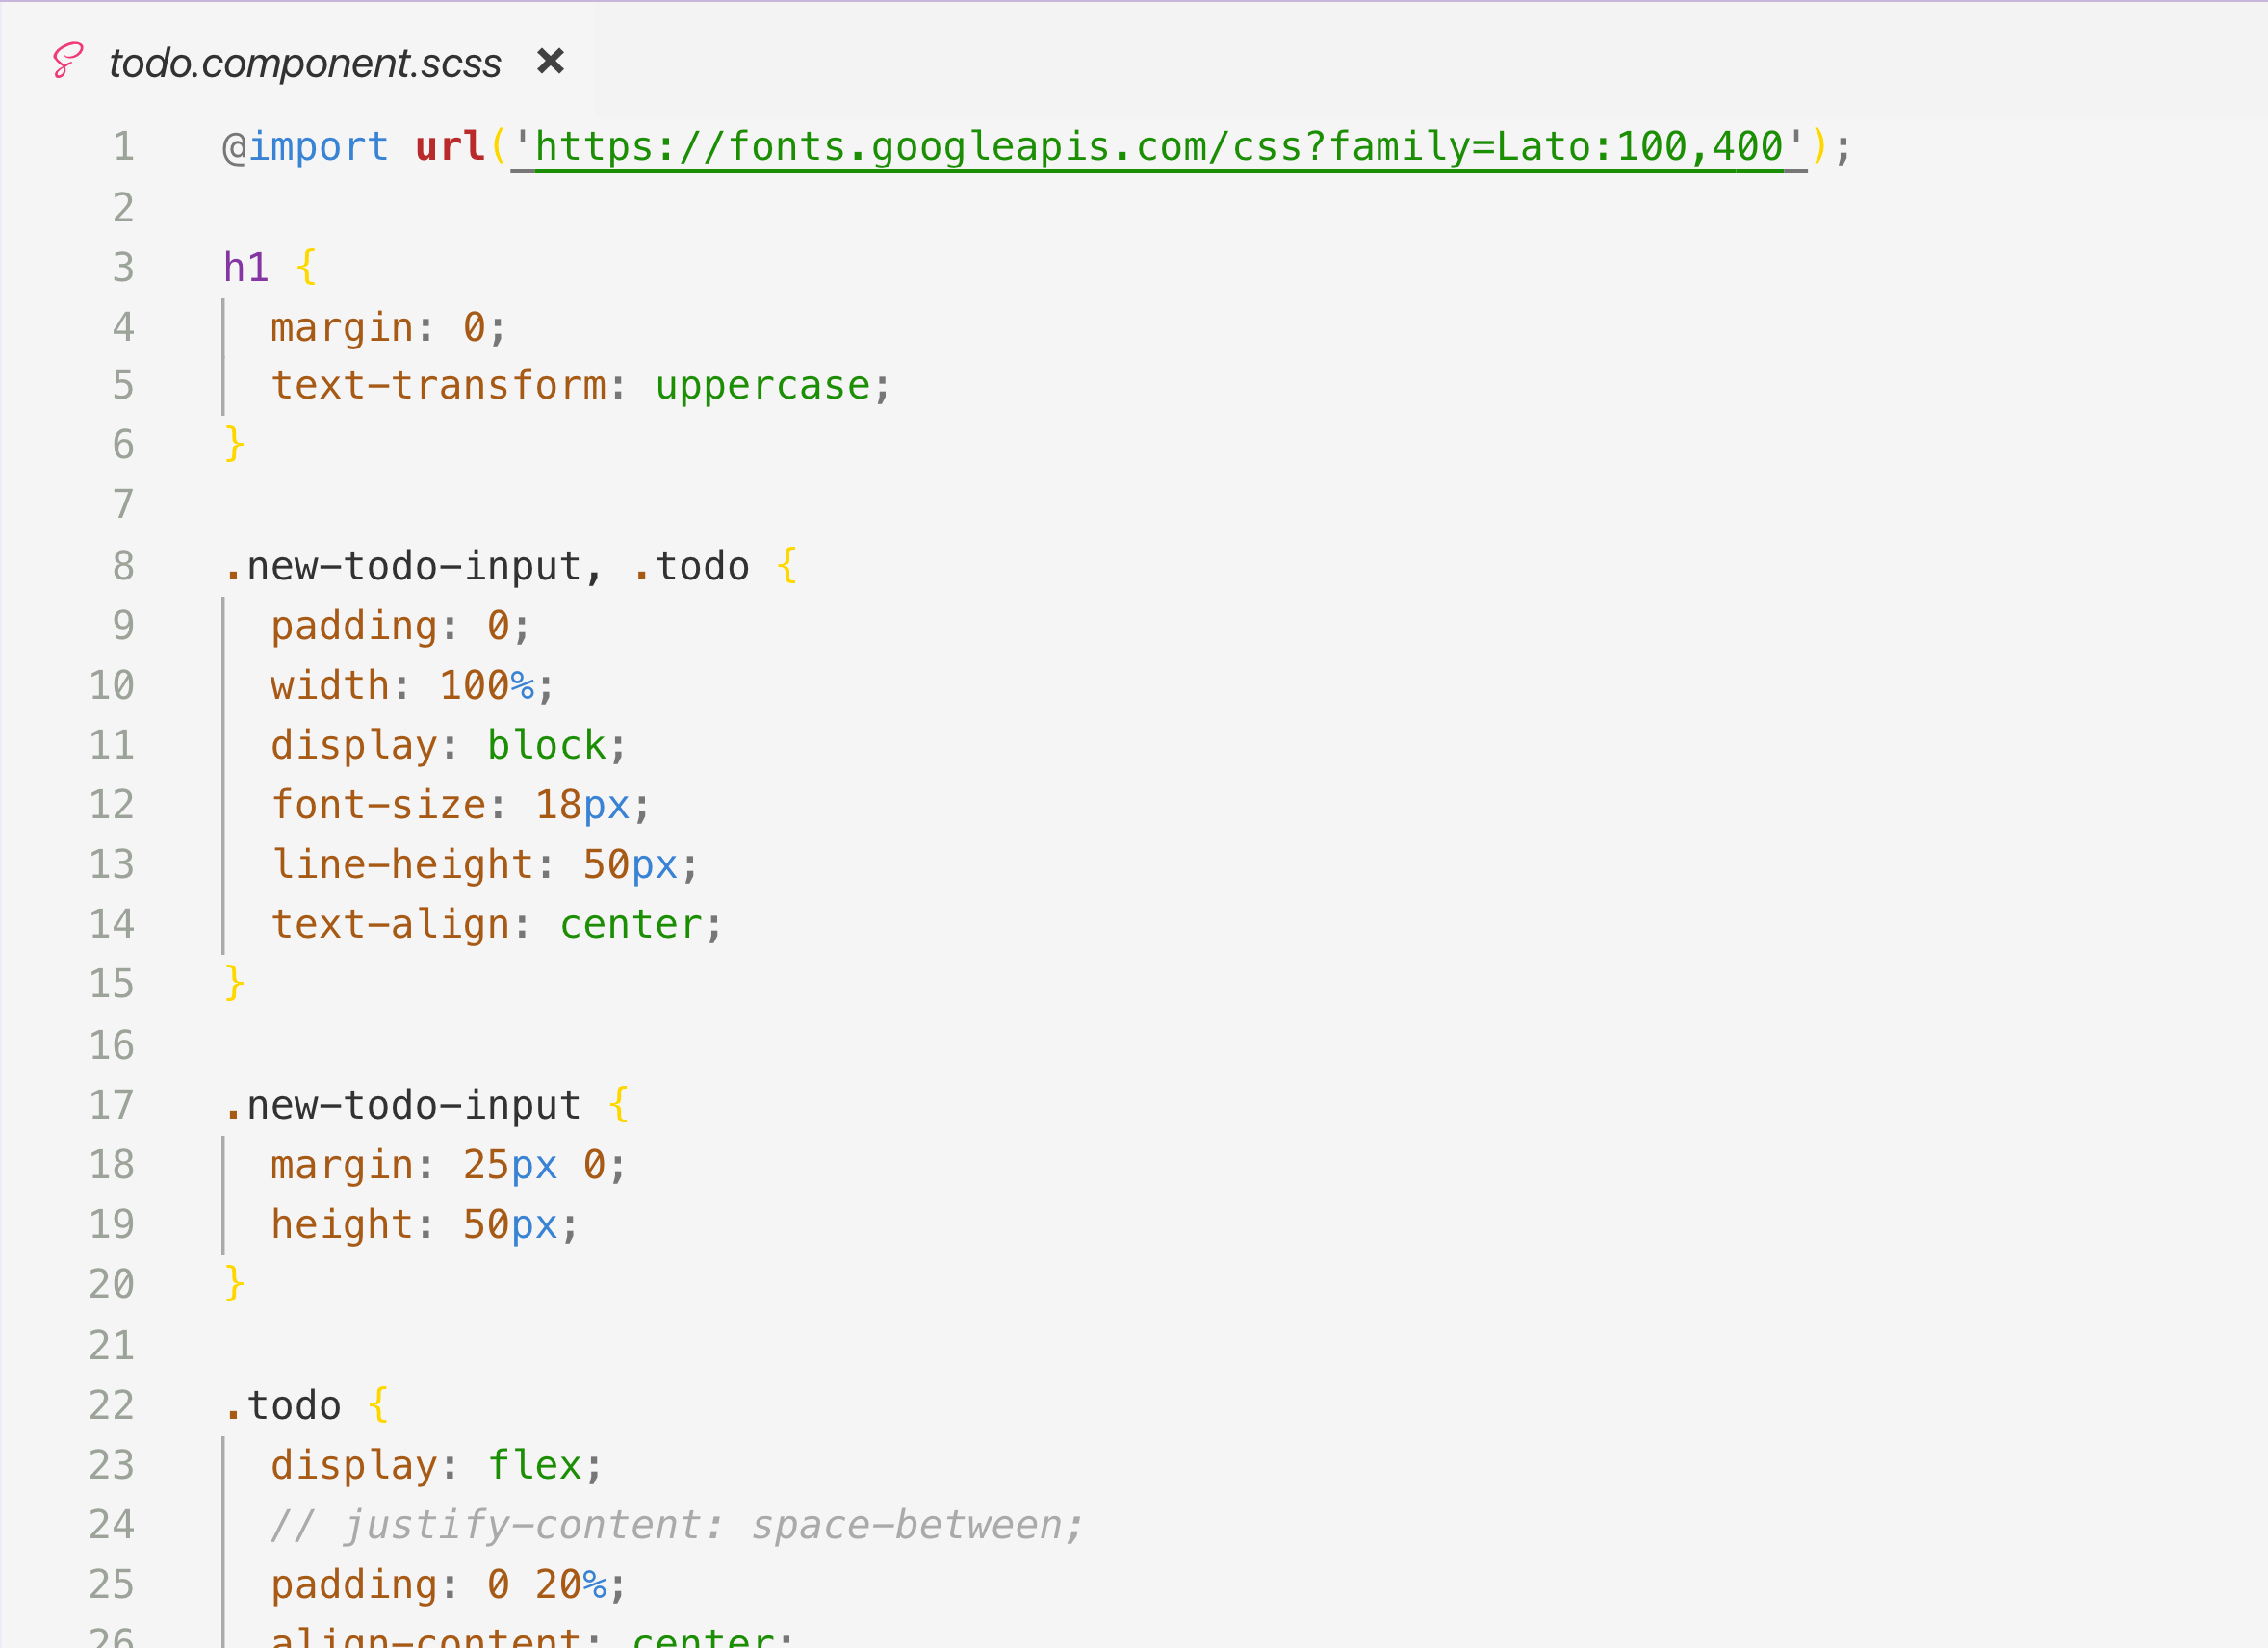
I also have some custom styles as I mentioned before, so I’ll need to add a class of "new-todo-input" to the input. If we go ahead and go over to the SCSS, we can see that I'm giving some new to-do input styles.
.new-todo-input, .todo {
  padding: 0;
  width: 100%;
  display: block;
  font-size: 18px;
  line-height: 50px;
  text-align: center;
}
A.new-todo-input {
  margin: 25px 0;
  height: 50px;
}
Next up, we want to bind a key-up event (on enter) to the input. This is so that when someone types enter in the input, the add to-do item function gets called. That is going to look a little bit like this: (keyup.enter)="addTodo()".
addTodo() however expects the todo item to be passed to it. An easy way to accomplish this is with a template variable: #itemInput. So now our input looks like this:
<div>
  <h1>What good shall I do today?</h1>
  <input kendoTextBox #itemInput (keyup.enter)="addTodo(itemInput)" placeholder="Add a todo item" class="new-todo-input" />

</div>
Let's see what things look like so far in the browser. I’m going to serve up our app with ng serve.
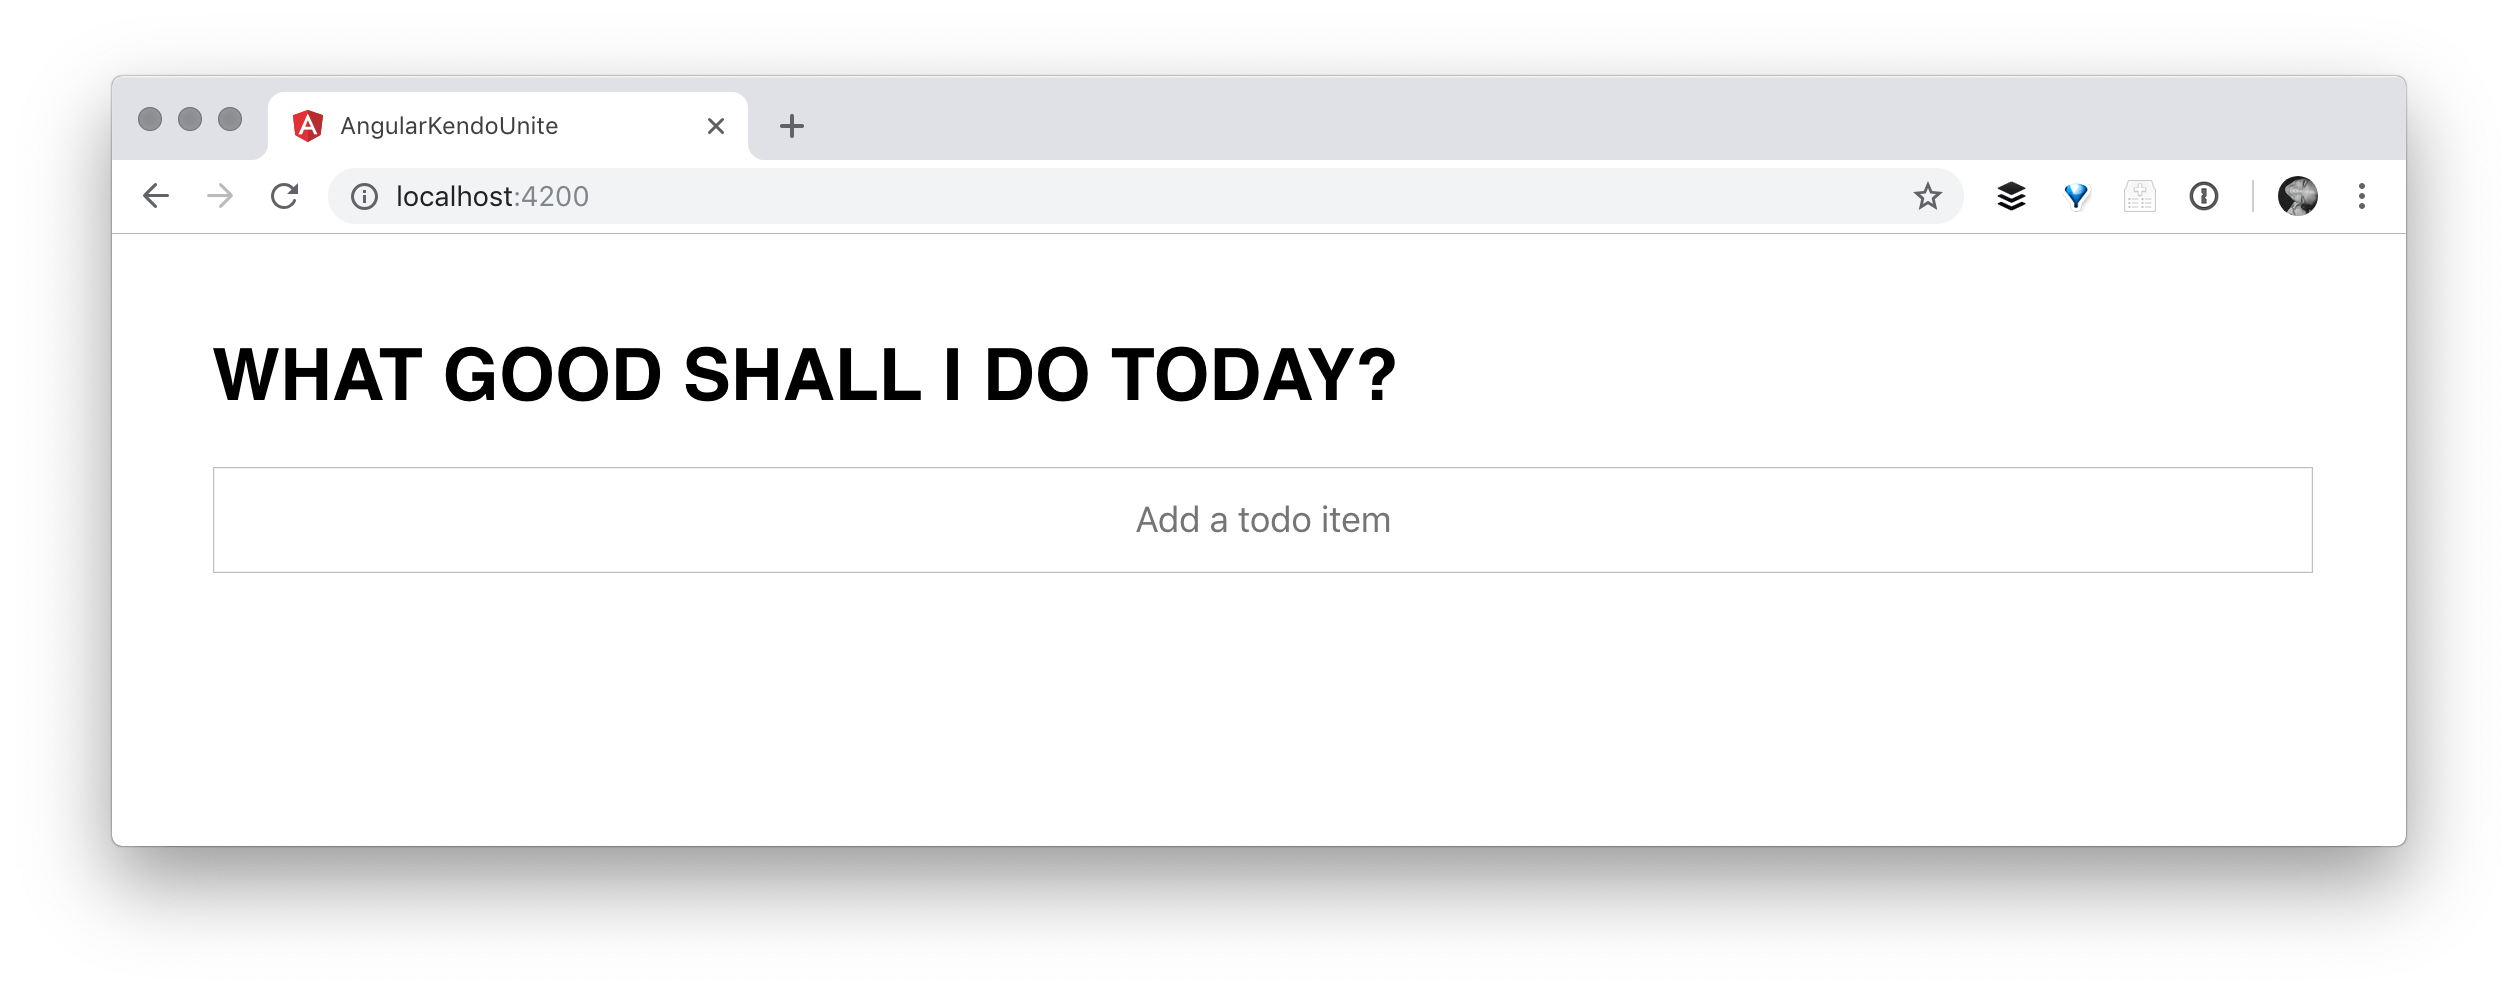
We've got our H1, we've got our styles with our input, it's looking so nice.
At this point, I’m dying to try out our add and remove functions. However, we need to-do items on the screen first. So for the next step, I thought it'd be fun to use Kendo UI buttons. We're going to create another div, and this one is going to use *ngIf and we'll say if there are any to-do items, make the rest of this HTML possible.
Inside of this we're going to go ahead and create a button like we've done before. And we're going to give it, of course, a kendoButton attribute and a type of button. Next, we need to create an ngFor to loop through the to-dos at this point: *ngFor="let todo of todos; index as i".
<div>
  <h1>What good shall I do today?</h1>
  <input kendoTextBox #itemInput (keyup.enter)="addTodo(itemInput)" placeholder="Add a todo item" class="new-todo-input" />

  <div *ngIf="todos">
    <button kendoButton type="button" class="todo" *ngFor="let todo of todos; index as i">

    </button>
  </div>

</div>
Next, some styling is in order. I used the class of todo. So if we go back over to the SCSS we can check out what custom styles I've created. I even have some special things happening on hover:
.todo {
  display: flex;
  padding: 0 20%;
  align-content: center;
  height: 50px;
  background: none;
  border: none;
  border-radius: 0;
  color: white;
  overflow: hidden;
  transition: 125ms ease background-color;
  &:hover {
    background-image: none;
    color: hsl(0, 90%, 56%);
  }
  span:hover {
    text-decoration: line-through;
  }
}
I'm telling each todo to be display flex, have a certain padding and align the content to center. I'm also setting the height to 50 pixels, taking away any background or border, or border radius that was being given. I also want the text color to be white, the todo to have overflow hidden, and a transition for the background-color.
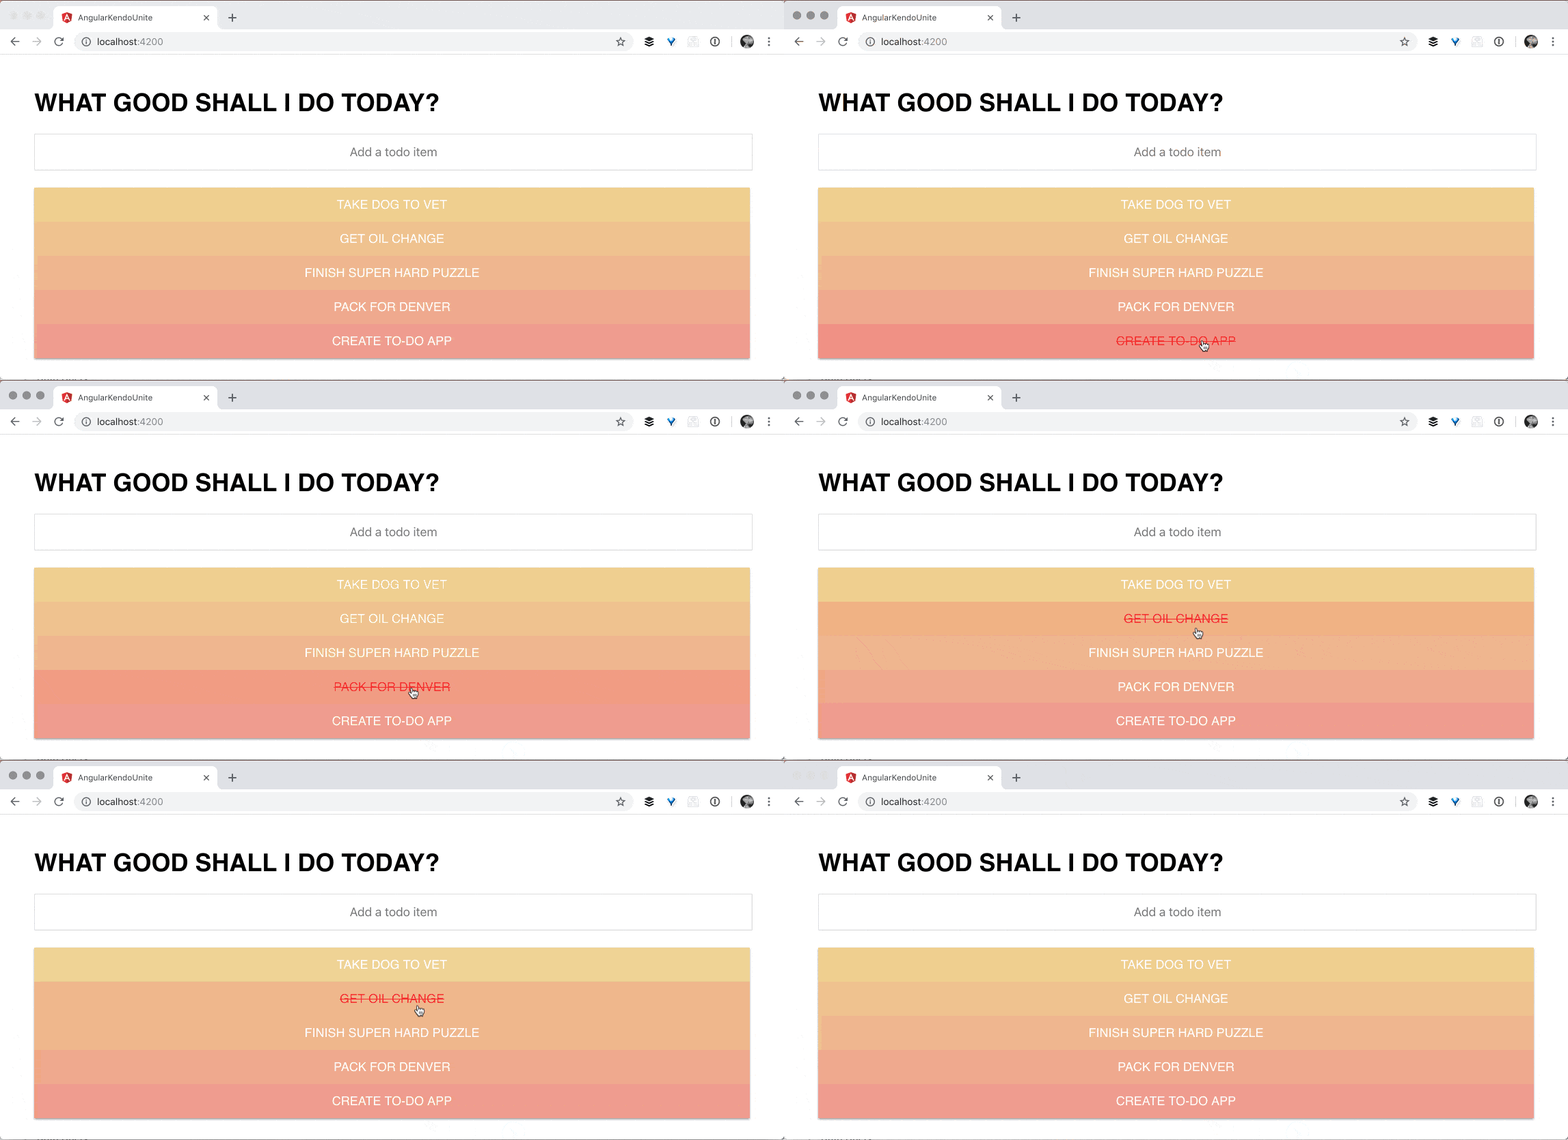
If you noticed the pretty cool color scheme I have going here on the to-do items, I simply did this with a bit of scss:
$todos: 45;
@for $i from 1 through $todos {
  .todo:nth-last-child(#{$i}n) {
    background-color: hsl((360deg / $todos * $i), 75%, 75%);
  }
}
Now that we have to-do items on the screen, we can show off adding items!
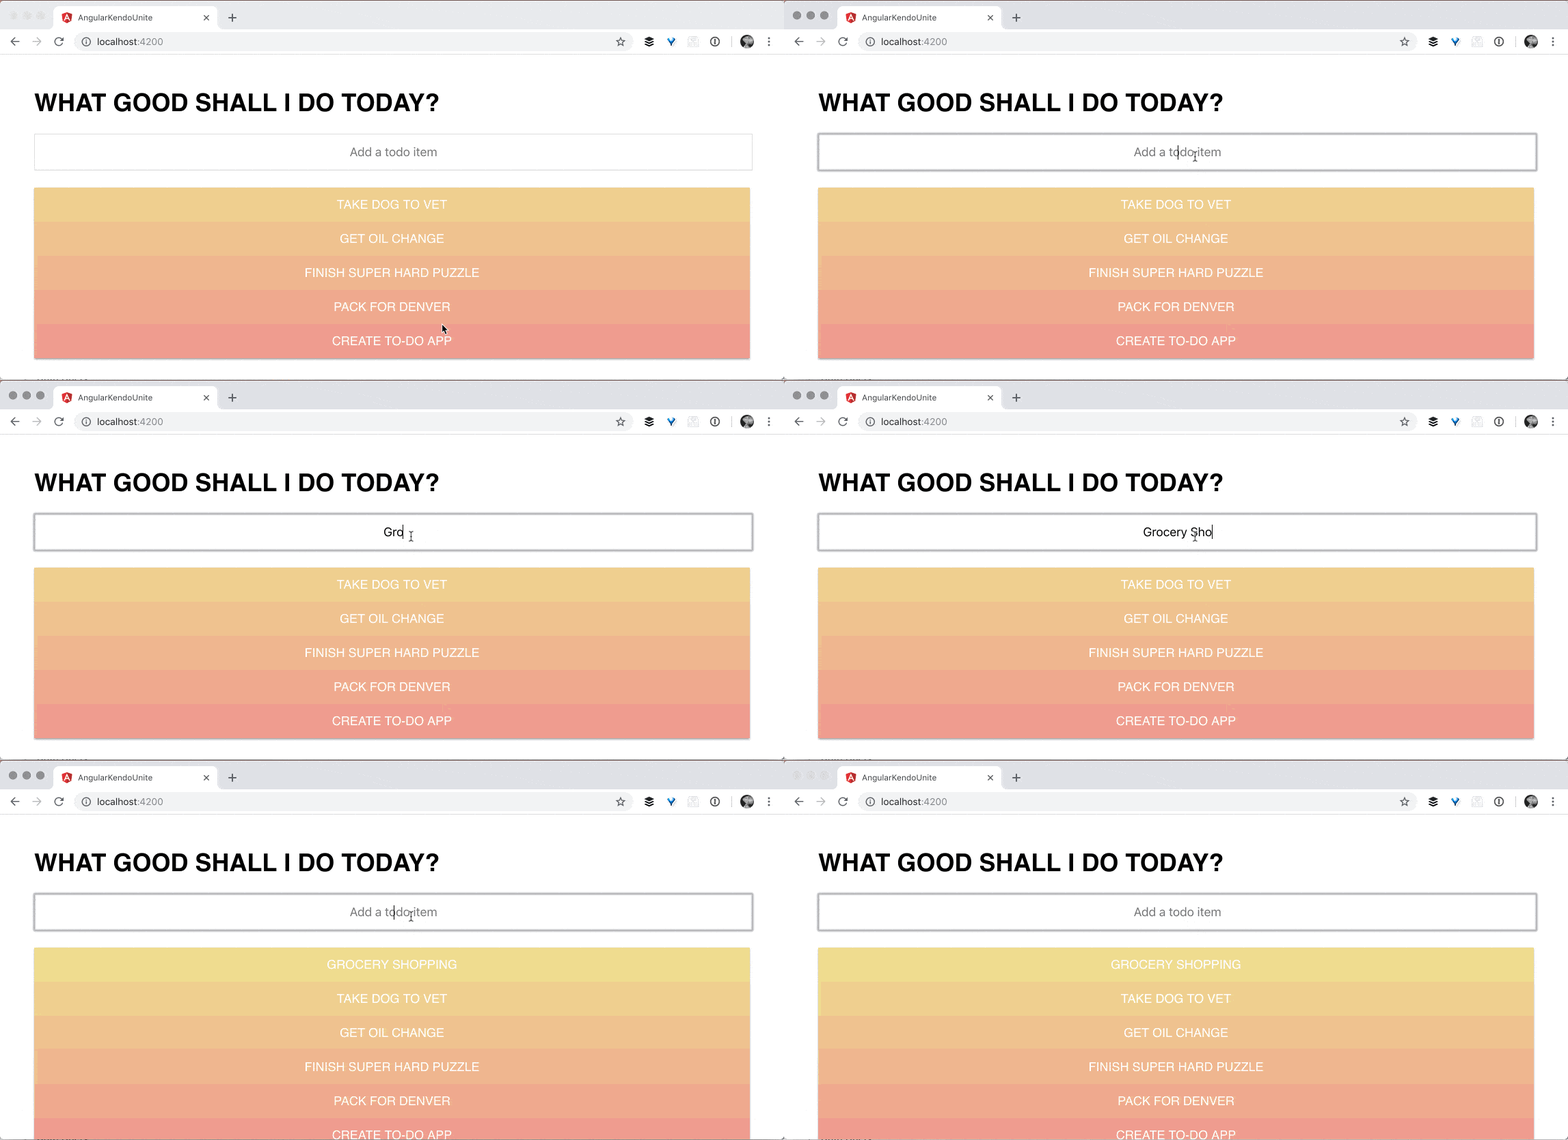
If you notice, when hovering over the text specifically, you get this nice cross-out, which I'm doing here with
on span:hovertext-decoration: line-through. This indicates to the user that if they click
on a to-do item it should check it off the list.

Inside of our button now, we're going to create a way to remove to-do items by utilizing the todo we just loop through to get:
<span (click)="removeTodo(i)">{{todo.item}}
I also gave it a click event that is removing the to-do item. It will call removeTodo and pass it the index of the to-do. Let’s check out our to-do list in the browser!!
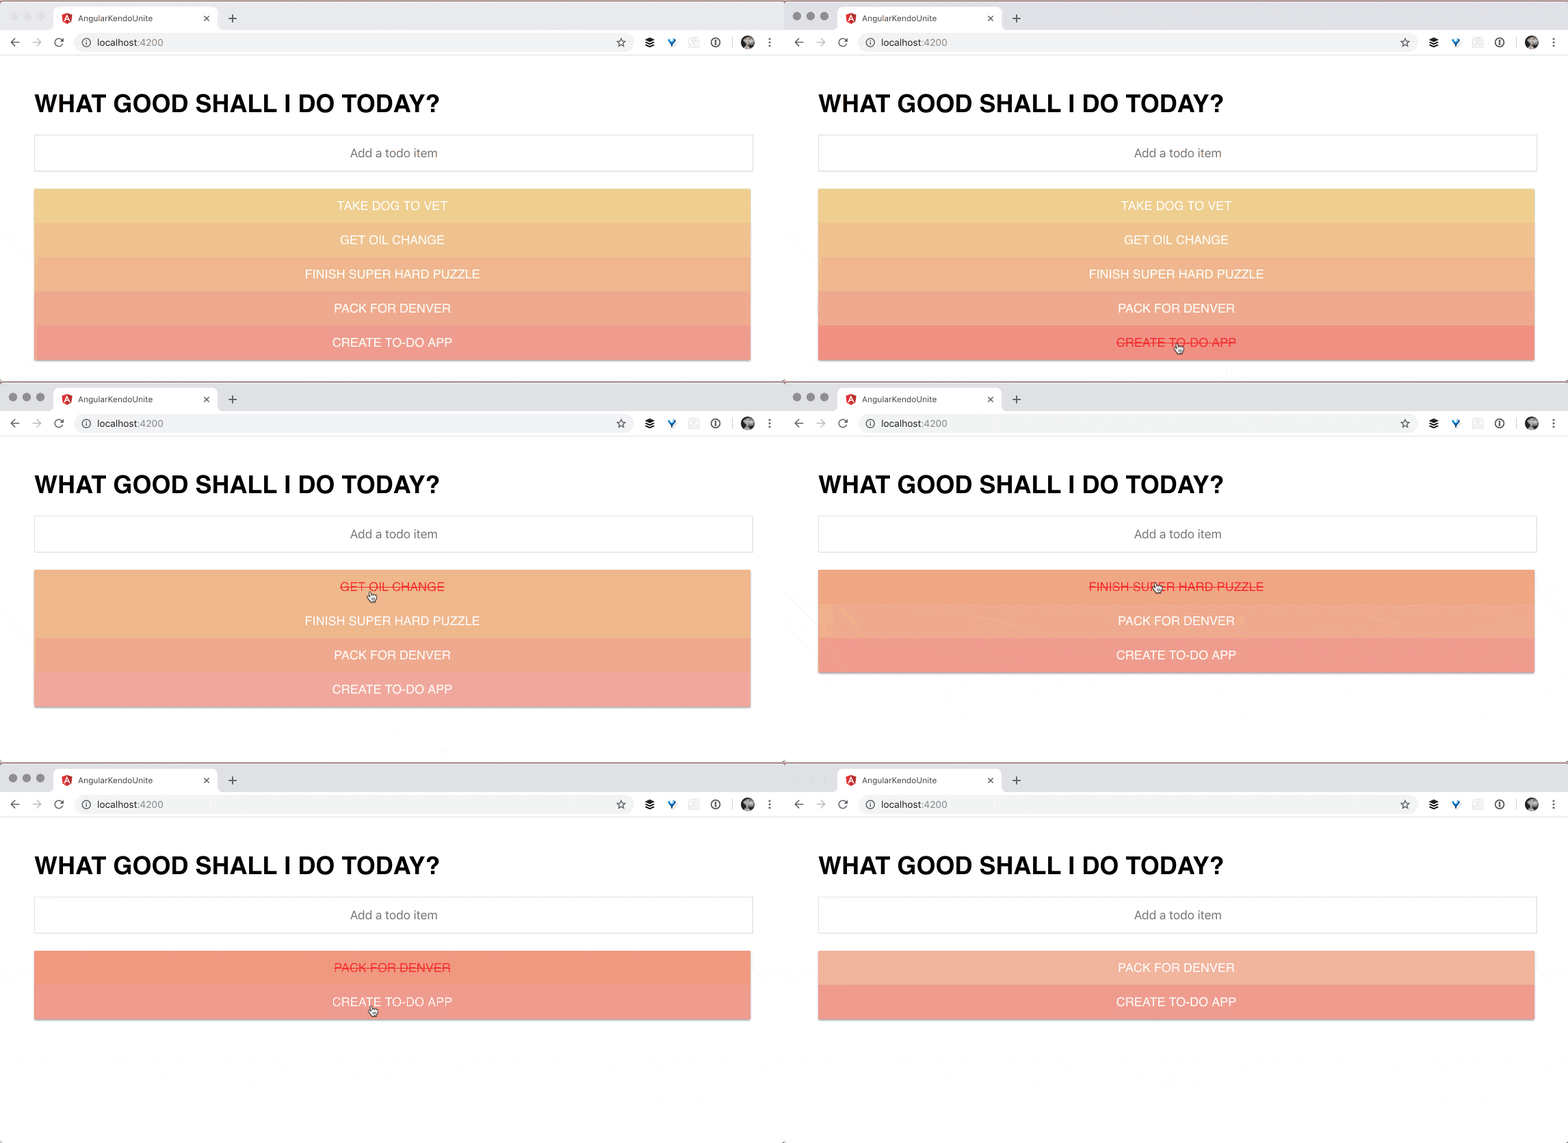
So one last thing that I actually added that was a nice touch. Whenever you finish your to-do list, there's nothing there, and so the empty to-do list looks kind of silly. I thought it would be a nice touch to go ahead and add one last div, or dib, depending on if you can type or not. With an ngIf that is checking todos.length, if it's equal to zero.
<div *ngIf="todos.length == 0" class="finished-list">Fin</div>

So it's so super fun to use these Kendo UI components and then customize them, and I just love the heck out of Angular as well. It's a powerful combination. Something that I'm really passionate about is animations and using UX in motion. And so in the next post in this series, I'm actually going to add some Angular animations to what we already have in the to-do app. This will give the user some clues about what's going on and to kind of keep a spatial mental model going. So join us for that next episode, and happy coding, everyone.
If you're new to Kendo UI for Angular, you can learn more here or just jump into a free 30 day trial today.