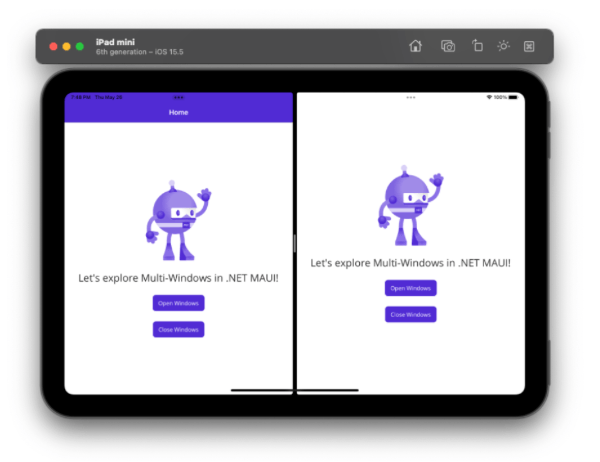
Multi-windows are a nice feature in .NET MAUI, and we can give their desktop version extra TLC.
.NET MAUI is a wonderful tool that allows you to create applications with the same common code base for both desktop and mobile devices and can be developed for Android, iOS, macOS and Windows.
Some features are more useful on the desktop version of an application and so will require extra attention. One such functionality is multi-windows. Desktop and tablets can allow multiple windows and views when you have an app open. On these devices this functionality carries more weight and is more necessary, however we can do it on mobile versions as well.
Important points to highlight:
Basic applications within a desktop app: As I mentioned before, these apps have some features that, although they work on mobile devices, make more sense here—for example the creation of menus or multi-windows.
Keeping in mind the previous point, multi-windowing is a functionality that will work in the same way for any device and platform, only that you will probably perceive the advantages more so while using it in desktop apps or devices such as iPads that are larger.
Let’s welcome multi-windows!

Adding Needed Platforms Settings
To implement multi-windows, follow the instructions below:
![iOS and macOS Apple logo]() iOS and macOS
iOS and macOS
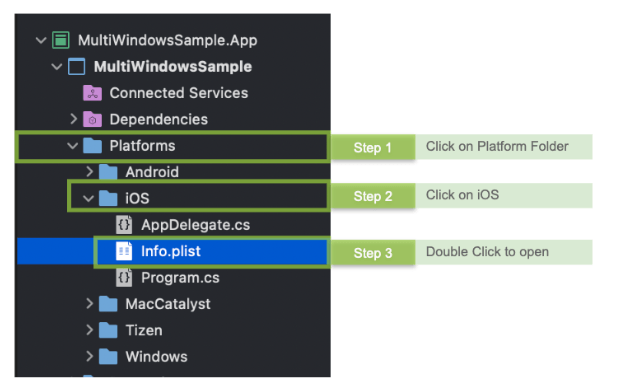
Let’s start with the Info.plist:
➖ Click on Platform Folder
➖ Click on iOS or MacCatalyst Folder (you must do this Platform one by one)
➖ Info.plist
➖ To open: Double-click or click Open With … and select the tool

Once you open the file, apply the following steps:
Step 1: Add the Application Scene Manifest. Once added, you will have a result like the one in the following image.
![Step 1 Step 1]()
Step 3: Add the Application Session Role. Once added, you will have a result like the one in the following image.
![Step 3 Step 3]()
Step 4: Finally, let’s add the following:
- Delegate Class Name with SceneDelegate value.
- Configuration Name with MAUI_DEFAULT_SCENE_CONFIGURATION value.
Completing all the steps in your Info.plist will give you a result like the following.
If you open it in a text editor, this part of your Info.plist should look like this:
<key>UIApplicationSceneManifest</key>
    <dict>
     <key>UIApplicationSupportsMultipleScenes</key>
     <true/>
         <key>UISceneConfigurations</key>
     <dict>
    <key>UIWindowSceneSessionRoleApplication</key>
    <array>
    <dict>
    <key>UISceneDelegateClassName</key>
    <string>SceneDelegate</string>
    <key>UISceneConfigurationName</key>
    <string>__MAUI_DEFAULT_SCENE_CONFIGURATION__</string>
    </dict>
    </array>
</dict>
</dict>
Finally, let’s add the SceneDelegate class.
In the same iOS Folder:
➖ Create the SceneDelegate class
➖ Register an SceneDelegate with [Register("SceneDelegate")]
➖ Inherits from the MauiUISceneDelegate class
The result should look like the following code example:
using Foundation;
using Microsoft.Maui;

namespace MultiWindowsSample;

[Register("SceneDelegate")]
public class SceneDelegate : MauiUISceneDelegate
{

}
⚠ Apply exactly the same steps in the MacCatalyst Folder.
Windows and Android
 For Android: No additional configuration required.
 For Windows: No additional configuration required.
Learn More About Multi-Windows
Multi-windowing helps you to open all the windows you need in your application. This functionality was announced in Preview 11 of .NET MAUI.
I will explain the two most important and fundamental methods to handle our windows, which are Open and Close windows—let’s see!
Opening the Windows
Let’s detail the OpenWindows method, which is composed by the following:
- Application class: available in
Microsoft.Maui.Controlfollowed by the .Current which refers to the instance of the App that is currently running. - OpenWindows method: responsible for opening the window, it expects an Window Object.
The graphic explanation would be as follows:
Let’s see it in code:
void OnOpenWindowClicked(object sender, EventArgs e)
{
     Application.Current.OpenWindow(new Window(new MainPage()));
}
Closing the Windows
Let’s detail the CloseWindows method, which is composed by the follow:
- Application and Current have the same definitions as the previous point.
- CloseWindows method is responsible for closing the window; it expects an Window Object.
- GetParentWindows: This helps you get the parent element of a page. It’s important to know that all Pages contain this method.
Let’s see it in code:
void OnCloseWindowClicked(object sender, EventArgs e)
{
    var window = GetParentWindow();
    if (window is not null)
    Application.Current.CloseWindow(window);
}
XAML
<ScrollView>

    <VerticalStackLayout Spacing="25" VerticalOptions="Center">

    <Image Source="dotnet_bot.png"
       HeightRequest="200"
   HorizontalOptions="Center" />

    <Label Text="Let's explore Multi-Windows in .NET MAUI!"
       FontSize="25"
       HorizontalOptions="Center" />

    <Button Text="Open Windows"
        Clicked="OnOpenWindowClicked"
        HorizontalOptions="Center" />

    <Button Text="Close Windows"
        Clicked="OnCloseWindowClicked"
    HorizontalOptions="Center" />

    </VerticalStackLayout>

</ScrollView>
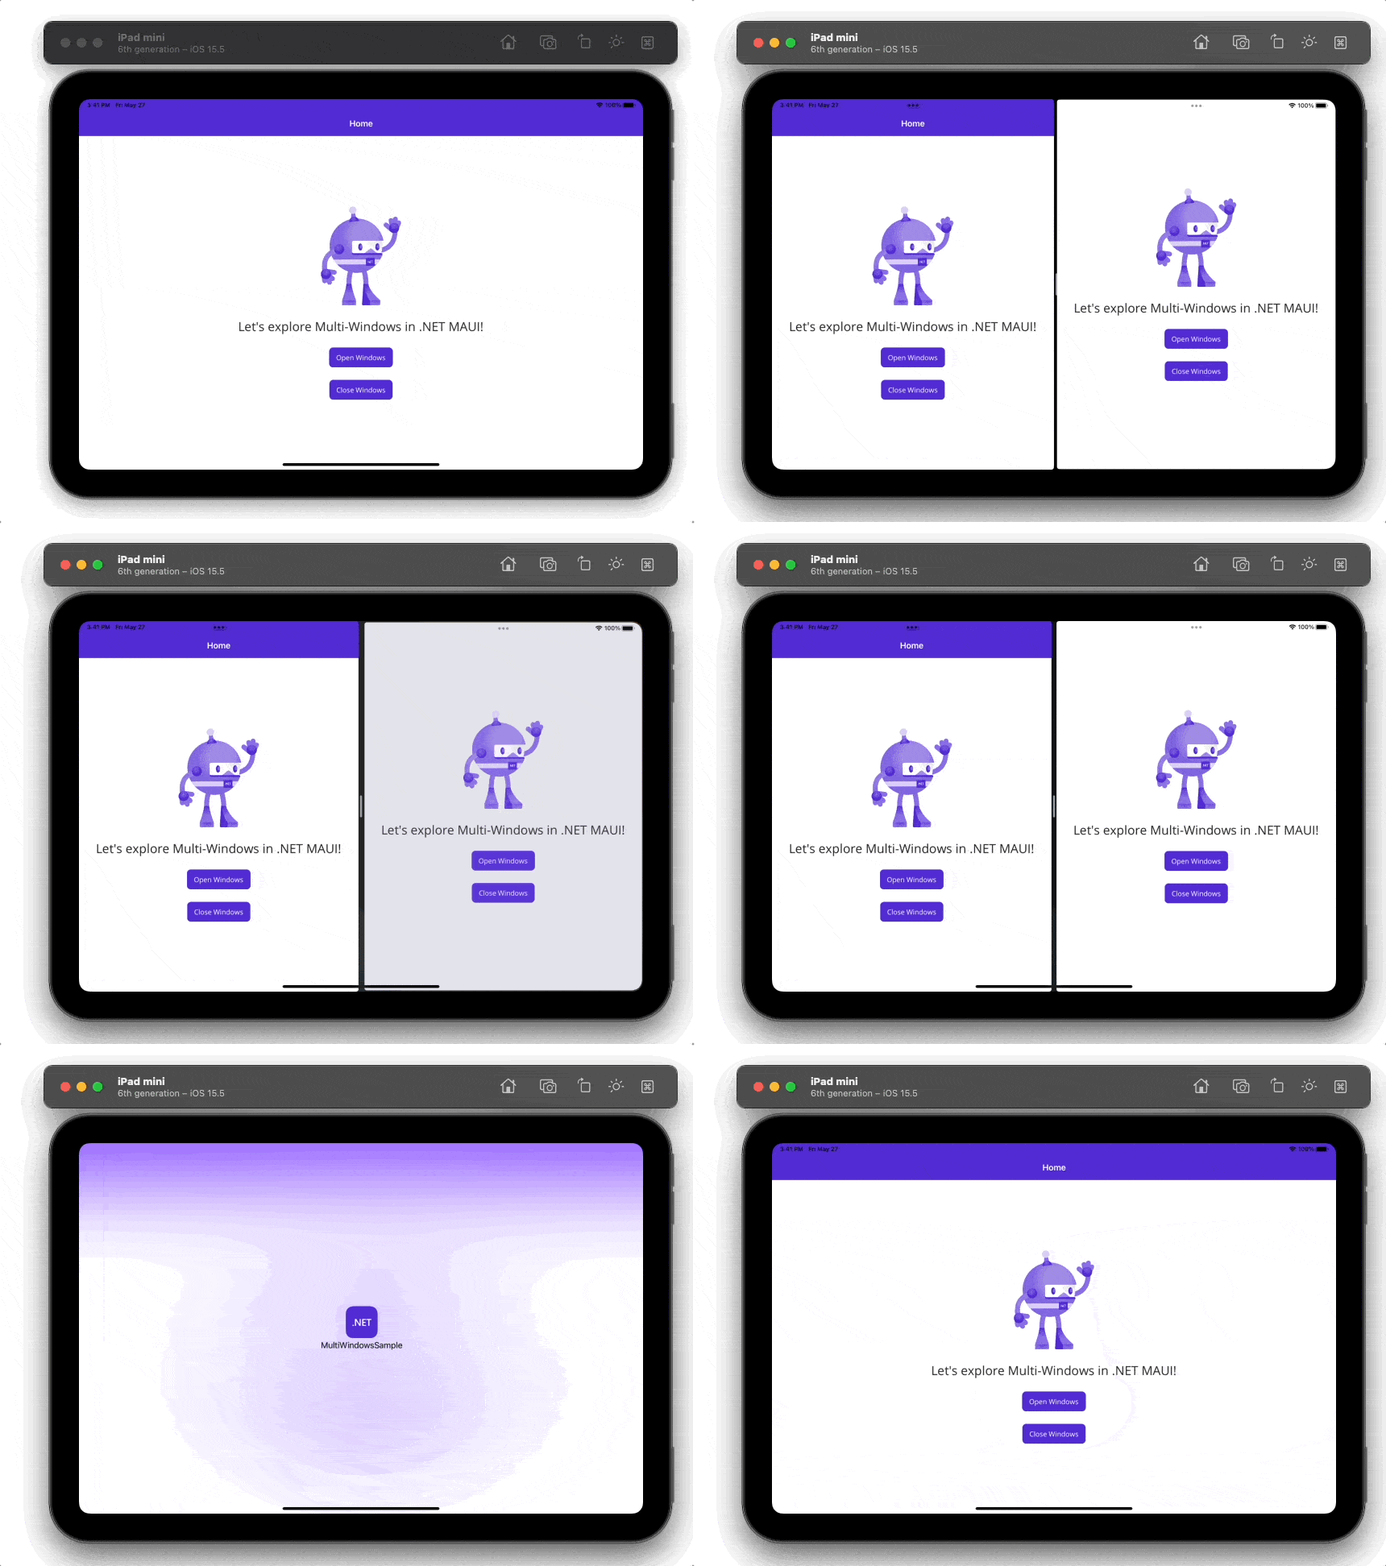
Finally, this is our amazing result!

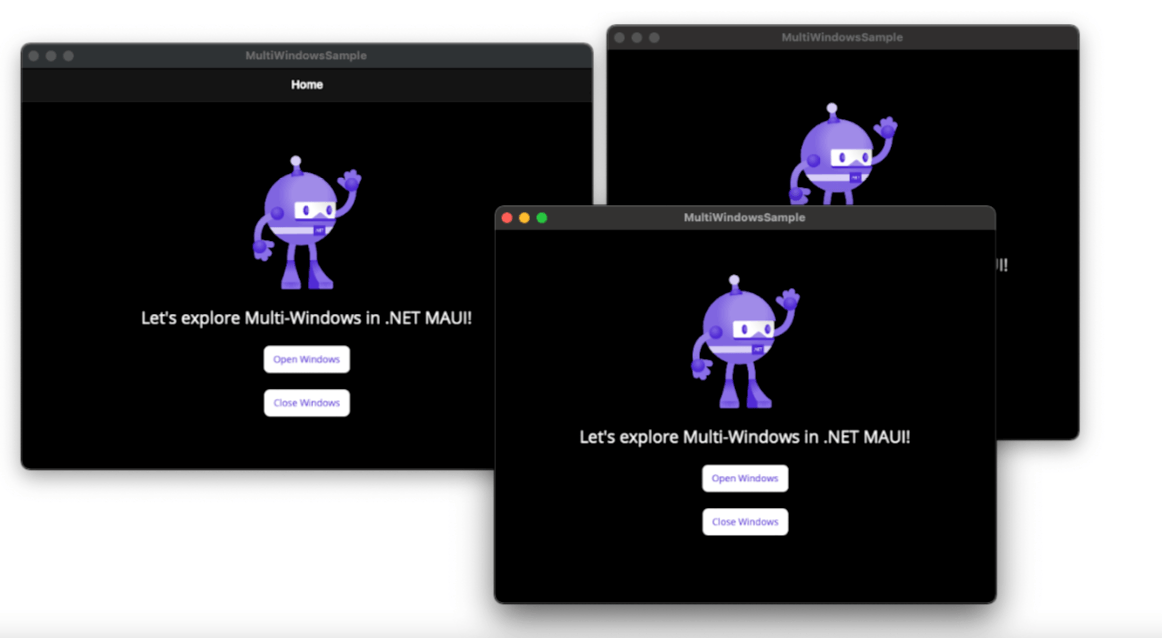
And, let’s take a look on macOS.

Wrap-up
Thanks for reading! See you in the next post! ♀️
 You can see the GitHub example code here.
References: https://www.youtube.com/watch?v=hCNGZFcP6sY
 iOS and macOS


