In this post, we are going to be explore what mixins are and how they can help us in Vue.
Vue mixins help you store logic that needs to be reused in components so that you don’t have to repeat logic—resulting in cleaner and more efficient code. We will take a closer to understand how they work and just how useful they can be.
Before We Start
You will need the following installed on your machine:
- Node .js
- A code editor: Visual Studio Code is highly recommended (here’s why)
- Vue CLI 3.0
Getting Started
We will be using the Vue GUI tool to build a new application. If you followed this post from the start, you should have VS Code open now. Open a new terminal inside VS Code and run the command below to open the Vue GUI client.
vue ui
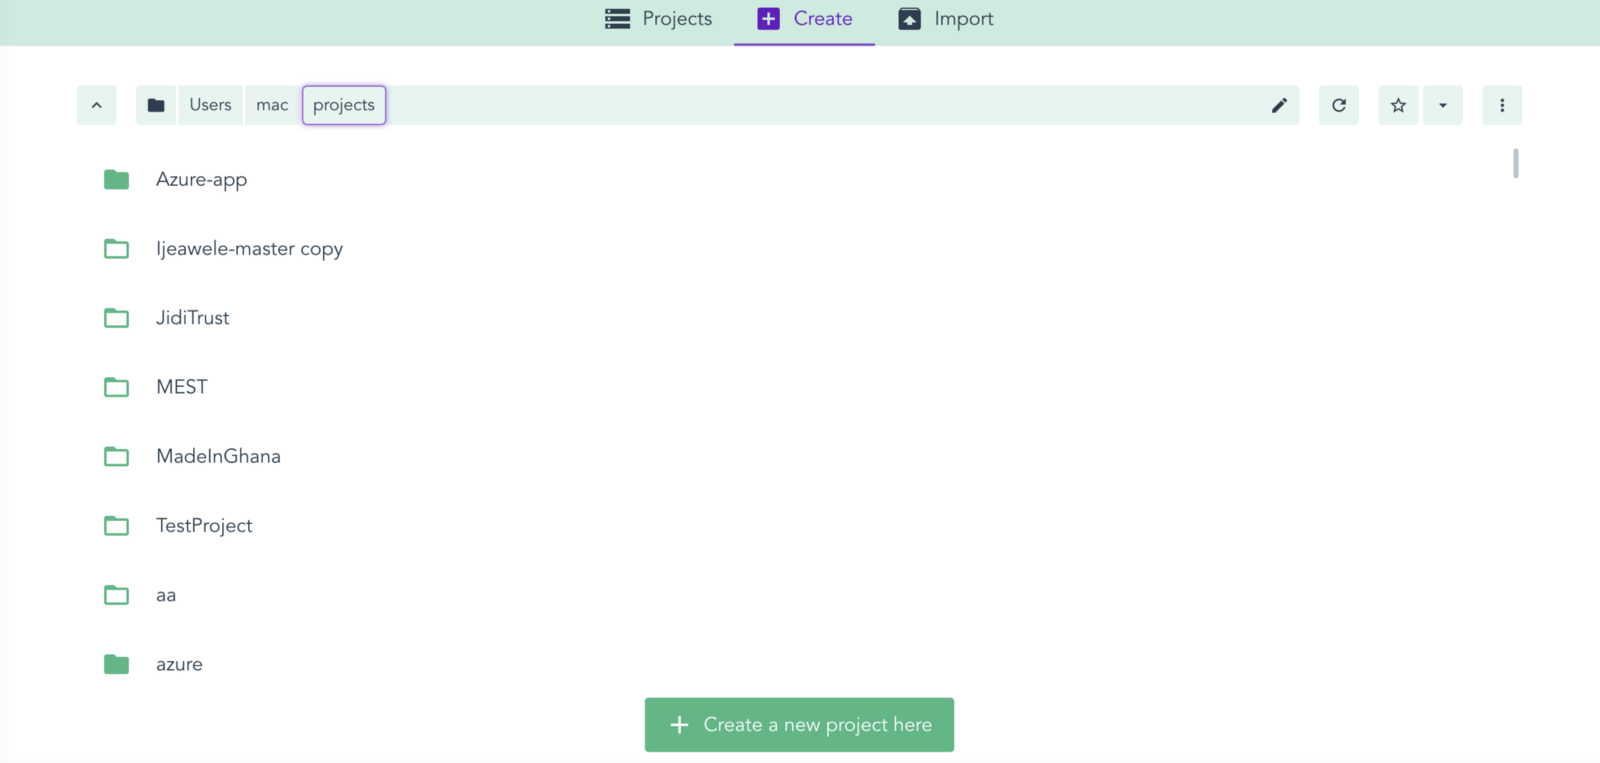
This is the screen you will see:

Click on the home button at the footer to take you to the projects page.

Here, pick a folder of choice where you would like the new Vue project to be created and click “Create a new project here.”
Call the new project “mixins” and click on Next.

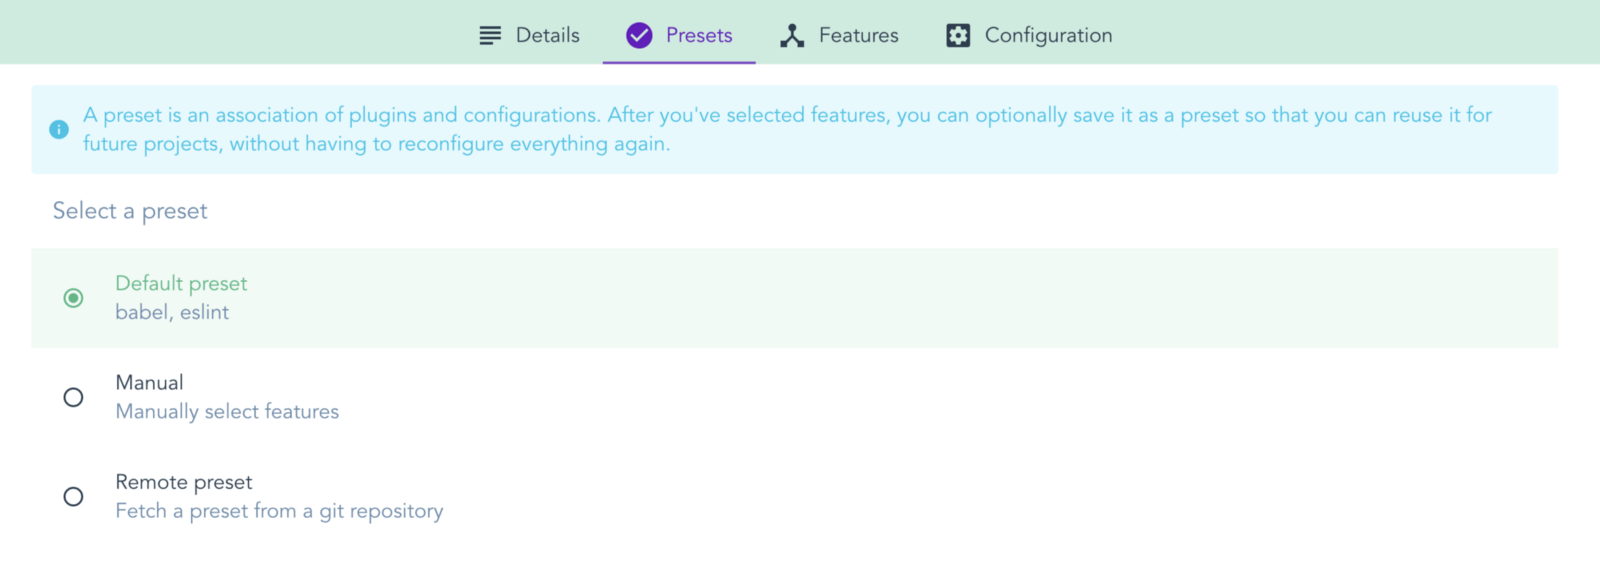
Follow the prompt and choose “Default preset.” Give it a few minutes, and you’ll be notified that your application is now built successfully.
Make sure to run this command inside the new project:
npm install
Now you can run the app in the taskbar or use the CLI to run it:
npm run serve
It should display the scaffold of a template Vue.js application in your browser.
To clean up the application for our use, navigate to the app.vue file and replace the content with the code block below:
<template>
  <div id="app">
    <img alt="Vue logo" src="./assets/logo.png">
    <h1>Welcome to your Vue app</h1>
  </div>
</template>
<script>
export default {
  name: 'app',
}
</script>
<style>
#app {
  font-family: 'Avenir', Helvetica, Arial, sans-serif;
  -webkit-font-smoothing: antialiased;
  -moz-osx-font-smoothing: grayscale;
  text-align: center;
  color: #2c3e50;
  margin-top: 60px;
}
</style>
The Reusability Issue
When various components in your application share similar functionality, you would normally repeat the logic of that functionality in every component. This is such an inefficient way to build code and it consumes a lot of resources. The Vue team created mixins to solve this problem. Let us take a practical look at how this works before and after mixins were introduced.
Before Mixins Existed
Let us create two separate Vue components and have them share a similar functionality. Open up your Vue root folder and navigate inside the components folder, delete the HelloWorld component and then create two files: multiples.vue and more.vue components.

Inside the multiples.vue component, copy in the code block below:
<template>
  <div>
    <div> {{ counter }} </div>
    <button v-on:click="clicked(2)">
      Click to Multiply by 2
    </button>
  </div>
</template>
<script>
export default {
  data(){
      return {
          counter:1,
      }
  },
  methods: {
    clicked(value) {
      this.counter *= value
    }
  }
};
</script>
Here is a simple component displaying a button that, when clicked, displays the number multiplied by 2. The counter is initialized with the value of 1 and a simple method to handle the click event.
Inside the More.vue file, paste in the code block below:
<template>
  <div>
    <div> {{ counter }} </div>
    <button v-on:click="clicked(3)">
      Click to Multiply by 3
    </button>
  </div>
</template>
<script>
export default {
  data(){
      return {
          counter:1,
      }
  },
  methods: {
    clicked(value) {
      this.counter *= value
    }
  }
};
</script>
We are doing the exact same thing with this component except the display is multiplied by 3 this time. Save all your files and run the app in your dev server in the VS Code terminal:
npm run serve

What Are Mixins in Vue?
Vue mixins are a way to make sure you do not have to repeat yourself like we have just done. They provide a safe place to store logic where you can easily import and reuse in components you need them in.
Mixin Syntax
// define a mixin object
var myMixin = {
  created: function () {
    this.hello()
  },
  methods: {
    hello: function () {
      console.log('hello from mixin!')
    }
  }
}
// define a component that uses this mixin
var Component = Vue.extend({
  mixins: [myMixin]
})
var component = new Component() // => "hello from mixin!"
Now let’s create a mixin for the method we used for the counter. Create a JS file in your root folder called mixin.js and, inside of it, copy the script side into it like so:
export default {
    data(){
        return {
            counter:1,
        }
    },
    methods: {
      clicked(value) {
        this.counter *= value
      }
    }
  };
Take Off the Repeated Logic
The next thing to do is to take off the repeated logic from the Multiples and the More components and import the Mixins file. Your More.vue component should look like this:
<template>
  <div>
    <div> {{ counter }} </div>
    <button v-on:click="clicked(2)">
      Click to Multiply by 2
    </button>
  </div>
</template>
<script>
import mixin from "/mixin";
export default {
  mixins: [mixin]
};
</script>
Here we also registered the mixin as an array, as Vue Docs prescribed it. Do the same for the Multiples component file.
Now if you save all the files, you’ll see that everything works as it should. We have now isolated the reusable logic as a mixin and made our project more efficient in the process while following the DRY principle appropriately.
Global Mixins
The type of mixins we just saw right now are called local mixins—those that are used per component. Vue also allows you create and set mixins globally and then they can affect all the files and components in your project by default.
You should be cautious of two things:
- They should be defined like this before the render statement in the main.js file:
Vue.mixin({ mounted() { clicked(value) {
 this.counter *= value
  }
}});
- Global mixins should not be used unless absolutely necessary.
Conclusion
Today we have taken a look at mixins in Vue.js, why they are so important and how they are used in our workflow. Note that Vue makes sure mixins take precedence over component functions in the case where mixins and component functions bear the same name. Happy hacking!