Today we will look at the content projection concept in Angular and how to get started using it.
What Is Content Projection?
Content projection is basically a way to reuse component content in Angular that is more generic in scope than passing data or content from parent to child component or vice versa.
This is important for making sure we do not repeat ourselves and that our code is both flexible and reusable.
Implementing Content Projection
There are three ways to implement content projection in Angular, according to the docs:
- Single-slot content projection – where a component accepts content from a single source
- Multi-slot content projection – where a component accepts content from multiple sources
- Conditional content projection – where components that use conditional content projection render content only when specific conditions are met
In today’s post, we will be looking at the first way to implement content projection in Angular—single-slot content projection.
Prerequisites
Developers of all levels, from beginners to experts can work with this post—it does not matter if you are familiar with beginner concepts in Angular. To be able to follow through in this article’s demonstration, you should have:
- VS Code for your integrated development environment
- Node version 11.0 installed on your machine
- Node Package Manager version 6.7 (it usually ships with Node installation)
- Angular CLI version 8.0 or above
- A recent version of Angular (this post uses Version 12)
Other nice-to-haves include:
- Working knowledge of the Angular framework at a beginner level.
Getting Started
We are going to set up an Angular project using the Kendo UI Template Wizard and then illustrate how ng-content works with the single slot implementation.
Open your VS Code and navigate to the Extensions tab and search for Kendo UI Template Wizard, install it and reload your VS Code application. Now, you have the wizard, so let’s get to work!
To use the wizard inside the VS Code app, open the Command Palette (press Command + Shift + P on Mac or Ctrl + Shift + P on PC) and select the Kendo UI Wizard and it will open up a prompt where you can name the project and choose the location on your machine you want it to be located.
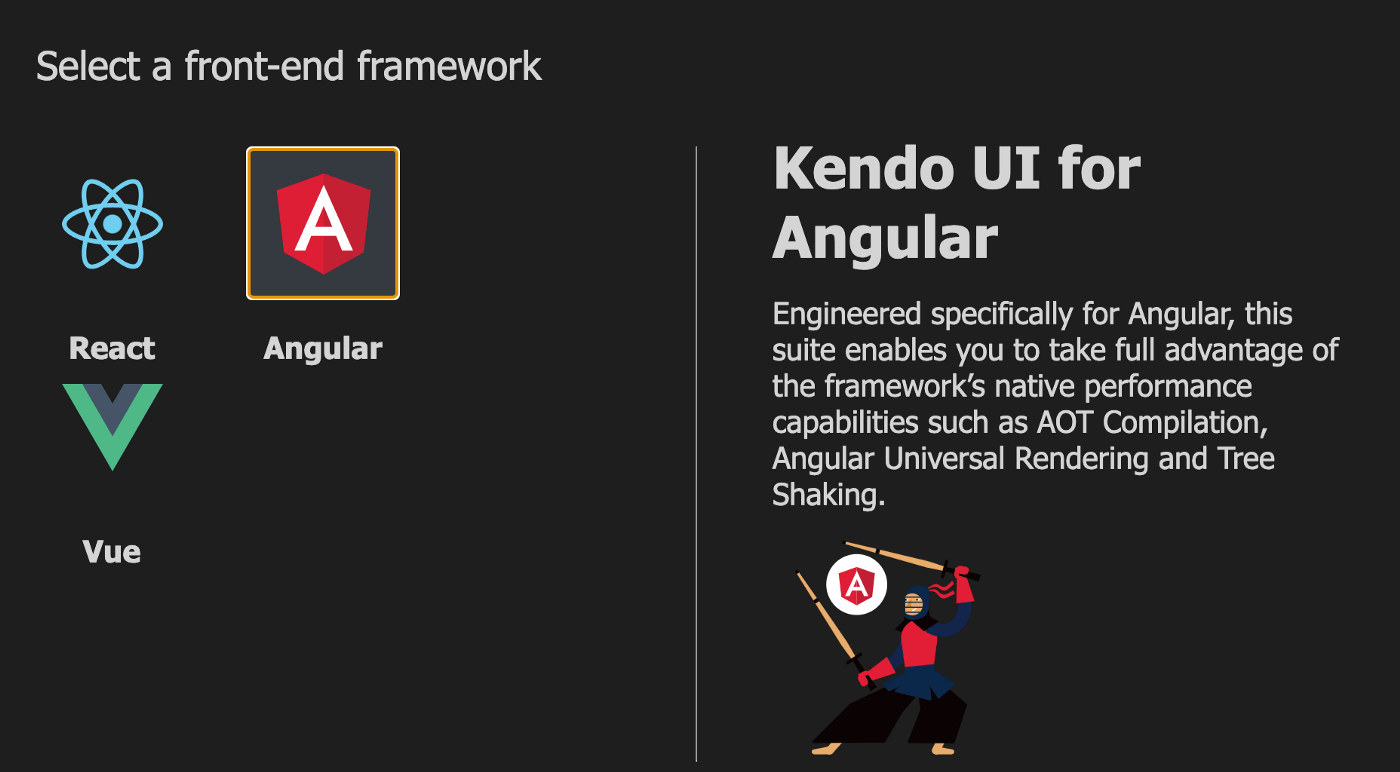
After you specify that, click the Next button and you will be brought to a new prompt that asks you what framework you want to build in.

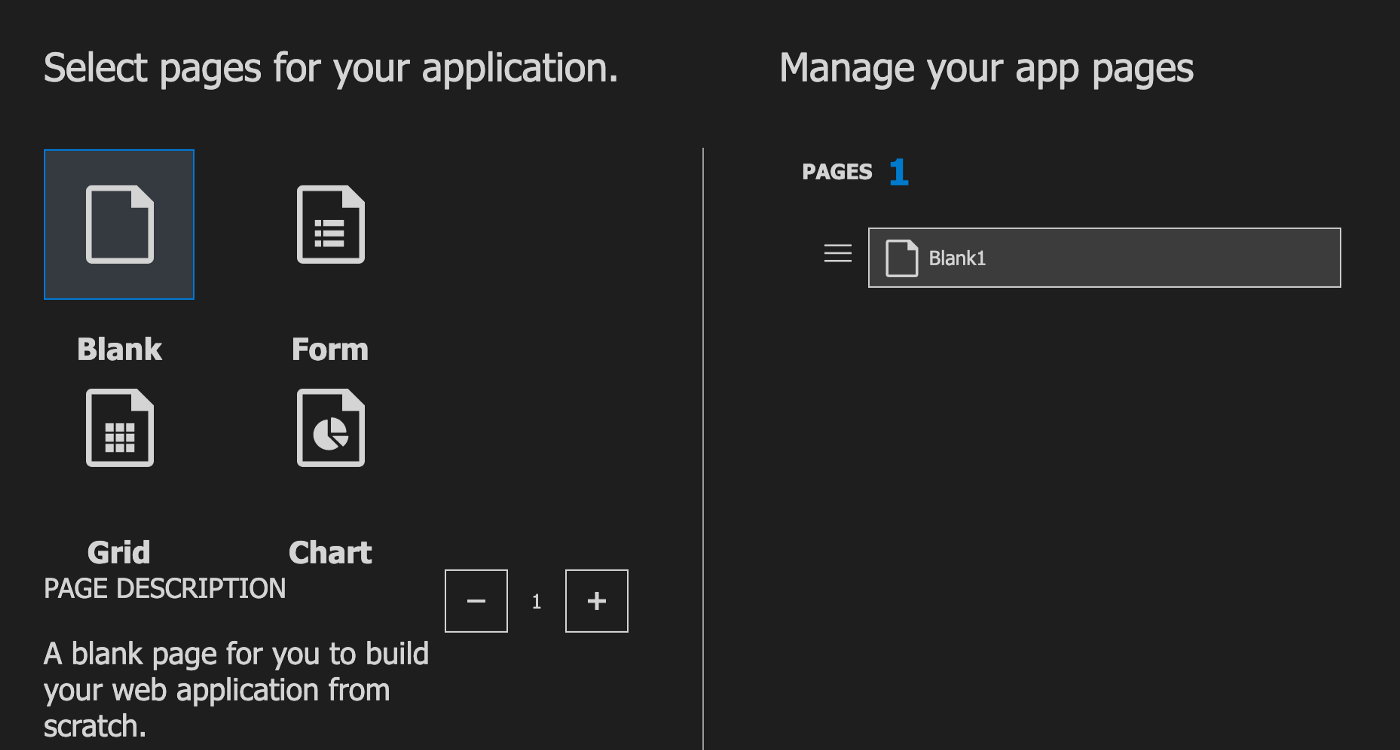
Choose Angular and click Next. The next prompt that shows wants to know the structure you want your app to be in. I want a homepage and another blank page I can route to, so I choose 1 blank page.

You can play around with different structures to see how it is being generated. After you have chosen the structure you want, click the Next button.

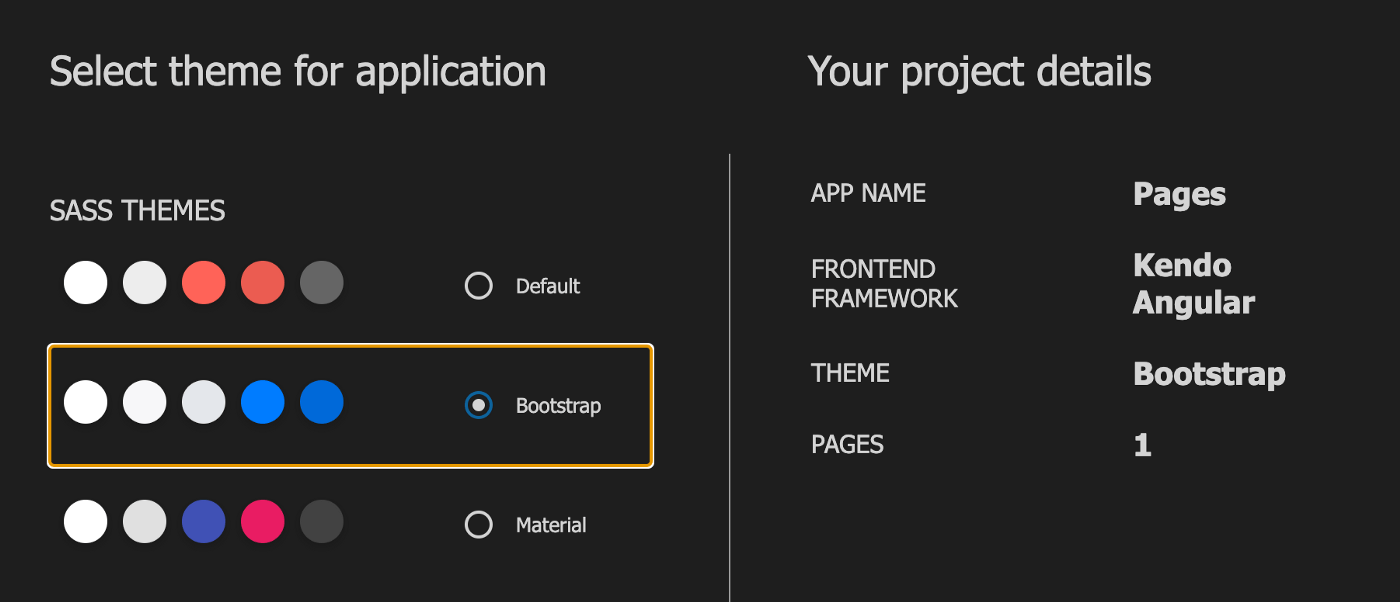
This final prompt asks about styling, so Kendo UI by default can kickstart your project with a basic CSS style or Bootstrap or Material design. I picked Bootstrap, and on the right you can see the project details summary.

Now your application has been generated, just like that. Open the project in VS Code and open up a new terminal. Run the command below to install all the packages with their latest versions.
npm install
After the installation is complete, let us test out if we got everything right. Run the Angular development server with this command:
ng serve
Open your browser to http://localhost:4200/home and you should see it look like this:

Single-Slot Implementation
If you followed the post from the start, your app comp.html file should look exactly like this:
<!--The content below is only a placeholder and can be replaced.-->
<div class="content">
    <app-header>
    </app-header>
    <router-outlet></router-outlet>
</div>
<div class="footer">
    <app-footer></app-footer>
</div>
Now we can see that Kendo UI for Angular by default created a few components which we are now displaying in the DOM: Home, blank-1, footer and header.
Now let’s say you wanted to display a hello world message in the footer but for some reason you did not have access to the footer component. With normal HTML syntax, you should be able to do this:
<div class="footer">
    <app-footer> HELLO</app-footer>
</div>
But with Angular, everything that should be displayed in the Footer component should be inside the component file. So this setup would not display “HELLO.”

What ng-content helps us do is get that HTML-like functionality into our components, making it more flexible to use components and pass data from one component to another.
All you have to do is go into the component you want to be projected into and specify it like this to Angular.
<div class="container-fluid">
    <div class='d-flex'>
        <div>
            <div class='mb-2 links'>
                Terms of Use | Privacy Policy | Trademarks | License Agreements
            </div>
            <div class='copyright'>
                Copyright © 2019 Software Corporation and/or its subsidiaries or affiliates. All Rights Reserved.
            </div>
        </div>
        <div class='d-flex ml-auto'>
            <div class="social">
                <a href="https://www.facebook.com/KendoUI/"><img src="../assets/img/facebook.png" alt="facebook" /></a>
                <a href="https://twitter.com/kendoui"><img src="../assets/img/twitter.png" alt="twitter" /></a>
                <a href="https://www.youtube.com/results?search_query=kendoangular"><img src="../assets/img/youtube.png"
                        alt="youtube" /></a>
                <a href="https://www.linkedin.com/showcase/telerik/"><img src="../assets/img/linkedin.png" alt="linkedin" /></a>
            </div>
        </div>
    </div>
</div>
<ng-content></ng-content>
You can see the ng-content we added. Now if you save the files you will discover that the “HELLO” now displays as we wanted it to.

So this means that you do not have to have access to a component to project content into it. This is such a wonderful feature when you consider working in organizations and every team working on different components.
Wrapping Up
We saw how content projection works, and we also understood why it can be important, especially working in teams. We saw the different ways they can be implemented and practical illustrations of single-slot content projection. Happy hacking!