Let’s take a look at three Vue directives for conditional rendering.
In this post, we will look at how to render Vue templates based on preset conditions set by us.
Conditional Rendering in Vue
When building your Vue.js application, there is usually a need to display template elements based on things like data, user behavior or input. Vue has built-in directives you can employ to do just that. Think of all the if/else and else/if statements you have learned in JavaScript or any other language—Vue makes sure that you do not have to relearn these things.
Types
Vue has a few directives that you can use to achieve conditional rendering in your application easily. Some of them include:
- The v-if directive
- The v-else directive
- The v-else-if directive
- The v-show directive
- The v-for directive
Today we will be looking at the first three directives, how they work and how we can use them.
Before We Start
To follow along with the code demo, you will need to have the following installed on your machine:
- Node.js
- A code editor: Visual Studio Code is highly recommended (here’s why)
- Vue CLI 3.0
Getting Started
We will be using the Vue GUI tool to build a new application.
Open a new terminal inside VS Code and run the command below to open the Vue GUI client.
vue uiThis is the screen you should see.

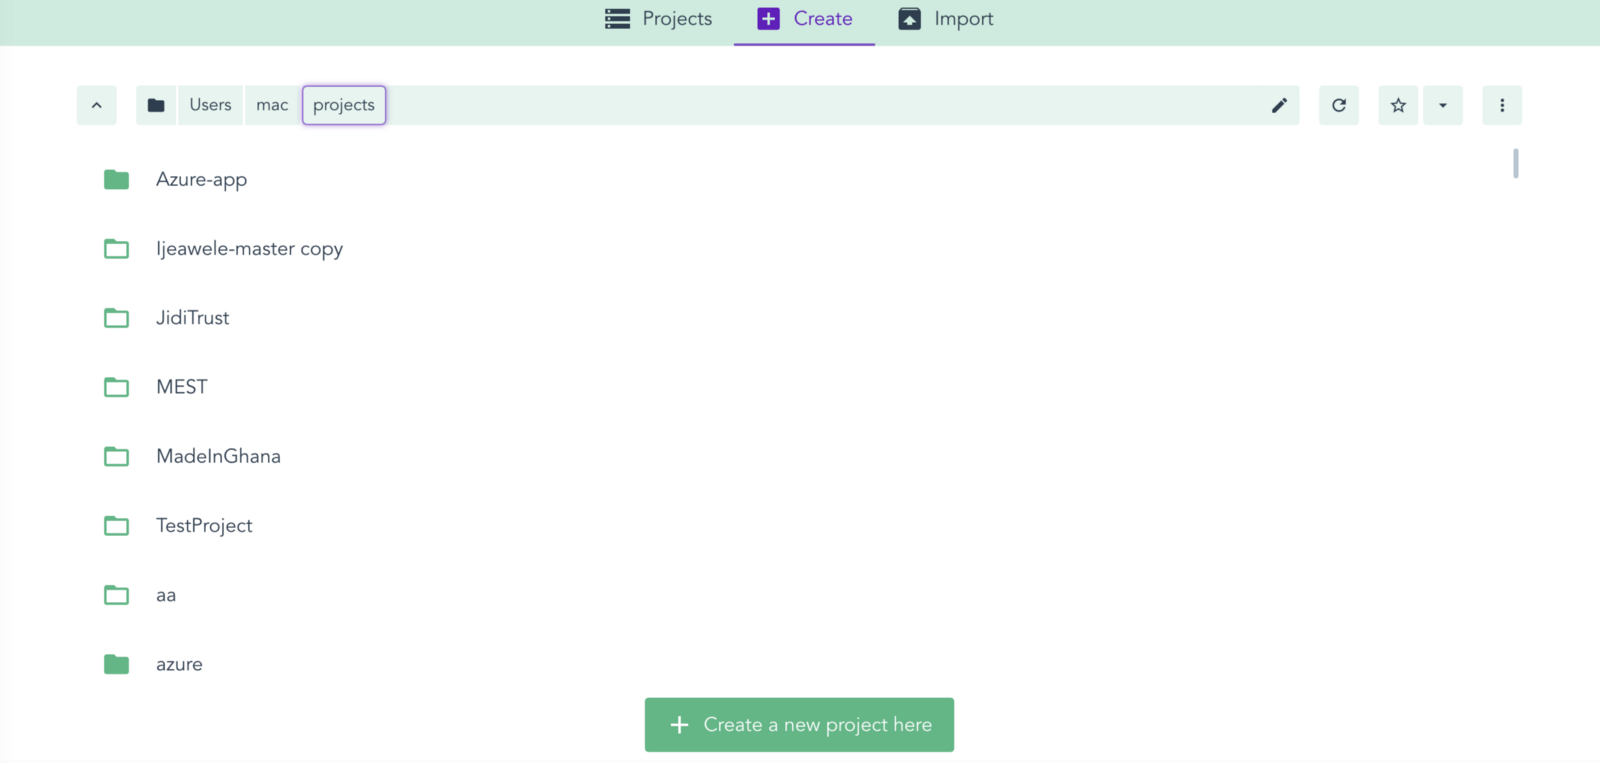
Click on the home button at the footer to take you to the projects page.

Here, pick a folder of choice where you would like the new Vue project to be created and click create a new project here.

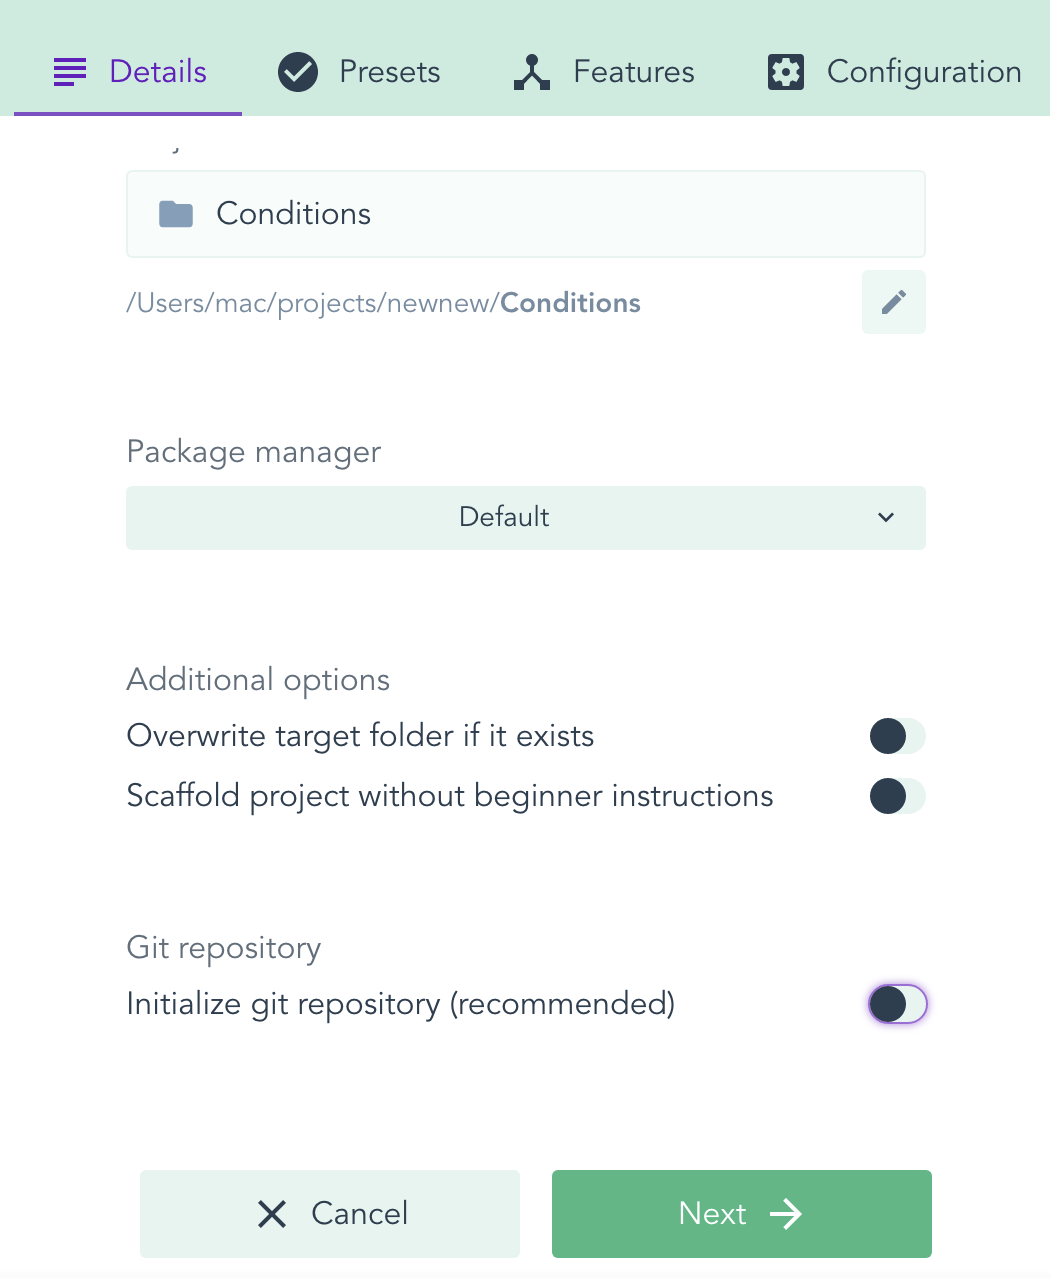
Call the new project “conditions” and click on Next.

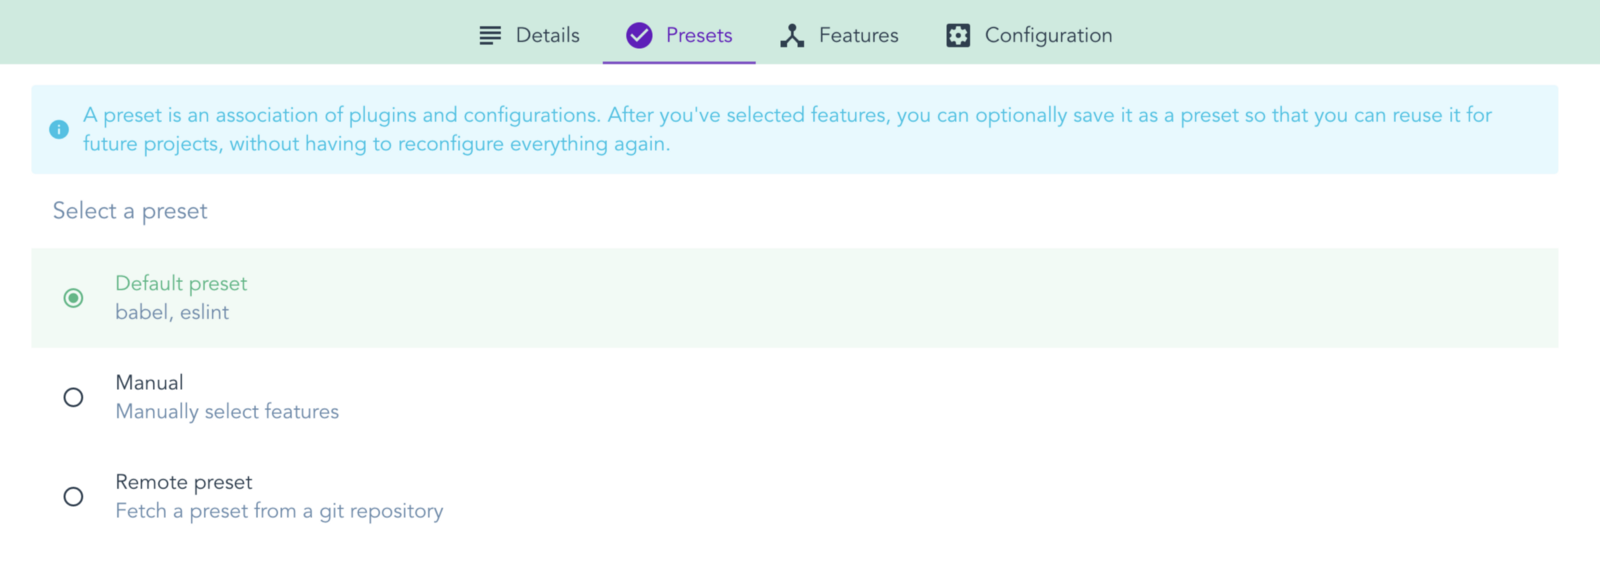
Follow the prompt and choose default preset. Give it a few minutes, and you will be notified that your application is now built successfully.
Make sure to run this command inside the new project:
npm installNow you can run the app in the taskbar or use the CLI to run it:
npm run serveIt should display the scaffold of a template Vue.js application in your browser.
To clean up the application for our use, navigate to the app.vue file and replace the content with the code block below:
<template>
  <div id="app">
    <img alt="Vue logo" src="./assets/logo.png">
    <h1>Welcome to your Vue app</h1>
  </div>
</template>
<script>
export default {
  name: 'app',
}
</script>
<style>
#app {
  font-family: 'Avenir', Helvetica, Arial, sans-serif;
  -webkit-font-smoothing: antialiased;
  -moz-osx-font-smoothing: grayscale;
  text-align: center;
  color: #2c3e50;
  margin-top: 60px;
}
</style>
V-If Directive
We will build a simple even and odd number finder component from data in the component. The v-if directive will display any template element it is attached to as long as the condition set is met. Let us display “Zero” when the database holds zero.
<template>
  <div id="app">
    <img alt="Vue logo" src="./assets/logo.png">
    <h1>Welcome to your Vue app</h1>
    <h2 v-if="figure === 0">The Figure in your database is Zero</h2>
  </div>
</template>
<script>
export default {
  name: 'app',
  data(){
    return {
      figure:0
    }
  }
}
</script>
<style>
#app {
  font-family: 'Avenir', Helvetica, Arial, sans-serif;
  -webkit-font-smoothing: antialiased;
  -moz-osx-font-smoothing: grayscale;
  text-align: center;
  color: #2c3e50;
  margin-top: 60px;
}
</style>
Here, if you saved the file and checked your browser, it should look like this:

V-Else Directive
If you changed the value of the figure to something like 10, nothing would be displayed from the database. This is because there is no new condition that tells Vue to display something in the case the condition from v-if is not met. Let us add one:
<template>
  <div id="app">
    <img alt="Vue logo" src="./assets/logo.png">
    <h1>Welcome to your Vue app</h1>
    <h2 v-if="figure === 0">The Figure in your database is Zero</h2>
    <h2 v-else>The Figure in your database is Not Zero</h2>
  </div>
</template>
<script>
export default {
  name: 'app',
  data(){
    return {
      figure:10
    }
  }
}
</script>
<style>
#app {
  font-family: 'Avenir', Helvetica, Arial, sans-serif;
  -webkit-font-smoothing: antialiased;
  -moz-osx-font-smoothing: grayscale;
  text-align: center;
  color: #2c3e50;
  margin-top: 60px;
}
</style>
The v-else directive, as you can see, takes no conditions. Also it is important to note that, whenever you use the v-else directive, make sure it comes directly after the v-if element—it will not work if it is not set up that way.
Grouping
You might be wondering if you can display multiple elements using these conditional directives—yes, you can. Vue lets us use the template element to achieve this easily. You can also do so by grouping your elements inside a div tag, but that would affect your app structure in the DOM when you consider styling.
<template v-else-if="(figure%2)==0">
    <h2>The Figure in your database is an Even Number</h2>
    <h4>Even numbers are numbers divisible by 2 without remainders</h4>
</template>
Using templates, you can put more than one HTML element inside a conditional directive block.
V-Else-If Directive
Vue lets you test for more than one thing at the same time, so for us, we can test if a number is zero or even or odd by having many more if statements. This is called a v-else-if directive.
<template>
  <div id="app">
    <img alt="Vue logo" src="./assets/logo.png">
    <h1>Welcome to your Vue app</h1>
    <h2 v-if="figure === 0">The Figure in your database is Zero</h2>
    <template v-else-if="(figure%2)==0">
      <h2>The Figure in your database is an Even Number</h2>
      <h4>Even numbers are numbers divisible by 2 without remainders</h4>
    </template>
    <template v-else-if="figure>0">
      <h2>The Figure in your database is an Odd Number</h2>
      <h4>Odd numbers are numbers not divisible by 2</h4>
    </template>
    <h2 v-else>The Figure in your database is Not a number </h2>
  </div>
</template>
<script>
export default {
  name: 'app',
  data(){
    return {
      figure:11
    }
  }
}
</script>
Now that we have added tests for even and odd numbers, our tests have a wider coverage. We can test for zero, odd, even, and we can even test for figures that are not numbers.
Wrapping Up
We have taken a quick look at conditional rendering and some of the directives that Vue provides us to easily achieve this. We looked at how important they are and how they do not require us to learn a new concept, but build on what we already know. We also looked at how they are used with illustrations. Happy hacking!