In this post, we will learn how to use GitHub Actions from the Actions Marketplace to automate deployment to Firebase.
In our last post here, we looked at how to deploy Angular apps to Firebase. In this post, we’ll learn how to automate that process, seeing as changes get made to projects after the first deployment.
What Is GitHub Actions?
GitHub Actions is the continuous integration and continuous delivery tool built and used by GitHub. It allows you to build, test and deploy your code straight from GitHub, taking care of all the automation that enables this to happen smoothly without any third-party CI/CD tools. The possibilities you can build and automate using this are endless, and for the ease of working directly from where your code is stored—GitHub cannot be matched.
Why Is GitHub Actions Important?
GitHub Actions offers a lot of instant benefits to you, the developer. The first is the flexibility of building out automation workflows right from GitHub. That is an awesome value-added service layered on top of a service you already use and know your way around. You set up actions in the same place you set up PRs—how cool is that?
The next thing that will excite you is that GitHub Actions is free, forever, for any public project you have on GitHub. It also has Docker support and you can run actions in different virtual machines inside of the GitHub infrastructure.
The last thing I think is super valuable is the presence of so many automation templates—there is even a whole marketplace for that, where you can create a custom automation and share it with your community.
Before You Start
Make sure to check out the first post about Deploying to Firebase here, as this article builds on that deploy knowledge.
You also need:
- VS Code for your integrated development environment
- Node version 11.0 installed on your machine
- Node Package Manager version 6.7 (it usually ships with Node installation)
- Angular CLI version 8.0 or above
- Angular version 11 or later
- To download the starter template project here
Introducing GitHub Marketplace
“GitHub Marketplace is a new way to discover and purchase tools that extend your workflow. Find apps to use across your development process, from continuous integration to project management and code review.” — GitHub Blog
Companies with great products like Google with Firebase already have automation actions hosted on GitHub that you can take advantage of to organize your workflow. Anyone or any team who has a product can also use the Marketplace docs and get their actions on the Marketplace—a lot of people are already doing it, and it reminds me of the VS Code extensions Marketplace.
Navigating the Marketplace
The Marketplace has an extensive search function and cool categories where you can explore and find more ways to automate your workflow.

GitHub Action for Firebase is the action we will be using to automate our build and deploy workflow. In this post here, we learned how to deploy our Angular apps using Firebase hosting. We will be automating that process in this post with GitHub Actions.
The Initial Flow
If you started this post from the beginning, you would have downloaded the starter template. If you have not, kindly download it here.
Now open the Firebase Dashboard here and log in with your Google credentials. Then click “Add project” and go through the process of creating a new project.

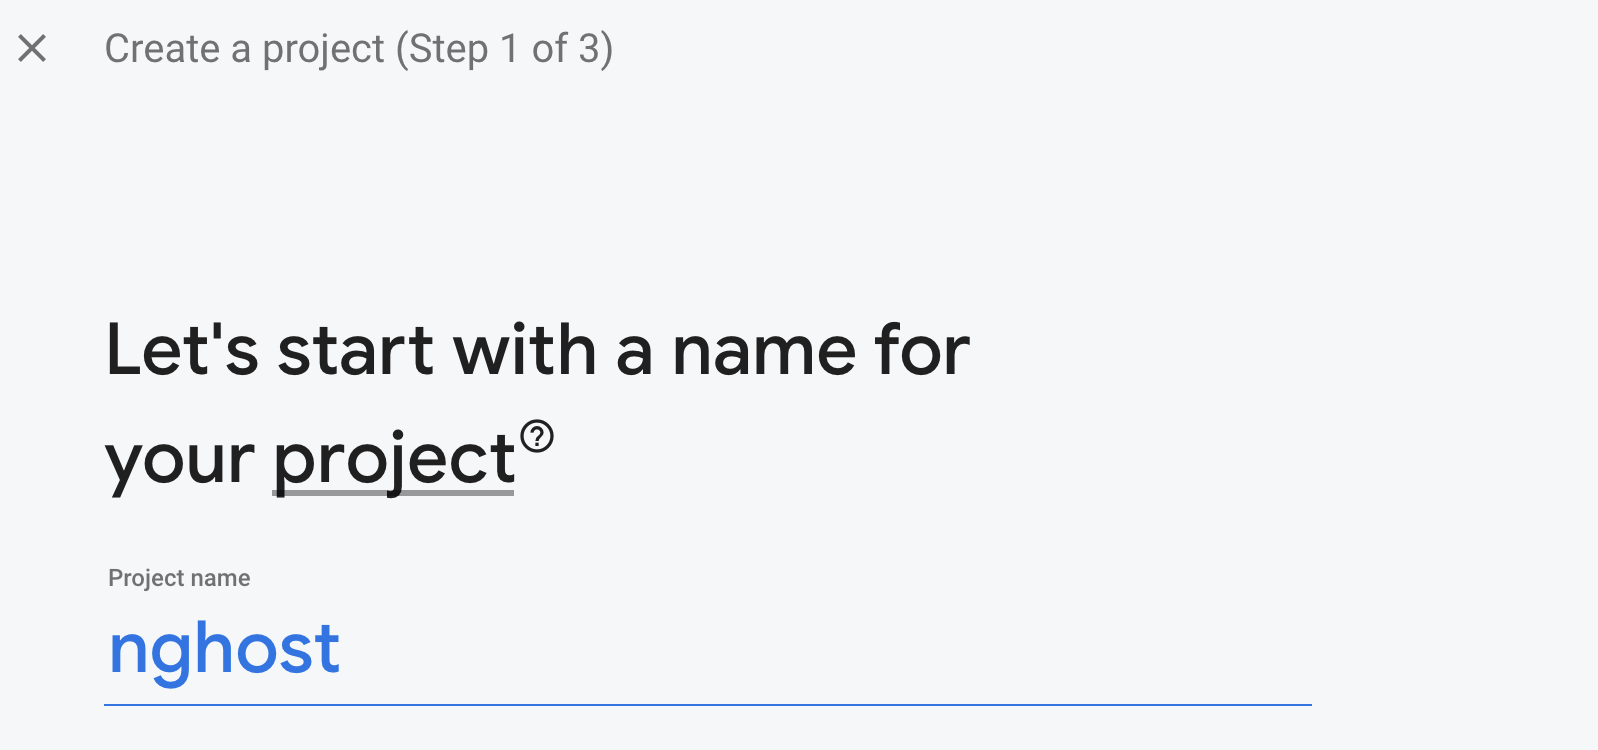
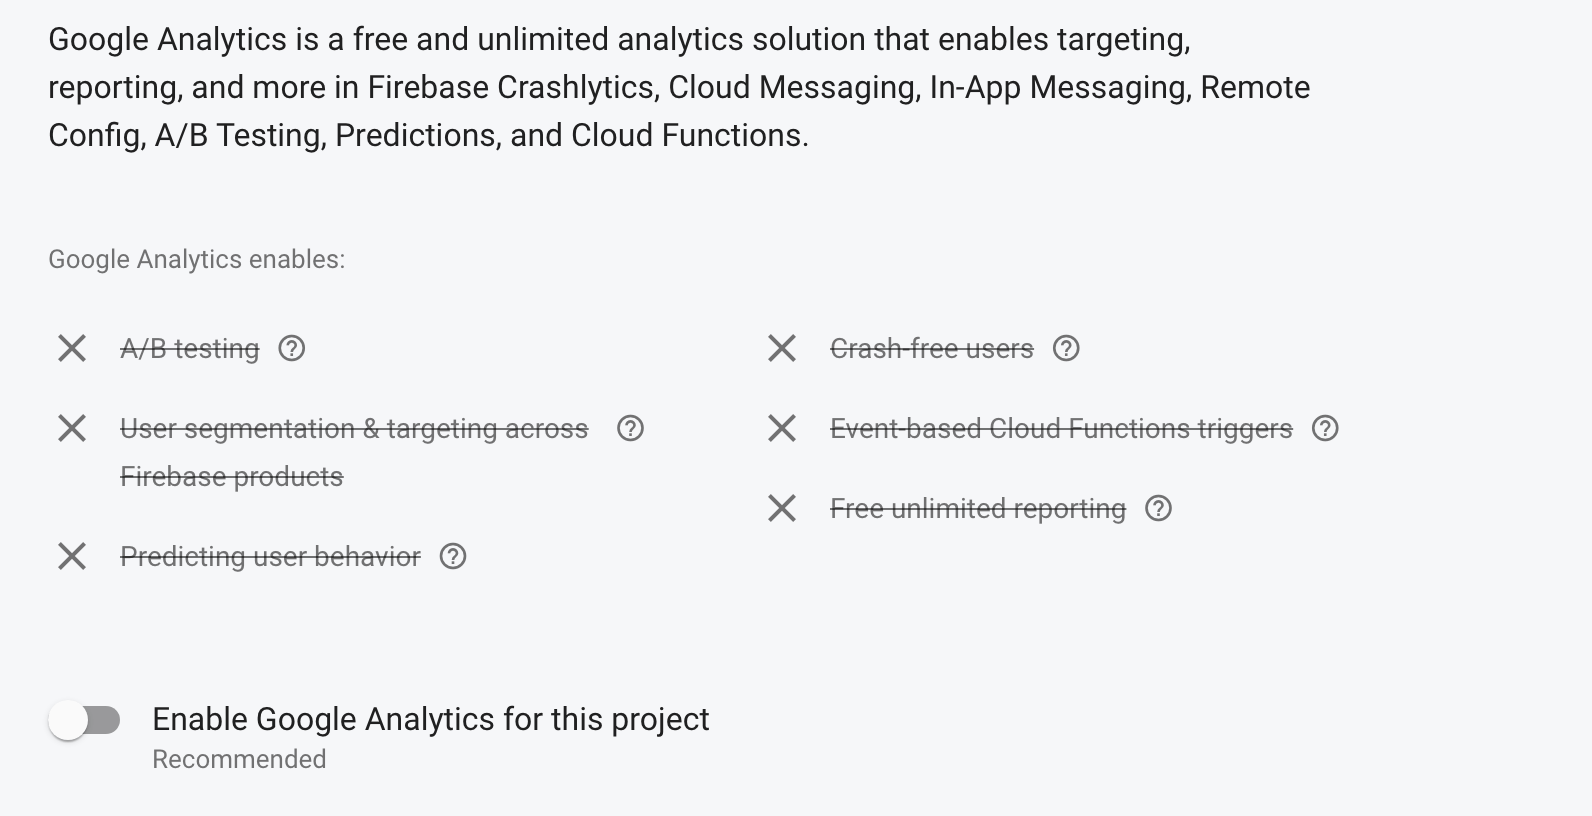
First provide the project name, in our case nghost, and then click “Next.” You’ll be asked to choose if you would like Analytics, which you can toggle off, as we do not need Analytics for this tutorial.

Then click “Finish” to generate your new project called nghost.
In your VS Code, open the folder you downloaded earlier and run these commands below:
npm install
ng build --prod
This creates the dist folder with the generated files to upload. Now to connect our project to Firebase, you have to install the Firebase tools and then confirm your identity to be able to access the project you created from the CLI in VS Code.
npm install -g firebase-tools
firebase login
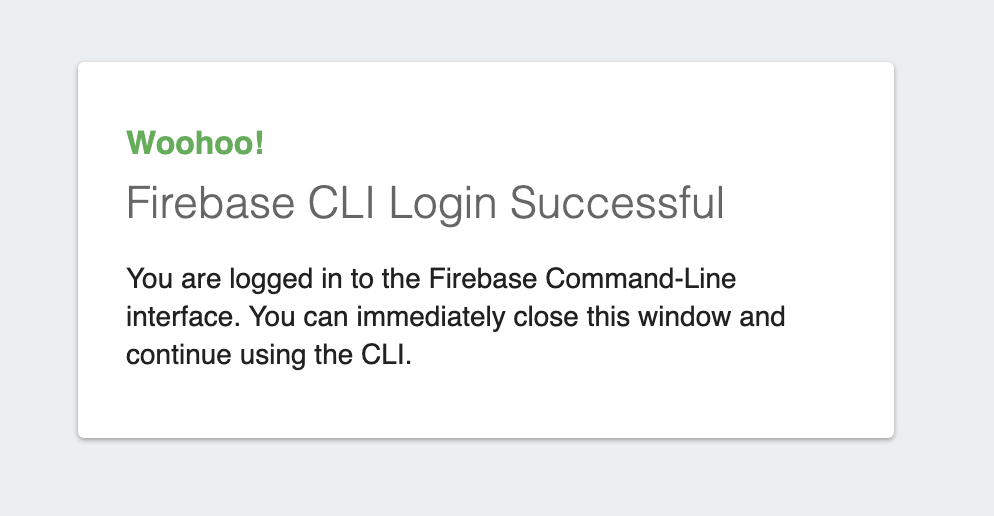
The login will open up an authentication service in your browser, and once you are done, you will see a success message.

Then you can deploy the app with this command:
firebase init
This shows you a series of prompts and you can respond based on your needs.
Deployment
The first prompt asks you what service you want to use. We’ll choose the hosting option.
?**Hosting: Configure files for Firebase Hosting and (optionally) set up GitHub Action deploys**
The next one asks if you have created a project on Firebase before.
? Please select an option: Use an existing project
? Select a default Firebase project for this directory: nghost-68106 (nghost)
i Using project nghost-68106 (nghost)
Choose “Yes” and select nghost (or whatever you named your own project).
The last few questions are about deployment details.
? What do you want to use as your public directory? dist/kendo-angular-seed
? Configure as a single-page app (rewrite all urls to /index.html)? Yes
? Set up automatic builds and deploys with GitHub? No
? File dist/kendo-angular-seed/index.html already exists. Overwrite? No
After hitting enter, you should see a success message with a link you can visit to view the app live.
✔ Deploy complete!
Project Console: [https://console.firebase.google.com/project/nghost-68106/overview](https://console.firebase.google.com/project/nghost-68106/overview)
Hosting URL: [https://nghost-68106.web.app](https://nghost-68106.web.app)
Now the application is live. Let’s automate this process so that we do not have to repeat it all over again on every new change to the project.
Continuity
The first thing to do is to create a GitHub repository and push the project to it—actions only work with projects hosted on GitHub. You can see a step-by-step guide to doing this here.
Back to VS Code, in the root folder, create a new directory called .github. Inside it create a workflows folder and then a file main.yml.

Open your terminal, and run this command below to fetch your Firebase token:
firebase login:ci
This will ask for your Google authentication details. Once it confirms it is you, you’ll see a success prompt, and inside the terminal you will see your token. Keep it safe.
Inside the main.yml file, copy the code block below into it:
name: Build and Deploy
on:
  push:
    branches:
      - master
jobs:
  build:
    name: Build
    runs-on: ubuntu-latest
    steps:
      - name: Checkout Repo
        uses: actions/checkout@master
      - name: Install Dependencies
        run: npm install
      - name: Build
        run: npm run build --prod
      - name: Archive Production Artifact
        uses: actions/upload-artifact@master
        with:
          name: dist
          path: dist
  deploy:
    name: Deploy
    needs: build
    runs-on: ubuntu-latest
    steps:
      - name: Checkout Repo
        uses: actions/checkout@master
      - name: Download Artifact
        uses: actions/download-artifact@master
        with:
          name: dist
          path: dist
      - name: Deploy to Firebase
        uses: w9jds/firebase-action@master
        with:
          args: deploy --only hosting
        env:
          FIREBASE_TOKEN: * DELETE THIS AND PUT YOUR TOKEN HERE*
What this does is basically replicate all the steps we have taken, from installing dependencies to building for production and finally pushing to Firebase Hosting every single time there is a push to the master branch. We have an introductory post on Actions that explains every step. Check it out here.
After you save the file, commit and push the changes to GitHub.

Now, every time you push new changes to master, your app gets deployed automatically without your input. And if there is an issue, you will be alerted by GitHub just as you would for any repo you have.
Conclusion
In this post, we learned about GitHub Actions and the Marketplace where we can create actions and host them for others to use. We saw how to use actions straight from the Marketplace and make our dev life easier.