This post explains how to use the new DataTableFormatProvider to convert a spreadsheet to a data table, and vice versa.
The new DataTableFormatProvider is now available in the RadSpreadProcessing library. This format provider allows you to easily convert a spreadsheet to a DataTable and vice versa. This post demonstrates how you can use the provider and implement an application that is connected to a database.
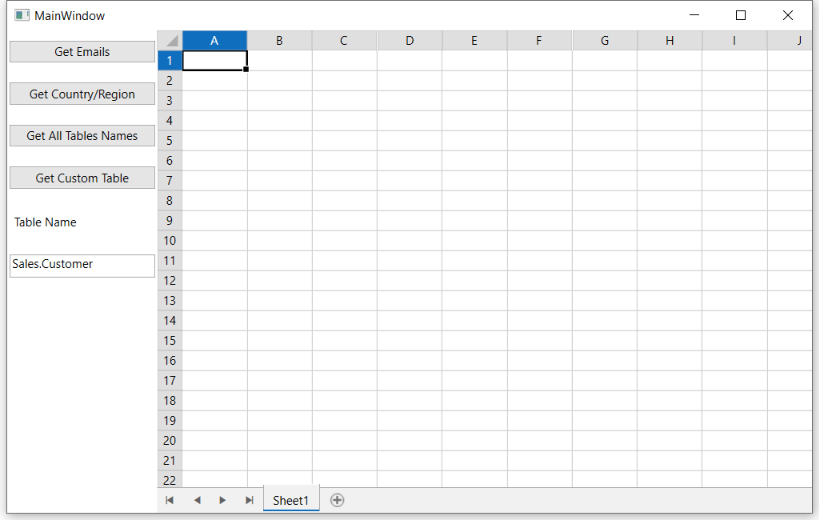
The first step is to create the sample WPF application. Go ahead and create an application like the one in the following image (below the image is sample XAML). The application has two buttons that allow you to get a predefined set of tables from the database. With the third button, you can get all table names from the database. The fourth button allows you to get a table by specifying its names in the textbox. The RadSpreadsheet control will display the data.

XAML for the above application:
<Window x:Class="DataTableFormatProviderDemo.MainWindow"
                xmlns="http://schemas.microsoft.com/winfx/2006/xaml/presentation"
                xmlns:x="http://schemas.microsoft.com/winfx/2006/xaml"
                xmlns:telerik="http://schemas.telerik.com/2008/xaml/presentation"
                Title="MainWindow" Height="520" Width="819.4">
    <Grid>
        <Grid.ColumnDefinitions>
            <ColumnDefinition Width="150"/>
            <ColumnDefinition Width="Auto"/>
        </Grid.ColumnDefinitions>
        <StackPanel Orientation="Vertical">
            <telerik:RadButton Content="Get Emails" Margin="2,10" Click="GetEmails_Click"/>
            <telerik:RadButton Content="Get Country/Region" Margin="2,10" Click="GetCountryRegion_Click"/>
            <telerik:RadButton Content="Get All Tables Names" Margin="2,10" Click="GetTableNames"/>
            <telerik:RadButton Content="Get Custom Table" Margin="2,10" Click="GetCustomTable_Click"/>
            <Label Content="Table Name" Margin="2,10"/>
            <TextBox Height="23" TextWrapping="Wrap" Text="Sales.Customer" Margin="2,10" Name="textBox1"/>
        </StackPanel>
        <telerik:RadSpreadsheet Grid.Column="1" x:Name="radSpreadsheet"/>
    </Grid>
</Window>
Now we are going to make this application work. First, we need the three main functions. The first function will create an SQL connection and will get the data from a specific table (by using its name, in this case, the AdventureWorks2019 Database is used):
public DataTable GetDataFromDatabase(string table)
{
    string query = "select * from " + table;

    DataTable dataTable = new DataTable();
    SqlConnection conn = new SqlConnection(connString);
    SqlCommand cmd = new SqlCommand(query, conn);
    conn.Open();

    SqlDataAdapter da = new SqlDataAdapter(cmd);
    da.Fill(dataTable);
    conn.Close();
    da.Dispose();

    return dataTable;
}
The second function will use the new DataTableFormatProvider and will convert the DataTable to a spreadsheet. The third function will assign the new worksheet to the RadSpreadsheet control and will AutoFit all columns. Here is the place that you can customize the import process by using the available settings as well.
DataTableFormatProvider provider = new DataTableFormatProvider();
private void ConvertToWorkSheet(DataTable dataTable)
{
    this.radSpreadsheet.Workbook = provider.Import(dataTable);
    var usedColumnsCount = this.radSpreadsheet.Workbook.ActiveWorksheet.UsedCellRange.ColumnCount;
    this.radSpreadsheet.Workbook.ActiveWorksheet.Columns[0, usedColumnsCount].AutoFitWidth();
}
public void AddTableToSpreadSheet(String tableName)
{
    DataTable dataTable = GetDataFromDatabase(tableName);
    ConvertToWorkSheet(dataTable);
}
Once we have all the required functions, we only need to implement event handlers for the buttons and the text box. For example, the following implementation calls the above methods and passes the table name.
private void GetEmails_Click(object sender, RoutedEventArgs e)
{
    AddTableToSpreadSheet("Person.EmailAddress");
}

private void GetCountryRegion_Click(object sender, RoutedEventArgs e)
{
    AddTableToSpreadSheet("Person.CountryRegion");
}
For the textbox, you can include a try/catch block in case the name entered in the text box is not valid.
private void GetCustomTable_Click(object sender, RoutedEventArgs e)
{
    try
    {
        string tablename = this.textBox1.Text;
        AddTableToSpreadSheet(tablename);
    }
    catch
    {
        MessageBox.Show("Table Not Found");
    }
}
This final step is to get all tables from the database and display their names in the spreadsheet.
private void GetTableNames(object sender, RoutedEventArgs e)
{
    SqlConnection conn = new SqlConnection(connString);

    conn.Open();
    DataTable tableNames = conn.GetSchema("Tables");
    ConvertToWorkSheet(tableNames);
    conn.Close();
}
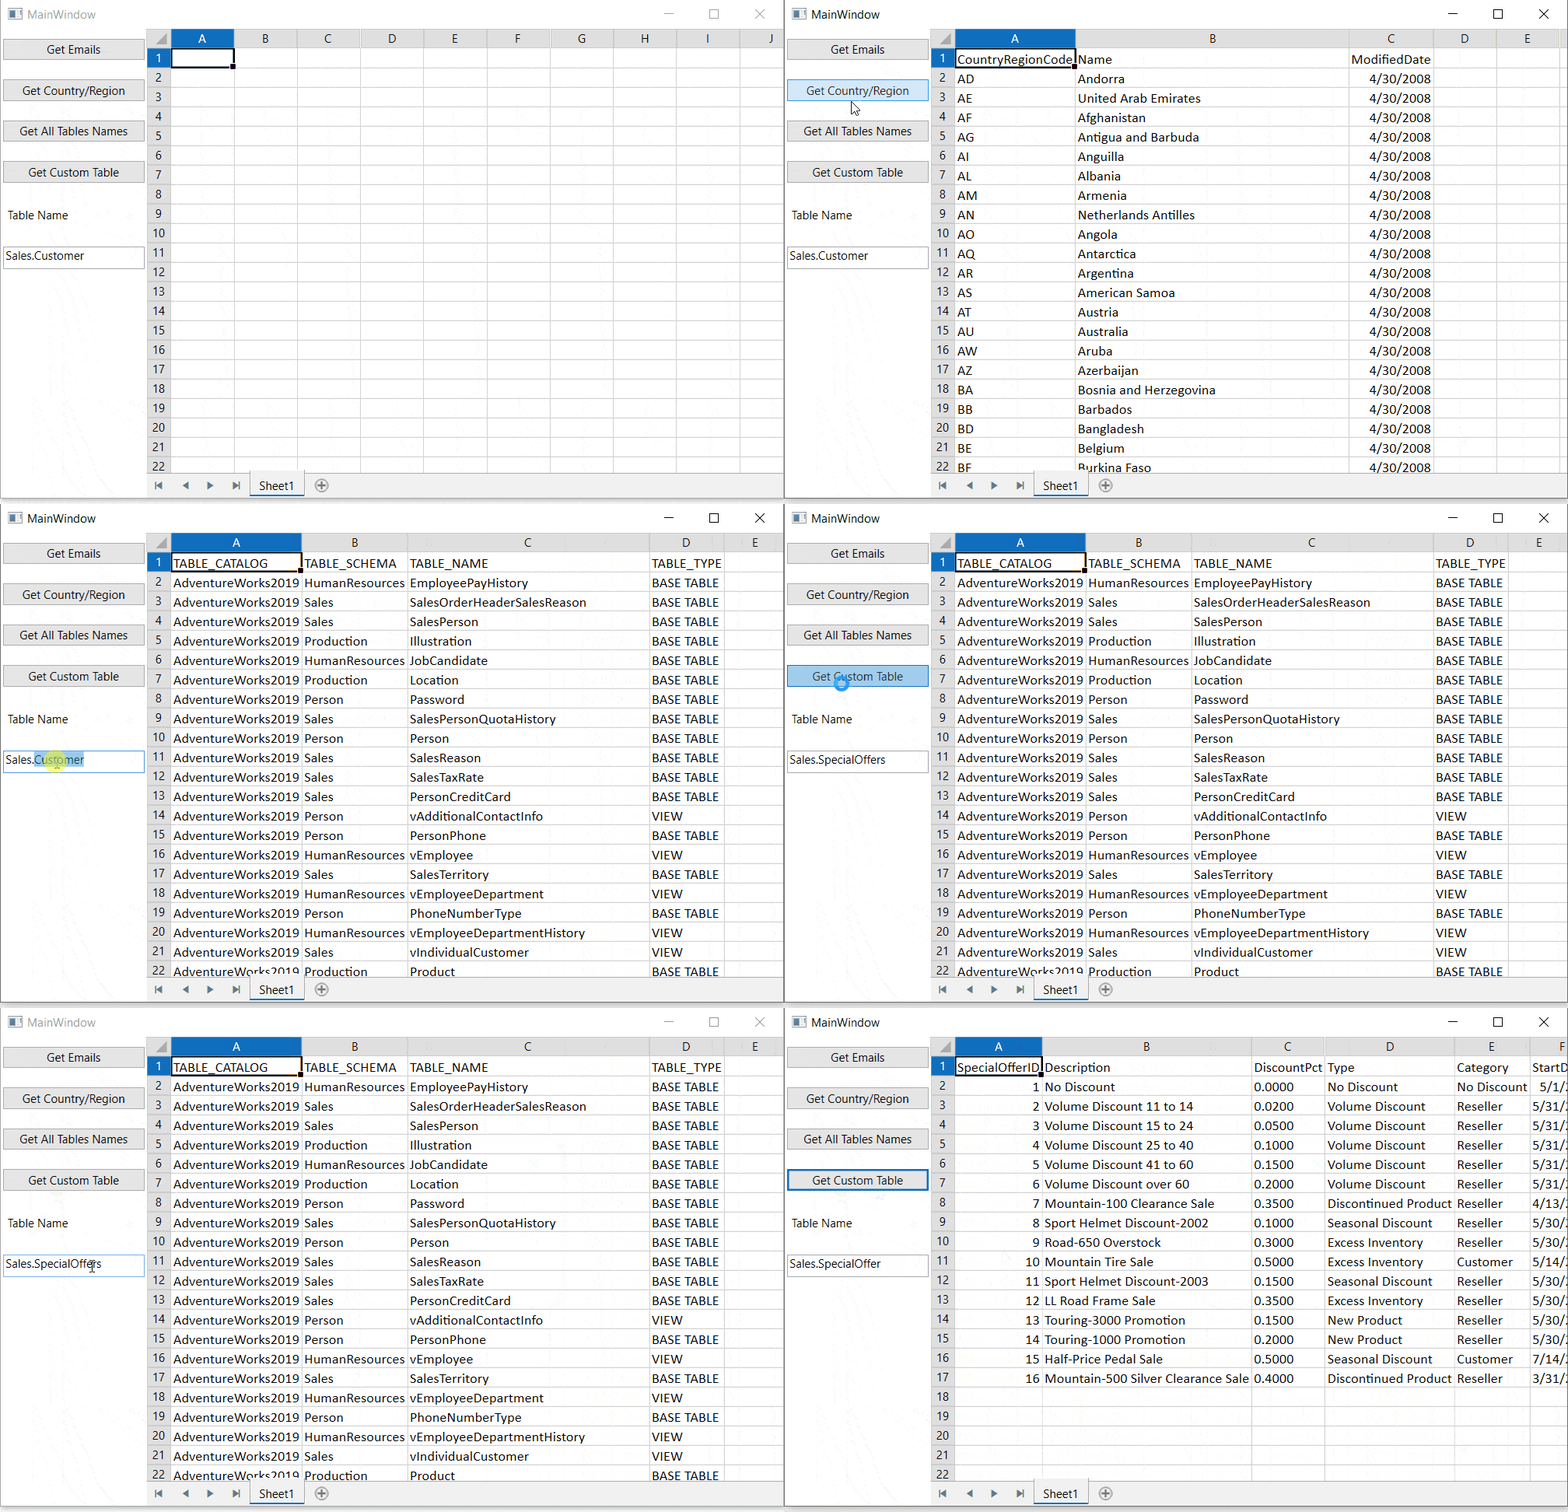
That’s all! Now you can work with your application, like the GIF below.

Try It and Share Your Feedback
In case you still haven’t tried Telerik Document Processing, use the button below to obtain a trial version and explore all the features and possibilities of the libraries.
If you are already familiar with the package, don’t forget that we are eager to hear your feedback and will be very happy to hear it. Feel free to drop us a comment below sharing your thoughts. Or visit our Document Processing Libraries Feedback Portal and let us know if you have any suggestions or if you need any particular features.