Best practices teach us the DRY principle: Don’t repeat yourself. Let’s get a real-world understanding of why this principle matters by looking at how we built components and classes before services.
In this post, we will look at how we built components and classes before services existed and make a case for services in Angular. This is a two-part article about dependency injection.
Prerequisites
To be able to follow through in this article’s demonstration you should have:
- An integrated development environment (IDE) like VS Code
- Node version 11.0 installed on your machine
- Node Package Manager version 6.7 (it usually ships with Node installation)
- Angular CLI version 8.0 or above
- The latest version of Angular (version 12)
// run the command in a terminal
ng version
Confirm that you are using version 12, and update to 12 if you are not.
Other nice-to-haves include:
- Working knowledge of the Angular framework at a beginner level
Before Services Were Born
How did we previously handle sharing data among classes in Angular? Initially we had to do things that were difficult to scale or maintain, including repeating code blocks. Let’s start by creating two classes and walking through the process to buttress this illustration.
Getting Started
Open up a file location you would like to use for this project in your code editor. I use VS Code. With VS Code you get a terminal in the app which you can use to run the scaffold command:
ng new serviceapp
After choosing the stylesheet you are most comfortable with (choose CSS if you cannot decide), you see a new Angular app has been scaffolded for you with ease. Test to see everything work by running the commands below in the same terminal:
cd service app
ng serve
After compiling, open your browser to localhost:4200 and you should see it like this:

First, we change the placeholder content in the app.component.html file to the code block below:
<div>
  <h2>
    Hi, this is the {{title}}
  </h2>
</div>
<app-artists></app-artists>
If you comment out the app-artists after the closing div, you can see in your browser that the app looks like this:

Now let’s generate our class component, a component that displays a list of artist names.
ng generate component Artists
This generates a new Artists component where we are hard-coding the data we are using for this illustration. Replace the content of your artists.component.html file with this code block below:
<h2>
    This is the list of Top African Music Artists
</h2>
<ul *ngFor="let artist of artists">
    <li>
        {{artist.name}} who is currently number {{artist.grade}}
    </li>
</ul>
You can see we used the ngFor directive to loop through the array. Now, paste the code block below into the artists.component.ts file:
import { Component, OnInit } from '@angular/core';
@Component({
  selector: 'app-artists',
  templateUrl: './artists.component.html',
  styleUrls: ['./artists.component.css']
})
export class ArtistsComponent implements OnInit {
public artists = [
    {'grade':1, 'name':'Davido', 'country':'Nigeria'},
    {'grade':2, 'name':'Burna Boy', 'country':'Nigeria'},
    {'grade':3, 'name':'Diamondz Platinum', 'country':'Tanzania'},
    {'grade':4, 'name':'Sarkodie', 'country':'Ghana'},
    {'grade':5, 'name':'Mr. Eazi', 'country':'Nigeria'}
  ]
constructor() { }
ngOnInit(): void {
  }
}
With this all set up, if you run the app in the development server with the command:
ng serve
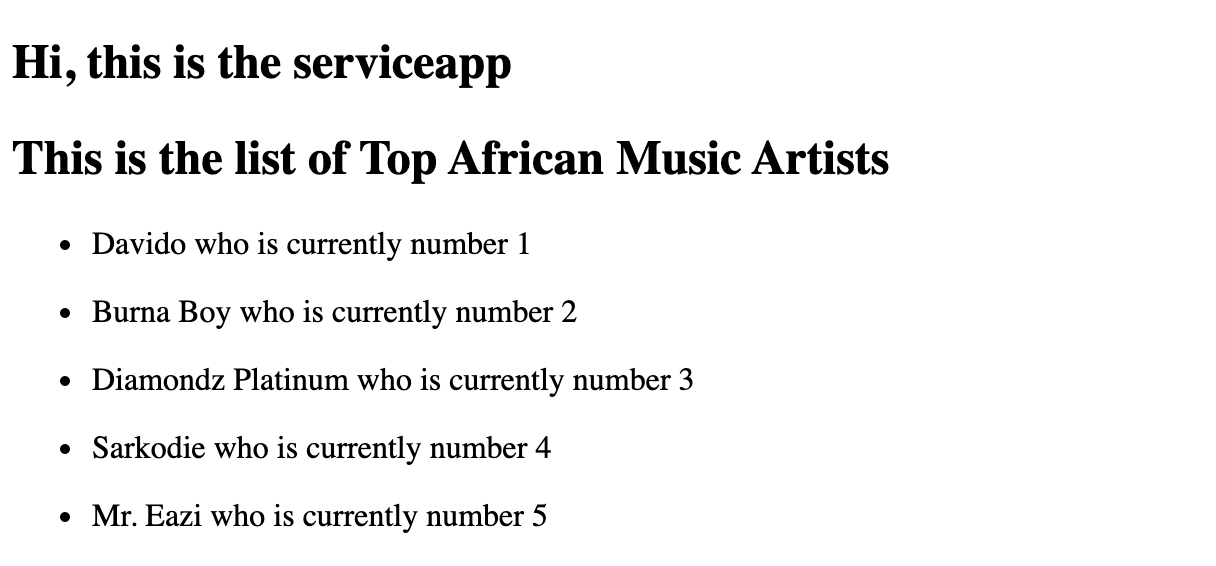
You will see the browser returns this:

What We Are Building
If you were asked to create another class component to display artists in a different format from what we have above, how would you go about it? First, let us generate a new component.
ng generate component Artistnames
Open the artistsname component HTML file and replace the content with the code block below:
<h2>
    This is the location list of Top African Music Artists
</h2>
<ul *ngFor="let artist of artists">
    <li>
        Our number {{artist.grade}} artist in Africa is from {{artist.country}}
    </li>
</ul>
If you save the file, you’ll see a squeaky red line under the artists, and when you hover over it you should see an error message like this:

This is simply because the public hard-coded data we have used in this illustration does not exist in the new class component we created. To fix this, we have to copy the array and paste in this new component. Inside the artistsname component.ts file, paste the code block from below:
import { Component, OnInit } from '@angular/core';
@Component({
  selector: 'app-artistnames',
  templateUrl: './artistnames.component.html',
  styleUrls: ['./artistnames.component.css']
})
export class ArtistnamesComponent implements OnInit {
  public artists = [
    {'grade':1, 'name':'Davido', 'country':'Nigeria'},
    {'grade':2, 'name':'Burna Boy', 'country':'Nigeria'},
    {'grade':3, 'name':'Diamondz Platinum', 'country':'Tanzania'},
    {'grade':4, 'name':'Sarkodie', 'country':'Ghana'},
    {'grade':5, 'name':'Mr. Eazi', 'country':'Nigeria'}
  ]
constructor() { }
ngOnInit(): void {
  }
}
Now you need to tell the main app component that this new component will be displayed by adding it in the template. Copy this code block into your app component HTML file:
<div>
  <h2>
    Hi, this is the {{title}}
  </h2>
</div>
<app-artists></app-artists>
<app-artistnames></app-artistnames>
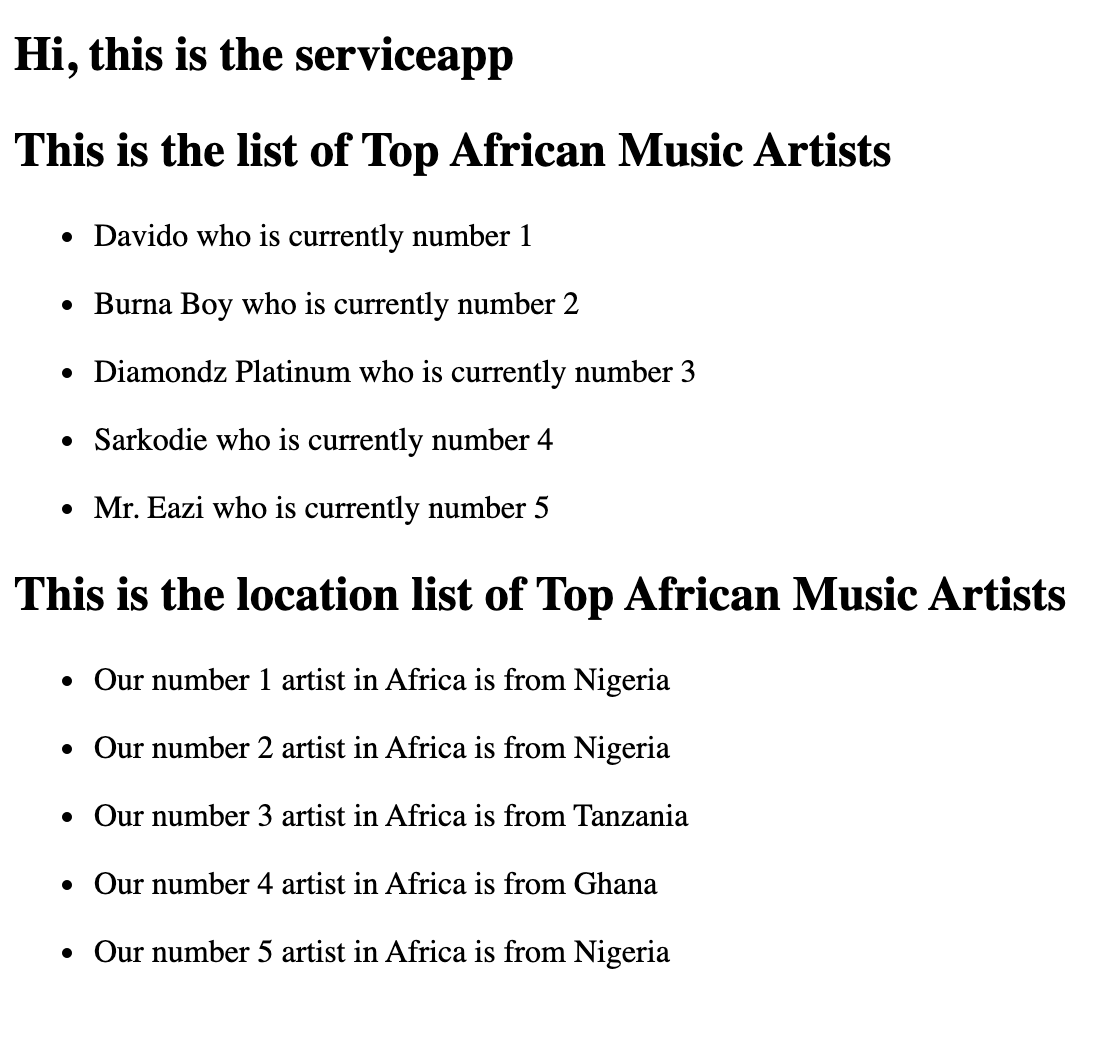
Now if you save all files and run the app in your dev server, this is what you will get:

If you followed this post from the start, you will see that we have achieved what we have set out to do, which is using the same data in two separate classes. The idea is to show how this has been achieved in the past before services were introduced.
The DRY Principle and Focus Areas
You might ask, what is wrong with this approach we took? The first way to look at approaches to problem-solving is scale, so imagine we had to share this same data among 20 classes. With our current approach, this would really mean we have to repeat the copy-and-paste process 20 times.
In programming best practices there is a principle called DRY: Don’t repeat yourself. It helps to guide developers in their journey to remember to think about optimization and maintainability of their code.
Another important thing we can also observe here is how the class component whose focus should be handling logic is now also doing a second job of data storage.
Now that we have seen that our approach is not as optimal as we want it to be, is there a way around it?
Wrapping up
Yes, there is, and in the next article in this series we will be looking at services in Angular, how they work and how they solve this particular problem. We will learn how we can also start to use them in our workflow to share data.