In my last blog we looked at how to make building SPAs fun by leveraging the power of routing in Angular, and today we will take a look at how to create child routes to deepen our understanding of nesting.
Before You Start
Here are a few things to have:
- An integrated development environment (IDE) like VS Code
- Node Package Manager version 6.7 or above
- The latest version of Angular (version 12):
ng version
Confirm that you are using version 12, and update to 12 if you are not.
Other things that will be nice-to-haves are:
- Working knowledge of the Angular Router at a beginner level, or you can go through the last article here
What Are Nesting Routes?
It is important to understand that Angular as a framework is component-based, which means that your app is divided up into components if the structure is drawn in a tree format with sub-components stemming from other components.
A good example is how other components in an Angular app are mostly found inside the main app component. In the same way, the Angular Router allows you to have routes nested inside already-defined routes.
Why Nesting Routes Can Be Useful
With child routes, you can have a component-like structure defined for the routes in your app. It is critical as there are views that the user should not be able to access unless they are in a particular view. This way, the structure becomes tree-like, just like the structure of components. In this post we will walk through the process of creating child routes and displaying the components we link to them.
What We Will Be Building
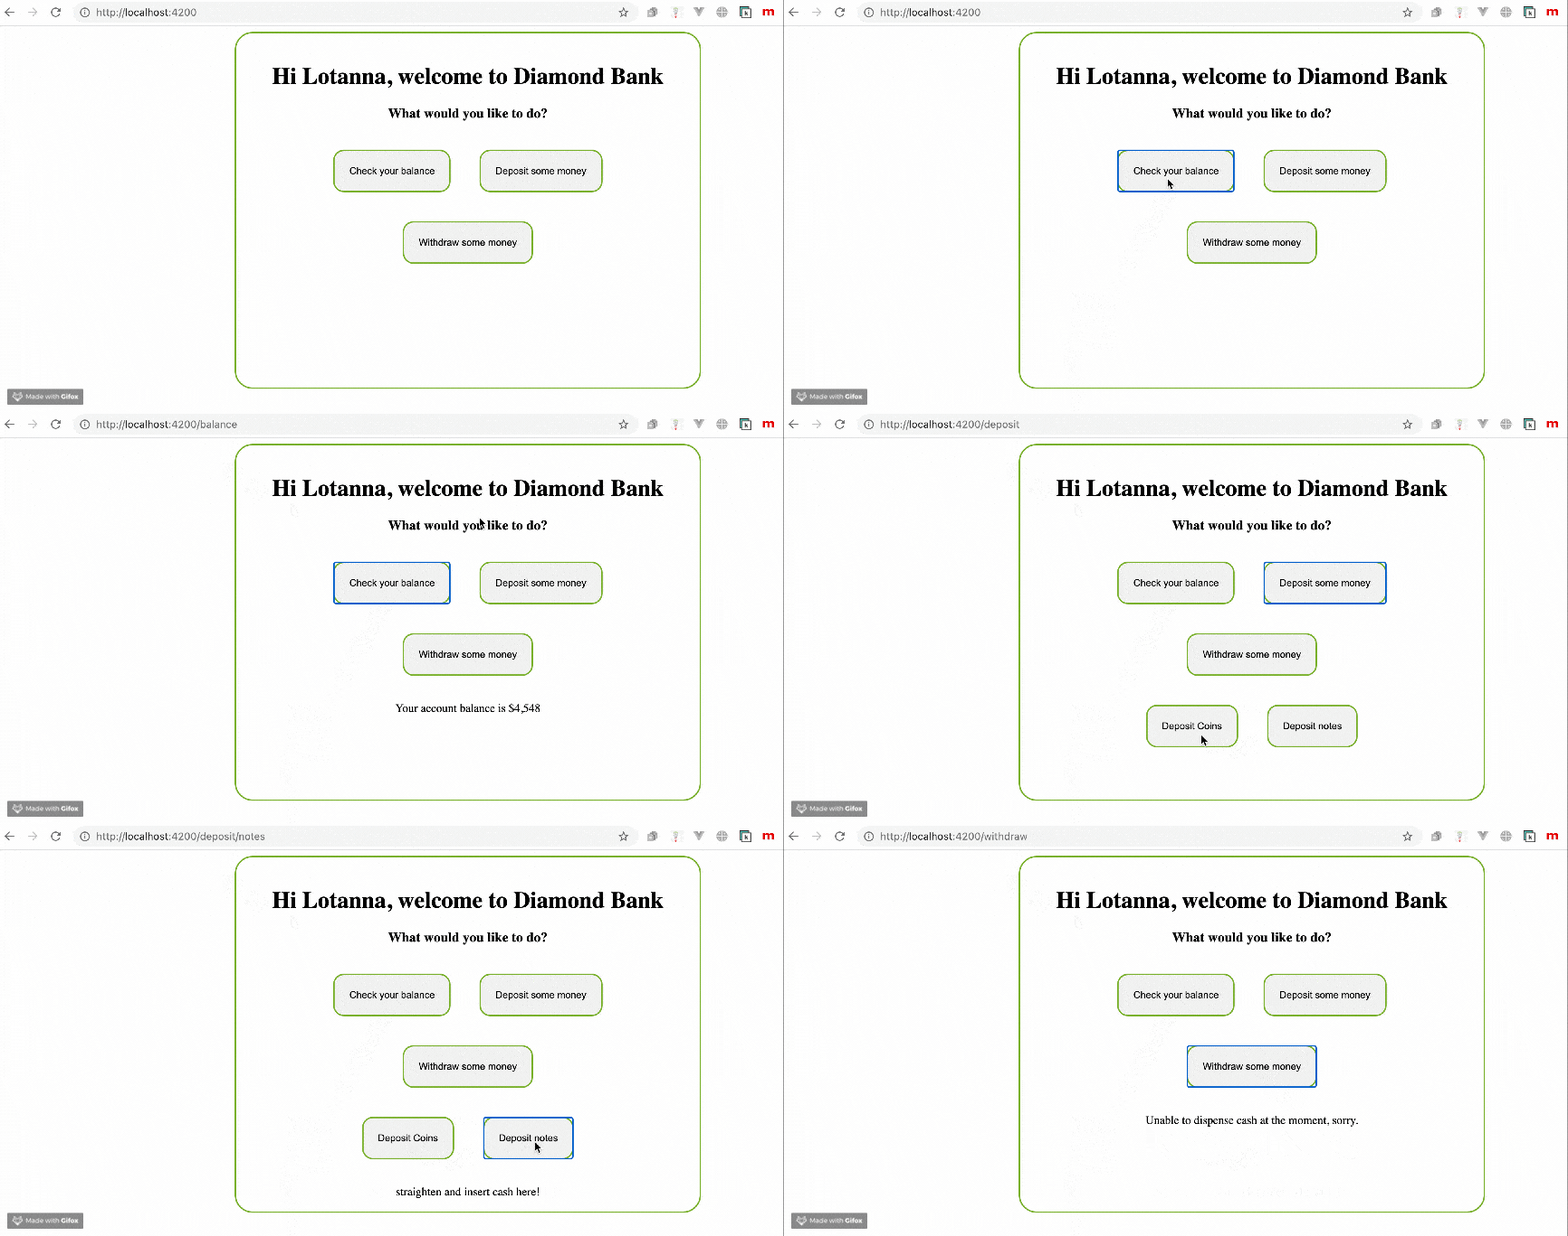
We are going to try to build a simple ATM user interface with three main components: withdraw, deposit and balance, and the experience will look something like this:

Setting up
To start, open a file location of your choice on your PC, and inside it run VS Code. Open a new terminal in the terminal tab and run this command to scaffold a new Angular app provisioned with routing out-of-the-box:
ng new childapp --routing
After you choose CSS, navigate to the new file created and run it in the dev server like this:
cd childapp
ng serve
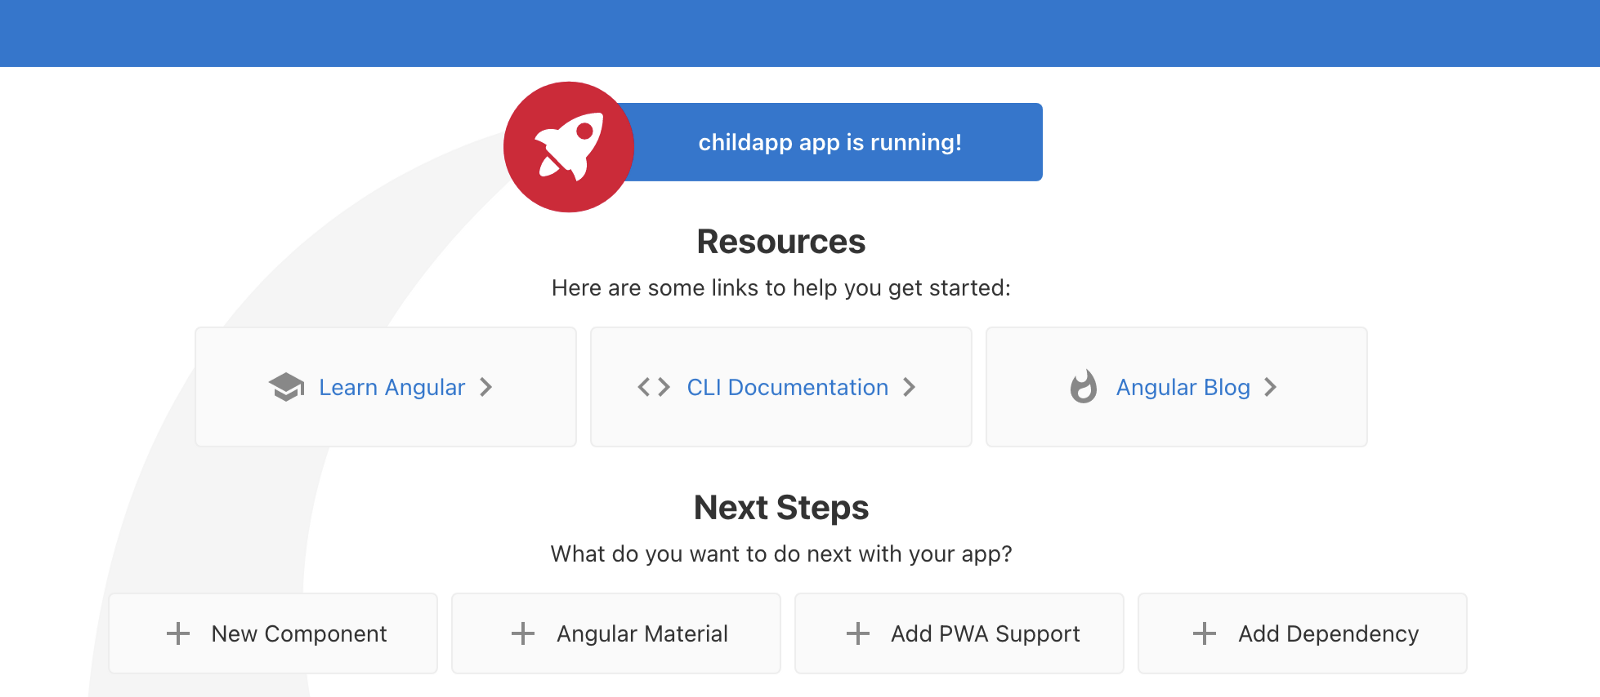
Your application should look like this:

Defining Parent Routes
The first thing to do is to define parent routes for the application inside which we will have the child routes. This ATM has three buttons representing three components. Let us generate these components first.
ng generate component withdraw -it -is
ng generate component deposit -it -is
ng generate component balance -it -is
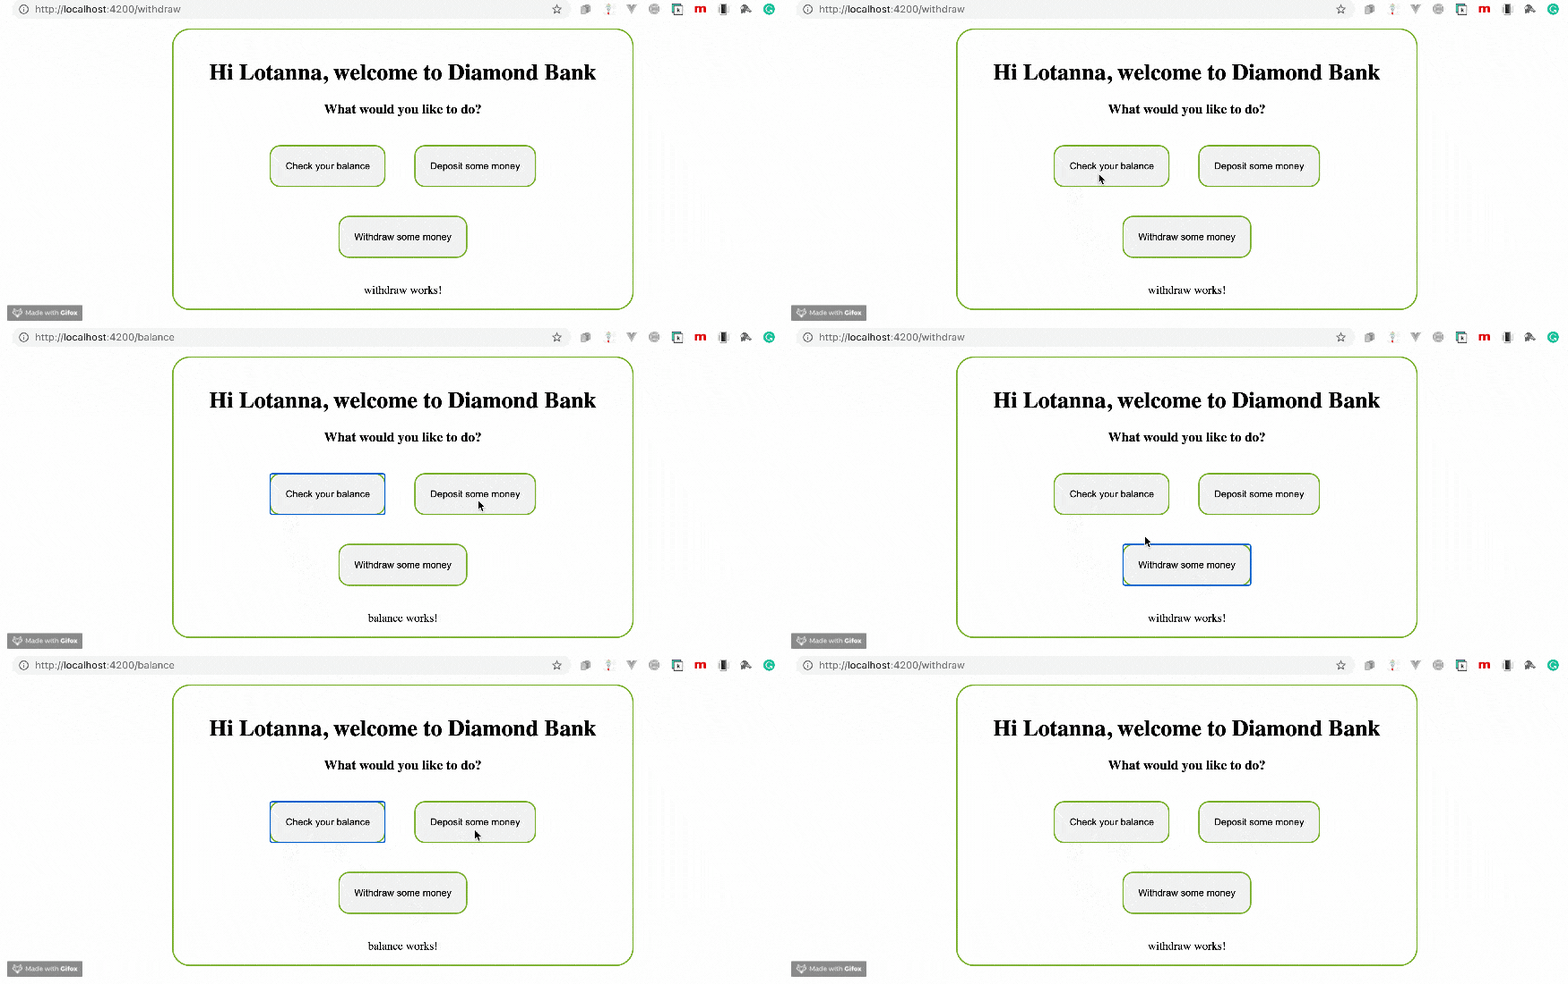
These three components we just created have inline template and style options, so additional template and stylesheet files will not be created. The file structure is like Vue.js. If you open the file, you’ll see a simple “withdraw works” paragraph in it. We will change the content later.
Now inside the app-routing module, let us define the parent routes like this:
import { NgModule } from '@angular/core';
import { Routes, RouterModule } from '@angular/router';
import { BalanceComponent } from './balance/balance.component';
import { DepositComponent } from './deposit/deposit.component';
import { WithdrawComponent } from './withdraw/withdraw.component';
const routes: Routes = [
  {
    path:'balance', component: BalanceComponent
  },{
    path:'deposit', component: DepositComponent
  },{
    path:'withdraw', component:WithdrawComponent
  }
];
@NgModule({
  imports: [RouterModule.forRoot(routes)],
  exports: [RouterModule]
})
export class AppRoutingModule { }
export const ArrayOfComponents = [BalanceComponent, DepositComponent, WithdrawComponent]
Here we have defined the parent components of our ATM application. We have also tied them to an array so we do not have to import the three components everywhere we need to use them, but just import the array instead.
Registering Them
To register this new development, open your app module file and copy in the code block below:
import { BrowserModule } from '@angular/platform-browser';
import { NgModule } from '@angular/core';
import { AppRoutingModule, ArrayOfComponents } from './app-routing.module';
import { AppComponent } from './app.component';
@NgModule({
  declarations: [
    AppComponent,
    ArrayOfComponents
  ],
  imports: [
    BrowserModule,
    AppRoutingModule
  ],
  providers: [],
  bootstrap: [AppComponent]
})
export class AppModule { }
Template Setup
Now let’s take care of the template. Replace the code inside your app component HTML file with the code block below:
<div class="car">
  <div style="text-align:center;">
    <h1>
      Hi Lotanna, welcome to Diamond Bank ATM
    </h1>
    <h3>What would you like to do?</h3>
  </div>
  <nav style="text-align:center;">
    <button routerLink='/balance' >Check your balance</button>
    <button routerLink='/deposit' >Deposit some money</button>
    <button routerLink='/withdraw' >Withdraw some money</button>
  </nav>
  <router-outlet></router-outlet>
  </div>
Testing it out
Before we take it out for a spin and see our progress so far, let’s add a bit of styling to the app. In the app component.css file, add these two rules:
.car {
    top: 50%;
    text-align: center;
    border-radius: 25px;
    border: 2px solid #73AD21;
    padding: 20px;
    width: 600px;
    height: 350px;
    margin-left: 25%;
    margin-bottom: 15px;
  }

  button {
    top: 50%;
    text-align: center;
    border-radius: 15px;
    border: 2px solid #73AD21;
    width: fit-content;
    margin: 20px;
    padding: 20px;
  }
Now save all the files and run the app on the dev server by running this command:
ng serve

To make this more fun, let’s work on adding nested routes in our components.
Generate Child Components
In this post, we will have two child components: DepositA for coins and DepositB for notes. Let us generate them with these commands:
ng generate component deposita -it -is
ng generate component depositb -it -is
Adding Child Routes
In Angular, the router lets you add child routes using the children property inside the routing module.
import { NgModule } from '@angular/core';
import { Routes, RouterModule } from '@angular/router';
import { BalanceComponent } from './balance/balance.component';
import { DepositComponent } from './deposit/deposit.component';
import { DepositaComponent } from './deposita/deposita.component';
import { DepositbComponent } from './depositb/depositb.component';
import { WithdrawComponent } from './withdraw/withdraw.component';
const routes: Routes = [
  {
    path:'balance', component: BalanceComponent
  },{
    path:'deposit',
    component: DepositComponent,
    children: [
      {
        path:'coins', component: DepositaComponent
      },
      {
        path:'notes', component: DepositbComponent
      }
    ]
  },{
    path:'withdraw', component:WithdrawComponent
  }
];
@NgModule({
  imports: [RouterModule.forRoot(routes)],
  exports: [RouterModule]
})
export class AppRoutingModule { }
export const ArrayOfComponents = [BalanceComponent,
  DepositComponent, WithdrawComponent,
  DepositaComponent,DepositbComponent]
Here you can see that the routing module has been updated with the child route and added to the array of components so we do not need to import all of them wherever we go.
Adding the Presentation Code
The parent component is where all the magic happens for the child component. In the demo, you can see we tied the functionality to buttons. Change the content of your deposit component to the code block below:
import { Component, OnInit } from '@angular/core';
import { ActivatedRoute, Router} from '@angular/router'
@Component({
  selector: 'app-deposit',
  template: `
    <div>
      <button (click)='coins()'>Deposit Coins</button>
      <button (click)='notes()'>Deposit notes</button>
      <p>
      <router-outlet></router-outlet>
      </p>
    </div>
  `,
styles: ['button {top: 50%; text-align: center;border-radius: 15px; border: 2px solid #73AD21; width: fit-content; margin: 20px; padding: 20px;}']
})
export class DepositComponent implements OnInit {
constructor(private route: ActivatedRoute, private router: Router) { }
ngOnInit(): void {
  }
coins(){
    this.router.navigate(['coins'], {relativeTo:this.route});
  }
notes(){
    this.router.navigate(['notes'], {relativeTo:this.route});
  }
}
Here we brought in the activated route and the router from the library. They make it possible to tie routes to elements in the template. We used a simple OnClick function to ask the router to change the URL to “/deposit/notes” when we click on notes and the similar behavior when we click on coins.
When you save all the files in the project, you can run the app again on the dev server. It should look exactly like the first gif we saw.
The complete code to this tutorial can be found here on GitHub.
Wrapping up
We have just looked into nesting in Angular Router, why it is important and how you can get started. We went through a process of creating child routes and how it is added to your templates in Angular with our ATM app. I hope you can see how many use cases you can have when you consider nesting routes in your app. Happy hacking!