In this tutorial we will be building a Chrome extension with Vue.js to download gists from GitHub Gist.
A Chrome extension is a browser program built to customize the functionality and modify the behavior of the Chrome browser. They are written in HTML, JavaScript and CSS. With Chrome extensions, you can do more than just customize web pages — you can also add custom behaviors and functionalities to suit your needs by harnessing the power of JavaScript.
GitHub Gist is a simple way to share code snippets and projects with others. It is a platform where you can share single files, parts of files, or full applications with other people. Gists are driven by git version control, so they also have complete revision histories. In this tutorial, we will create a Chrome extension to download code snippets from GitHub Gist.
Create a Vue Project
There are several ways we could have done this, but let’s stick to the good old way. Open a terminal window and run the following command to quickly set up a new Vue project.
vue create gistdownloader
cd gistdownloader
npm run serve
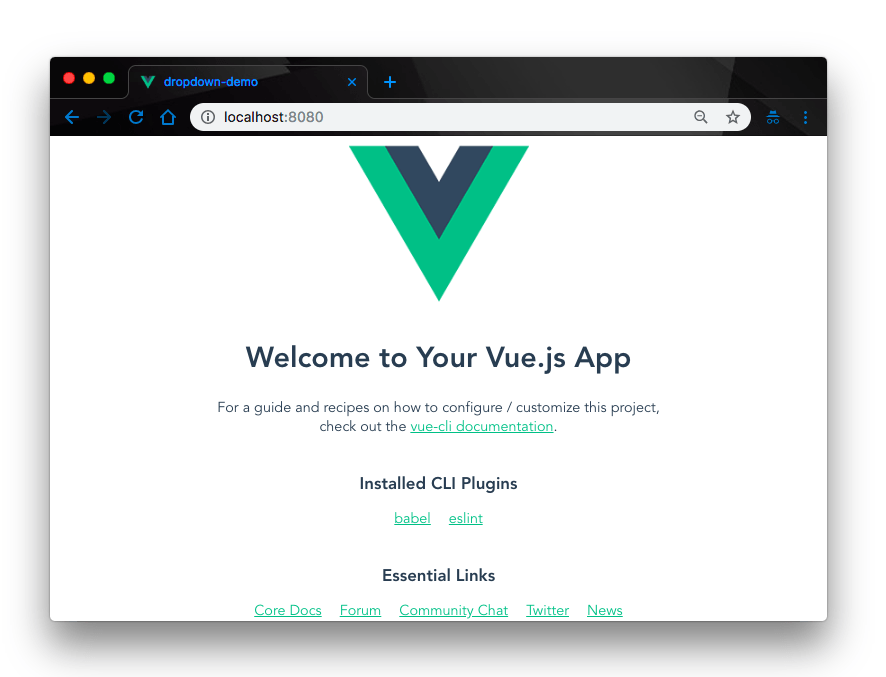
This will create a new Vue project for you in the gistdownloader folder. The project will be live on the default port localhost:8080. Open it up on your browser and you’ll see the Vue app live!
Setting up Project Files
First, let’s create our download button. A normal gist on Github looks like this:
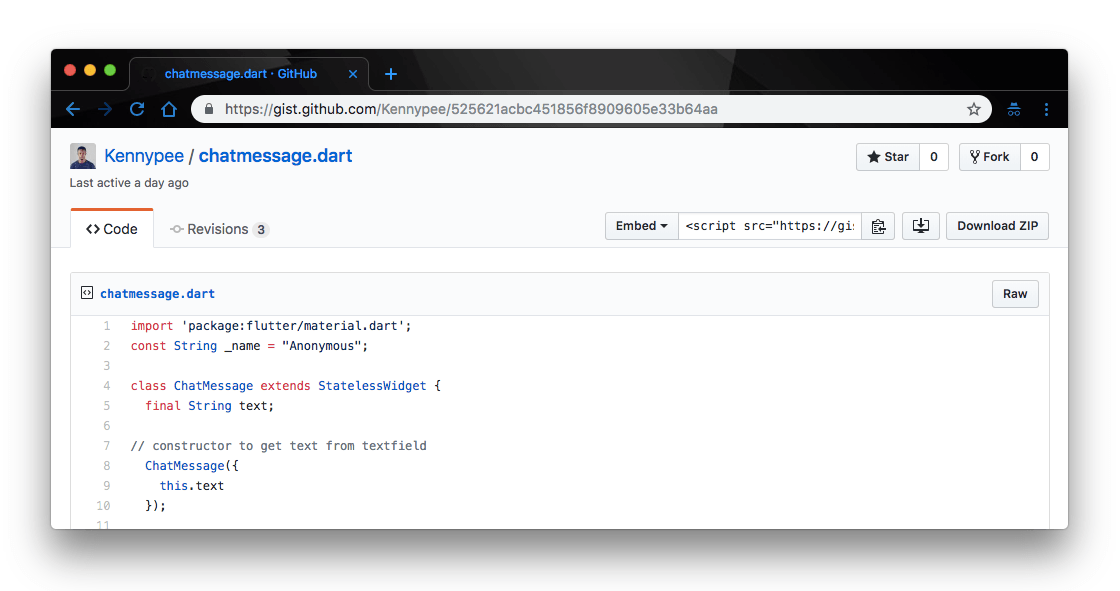
 What we want to do is attach a button alongside the
 Raw button on the gist above. That way, we can click on it to download the gist. Make sense? Yeah, let’s get to it then.
Open up our gistdownloader project on your favorite code editor and rename the default Helloworld.vue file inside the src/components directory to DownloadButton.vue and update the file with the code below:
//src/components/DownloadButton.vue<template><div class="app" id="app"><button ref="downloadButton" v-on:click="downloadClick" aria-label="Download the file" className="btn btn-sm copy-pretty tooltipped tooltipped-n BtnGroup-item"> Download file</button></div></template><script>import download from"../utils";exportdefault{
  name:'DownloadButton',
  methods:{
      downloadClick:function(){const element =this.$refs.downloadButton.parentElement.parentElement.parentElement.parentElement.parentElement;const fileTextArea = element.querySelector('textarea');const fileContent = fileTextArea.value;const fileName = element.querySelector(".gist-blob-name").innerText;download(fileName, fileContent);},
      downloadGist:function(filename, text){const element = document.createElement('a');
          element.setAttribute('href','data:text/plain;charset=utf-8,'+encodeURIComponent(text));
          element.setAttribute('download', filename);
          element.style.display ='none';
          document.body.appendChild(element);
          element.click();
          document.body.removeChild(element);}}}</script>
What’s going on here? Nothing much. First, we rendered a button element in the app template. We added a ref to the button so we can access it in the DOM. We defined a downloadClick handler on the button to fire whenever this button is clicked. Finally in the application methods object, we define the downloadClick function.
The chained parentElement is a crude way of ensuring that the textarea returned contains the Gist content requested for download. Next, the value of the textarea is assigned to the fileContent variable, and the name of the file is obtained from the text of an element with the class name gist-blob-name.
Finally the downloadGist function is called, with the fileName and fileContent as arguments.
The downloadGist function does a few things:
- Creates an anchor element and sets an attribute encoding the
textparameter as a UTF-8 character using theencodeURIComponentfunction. - Sets a
downloadattribute on the anchor element with thefilenameparam set as the value of thedownloadattribute. - Triggers a
clickevent on the element as it is removed from theDOM.
Now that we have our download button, let’s go ahead and render it in our App.vue file so we can see it on the browser. Open the App.vue file in the src directory and update it with the code below.
//src/App.vue<template><div id="app"><DownloadButton/></div></template><script>import DownloadButton from'./components/DownloadButton.vue'exportdefault{
  name:'app',
  components:{
    DownloadButton
  },mounted(){this.onLoad();},
  methods:{
    onLoad:function(){const fileActions = document.body.querySelectorAll('.file .file-header .file-actions .BtnGroup ');
      fileActions.forEach(action =>{const containerEl = document.createElement("span");
        action.prepend(containerEl);});}}}</script>
Here, we have rendered the DownloadButton component on the app template so we can see it on the browser. Next, we defined an onLoad() function in our components methods object.
The extension waits until the DOM content is loaded before it renders the application in the DOM. Using the document.querySelectorAll method, we’ll get all the elements matching the classes .file .file-header .file-actions .BtnGroup on any existing element on the page.
This is to ensure that the element selected is the one intended. Using a forEach method, the fileActions array is looped through and, within the callback function, a span element is created and prepended to the action element.
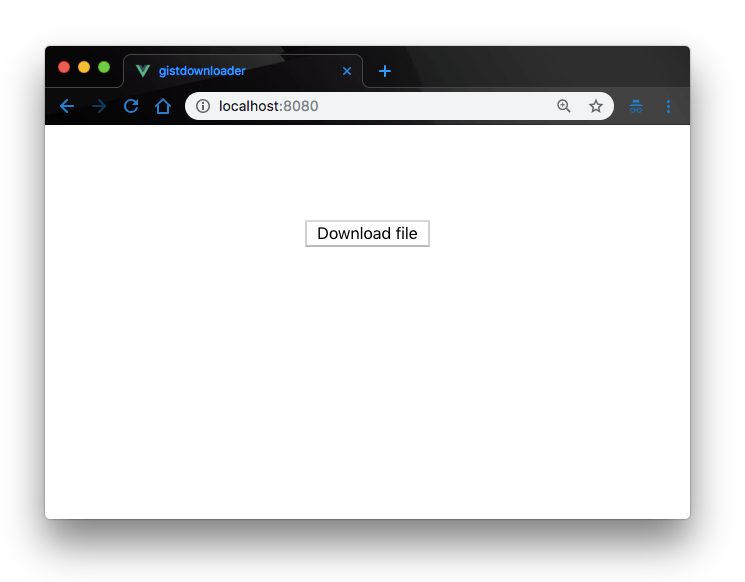
That’s it! we have our Gist download button. If we check back on the browser, we should now have the button rendered.

Build the Extension
So far what we have is a simple Vue.js application. Let’s build it into a real Chrome extension and actually load it up on the browser to see how it works. To build the extension, we’ll need to install that parcel bundler package into our application. Open a terminal on the project’s root directory and run the command below.
npm i parcel-bundler
Now update your package.json script section with the code below.
//package.json "scripts":{"serve":"vue-cli-service serve","build":"parcel build src/main.js -d src/build/ -o main.js","lint":"vue-cli-service lint"}That’s it! We have our bundler ready to roll. Before we build the extension, a mandatory manifest.json file is required by Chrome. The manifest file simply describes the content of the extension we’ve just built. In the root of the project file, create a manifest.json file and update it with the code below.
//manifest.json{"manifest_version":2,"name":"Gist file downloader","description":"An extension that can be used for downloading gist files.","version":"1.0","browser_action":{"default_icon":"icon.png"},"permissions":["activeTab"],"content_scripts":[{"matches":["https://gist.github.com/*"],"js":["src/build/main.js"],"run_at":"document_end"}]}Chrome manifests are expected to have a mandatory manifest_version of value 2. Also, all extensions need a symbol to represent them on the browser. That is the icon we have defined in the broswer_action object in the file manifest.
The permissions property is an array of permissions our extension needs to run. The extension will need access to the current active tab to download the gist, so we have added activeTab to get permission for that.
The content_scripts array contains an object detailing the domains (matches) the extension should run on — the main js file. And the run_at property tells Chrome when it should run the extension. You can read more about the properties that are available on the manifest file here.
Now we are all set to build our extension. Open a terminal window in the project’s root directory and run the command below:
npm run buildThis will build our extension and get it ready for launching to the browser. If you check your project files, you should see a build folder created in your src directory.
Launch the Extension
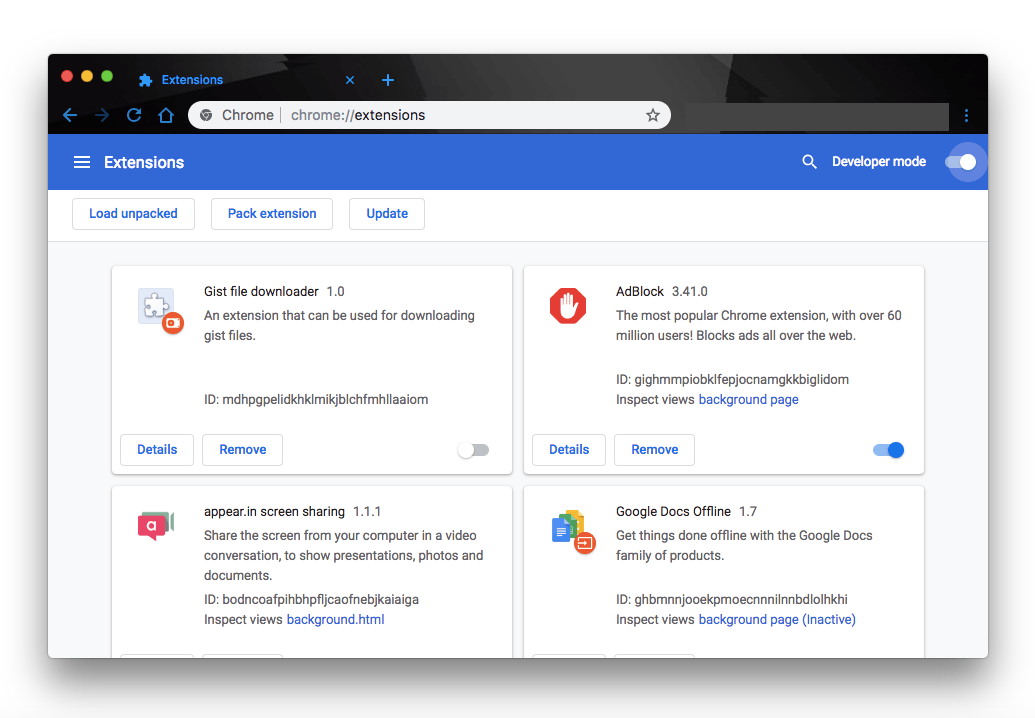
Next, open your Chrome browser and go to Settings > Extensions. Next toggle the developer mode button. You should now see a button on the left side that says load unpacked. Click it to upload your build folder.
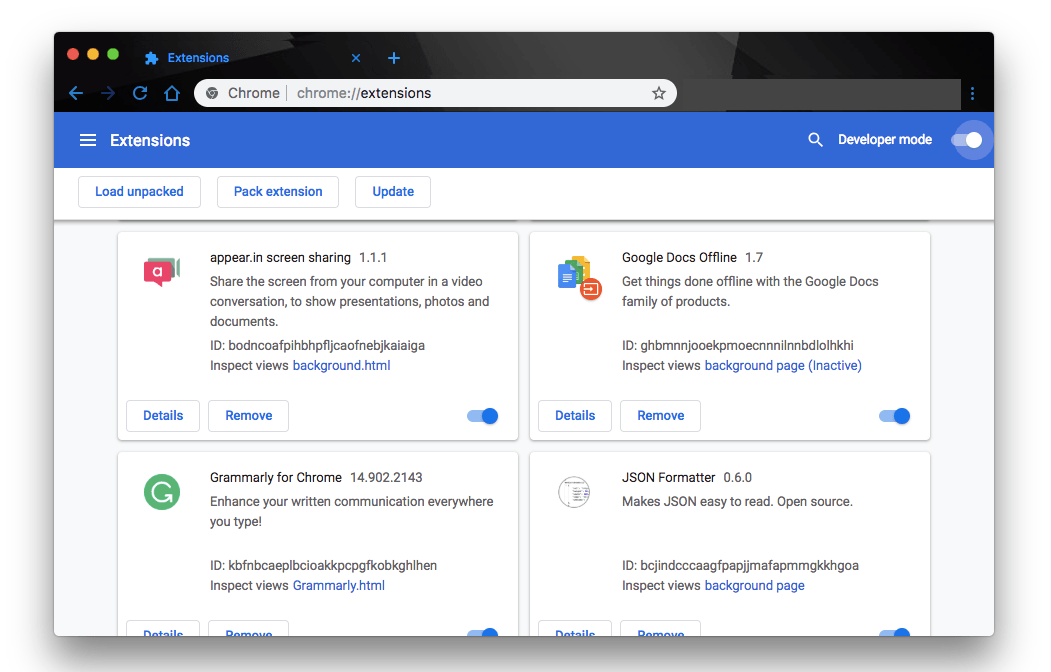
Click the Load Unpacked button and select your project folder. This will now load up your custom extension on Chrome:

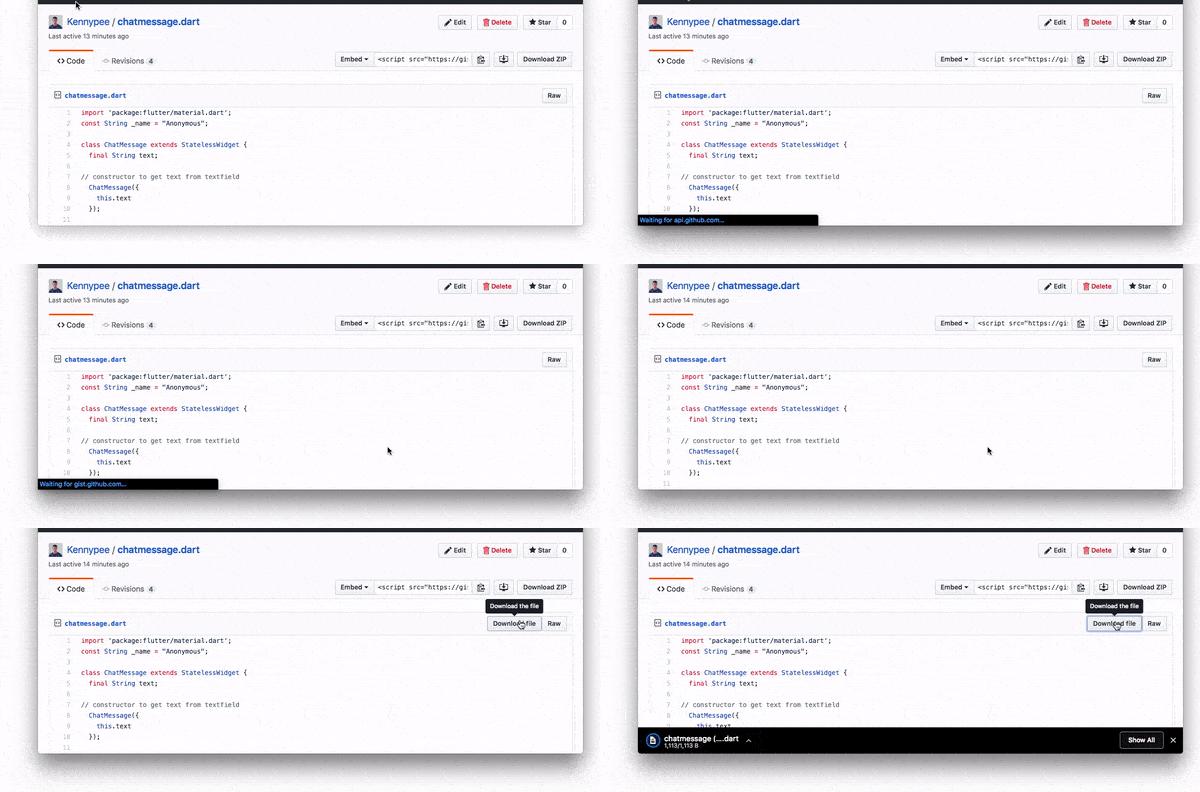
Now when you visit our Gist page again, you should see our Download file button. Clicking it will download the Gist.
Conclusion
In this tutorial we have learned how to create a Gist download Chrome extension in Vue.js. You can extend this application to create other extensions with different functionalities. The extension we created here can manipulate page data and download a page file. There’s a whole lot you can do with Chrome extensions! Be sure to check out the official documentation and try to build awesome stuff with it.