In this article, we'll utilize Vue and Socket.io to build a real-time polling application.
An opinion poll, often simply referred to as a poll or a survey, is a human research survey of public opinion from a particular sample. This makes it easily accessible, as it can be used by users anywhere in the world. Adding real-time functionality to the application improves the user experience, as votes are seen in real-time.
Kendo UI is a library used for developing applications at a relatively quick pace. It provides UI components for libraries like jQuery, Angular, React and Vue, and it comes packed with over 20 components for creating charts, data tables and drag-and-drop pages.
Kendo UI is customizable, and it also provides a set of themes for Material UI, Bootstrap, etc. Kendo UI components are distributed as multiple npm packages, so there’s no fear of bloating your application with unnecessary components and increasing your build bundle. It offers components for managing large data sets and for easy data visualization. Coupled with Vue, Kendo UI is an unstoppable tool useful for developing fantastic web applications.
Using Vue, you can extend the template language with your own components and use a wide array of existing components.
To follow this tutorial, a basic understanding of Vue and Node.js is required. Please ensure that you have Node and npm installed before you begin.
If you have no prior knowledge of Vue, kindly follow the official documentation here. Come back and finish the tutorial when you’re done.
We’ll be using these tools to build out our application:
We’ll build a real-time polling application using Socket.io, Vue and Kendo UI Charts component for data visualization.
Using our application, users will provide their opinion on when they head to bed at night.
Here’s a demo of the final product: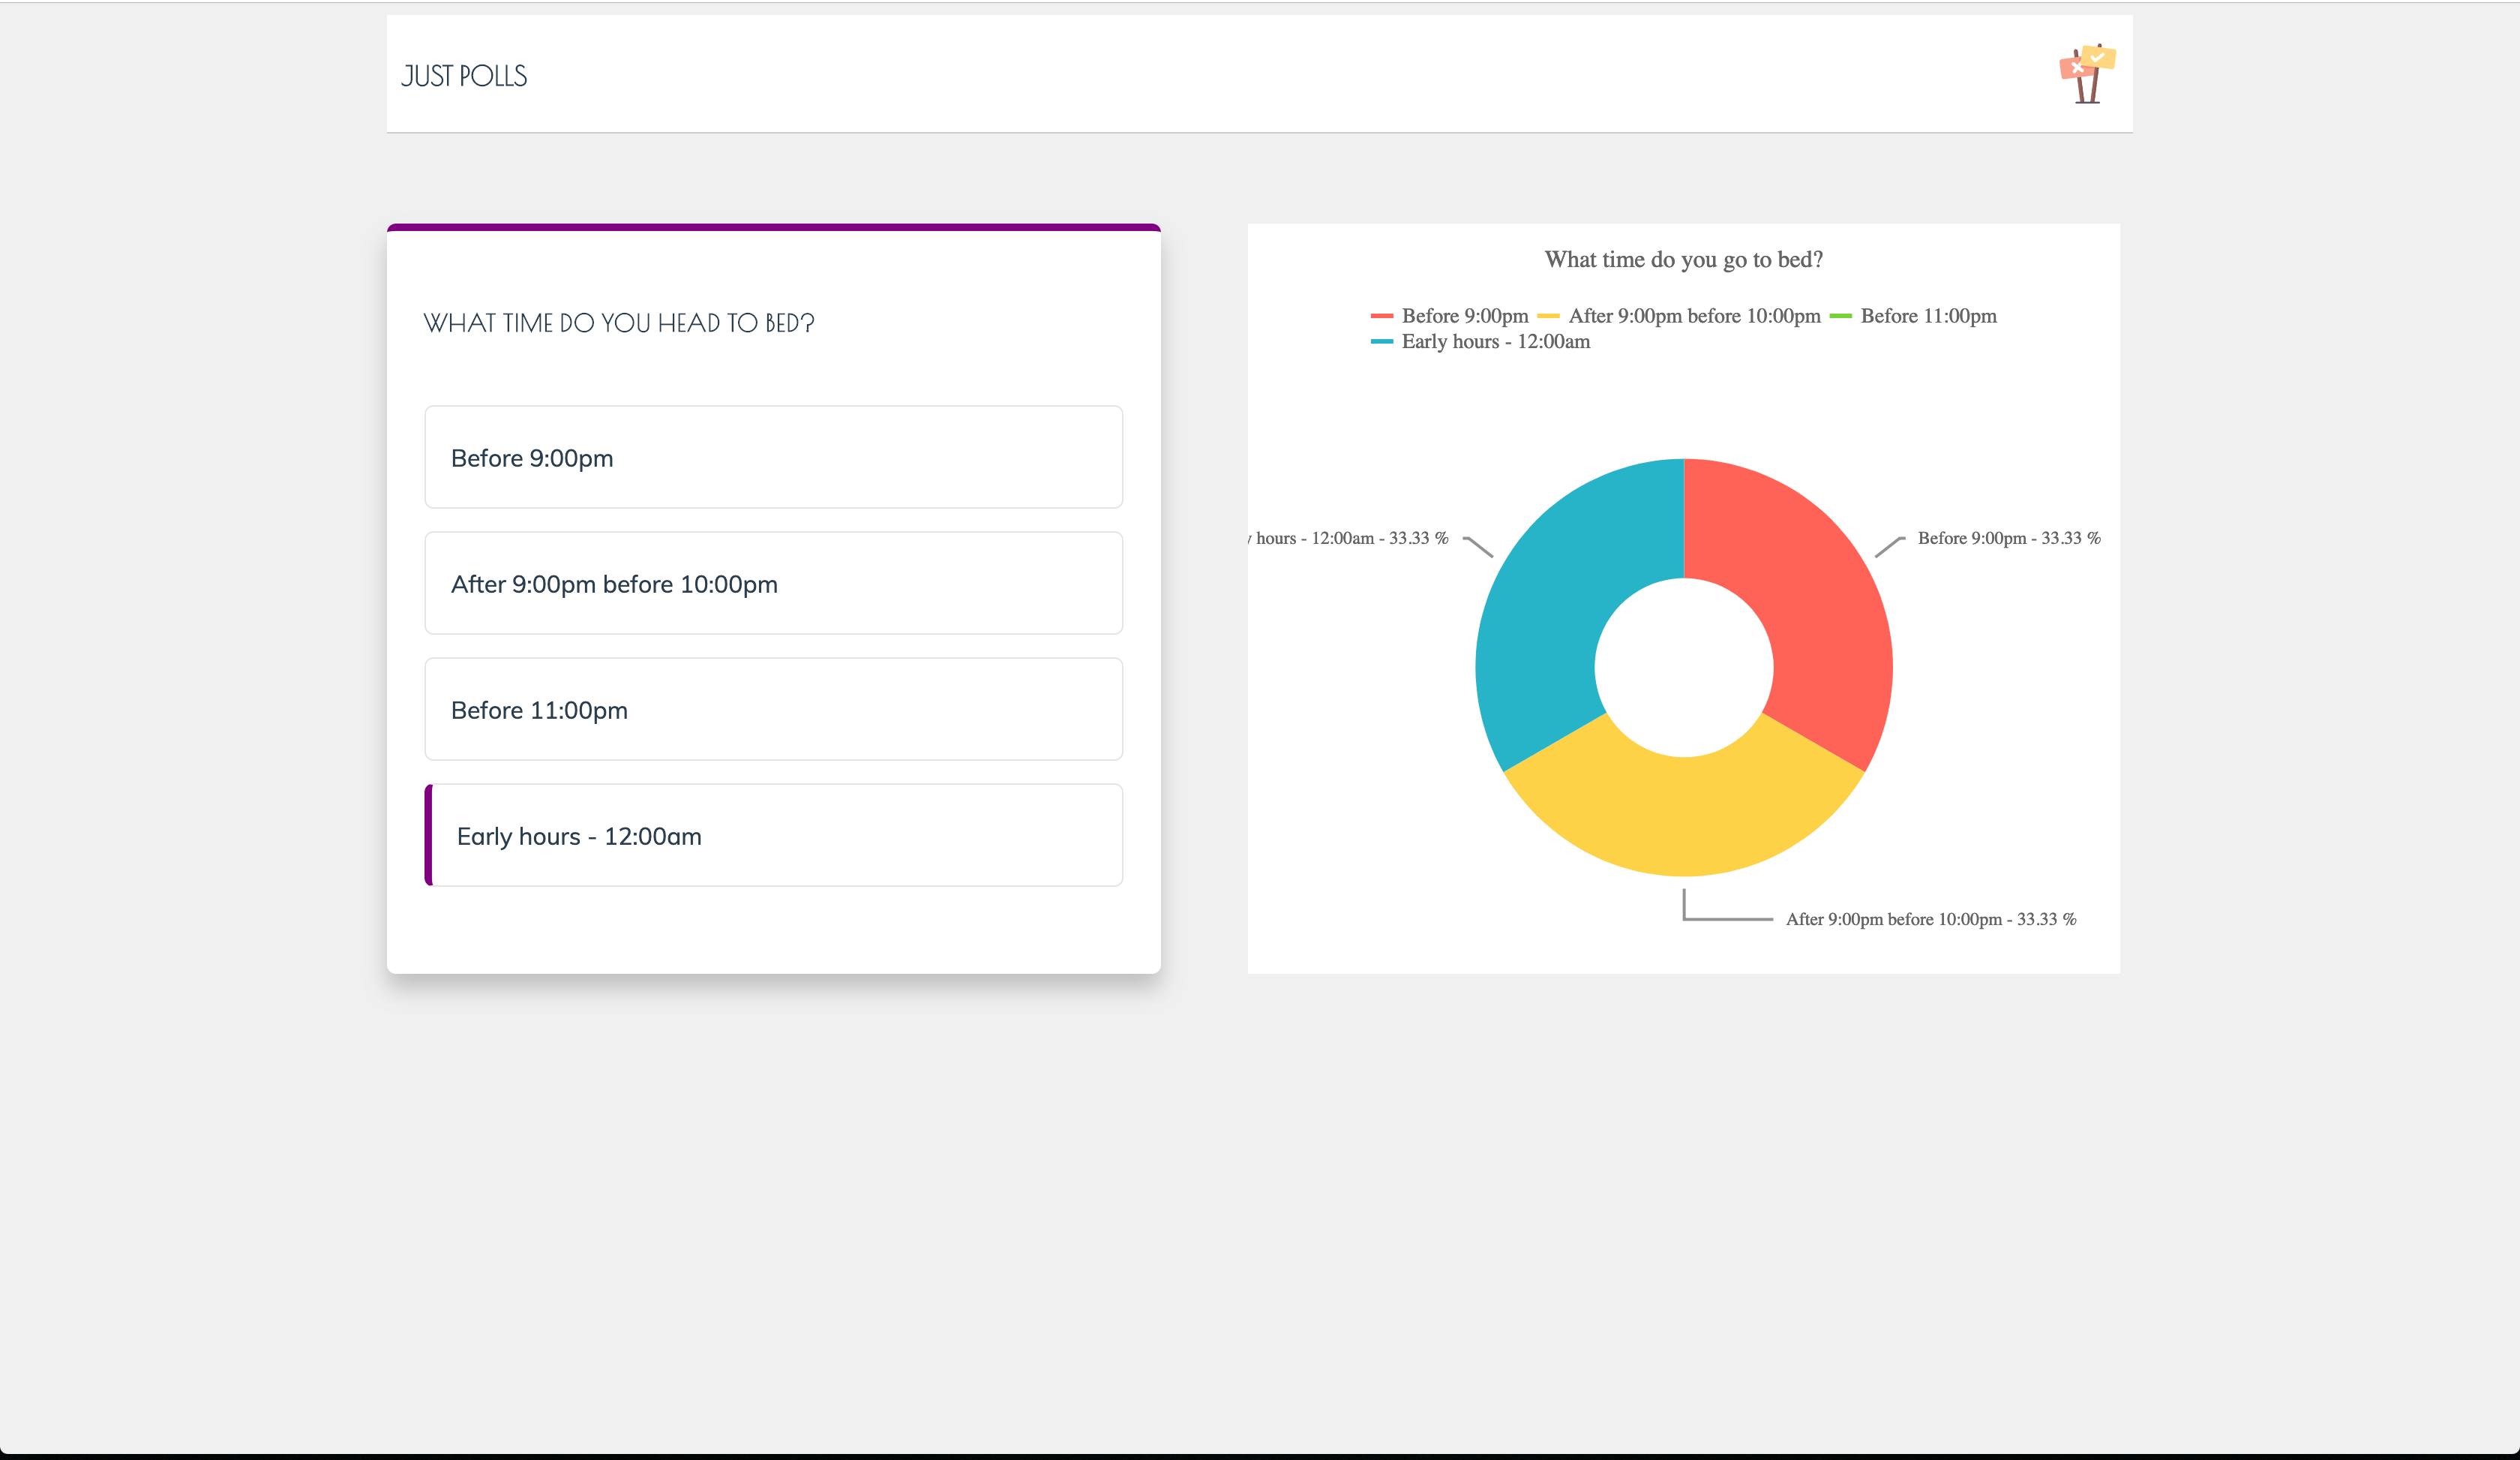

We’ll send our votes to the server and with the help of Socket.io, we’ll update the polls in real time.
Let’s build!
Initializing the Application and Installing Project Dependencies
To get started, we will use the vue-cli to bootstrap our application. First, we’ll install the CLI by running npm install -g @vue/cli in a terminal.
To create a Vue project using the CLI, we’ll run the following command:
vue create vue-polling
After running this command, you will be asked by the CLI to pick a preset. Please select the default preset.
Next, run the following commands in the root folder of the project to install dependencies.
// install dependencies required to build the server

npminstall express socket.io

// front-end dependencies

npminstall @progress/kendo-charts-vue-wrapper @progress/kendo-theme-default @progress/kendo-ui vue-socket.io
Start the app dev server by running npm run serve in a terminal in the root folder of your project.
A browser tab should open on http://localhost:8080. The screenshot below should be similar to what you see in your browser:

Building the Server
We’ll build our server using Express. Express is a fast, unopinionated, minimalist web framework for Node.js.
Create a file called server.js in the root of the project and update it with the code snippet below
// server.jsconst express =require('express');const app =express();const http =require('http').createServer(app);const io =require('socket.io')(http);const port = process.env.PORT ||4000;

io.on('connection',async(socket)=>{

socket.on('vote',(data)=>{

socket.emit('voted', data);});});

http.listen(port,()=>{

console.log(`Server started on port ${port}`);});
The setup here is pretty standard for Express applications using Socket.io. There’s no problem if you have no prior knowledge of Socket.io, as we’ll only be making use of two methods: emit for dispatching events and io.on for listening for events. You can always go through the official tutorial here.
We’ll listen for a vote event after the socket has been connected successfully, this event will be triggered by the client application. On receipt of the event, we dispatch an event voted to the client.
Run the following command in a terminal within the root folder of your project to start the server:
node server
The Home Page
The home page will display the polling options and the chart to visualize the computed data from the polls. The home page will also feature a header for the sake of presentation. The first step is to create a component to display the header. Open the src/components folder and create a file called Header.vue, open the file and update it with the snippet below:
<!-- /src/components/Header.vue --><template><header><divclass="brand"><h5>Just Polls</h5><imgsrc="../assets/001-yes.svg"alt="Logo"></div></header></template><script>exportdefault{

name:'Header',}</script><stylescoped>header {padding:8px 10px;border-bottom:1px solid rgba(0, 0, 0, 0.2);font-family: poiret-one, sans-serif;font-weight:400;font-style: normal;margin-bottom:60px;}header .brand{display: flex;justify-content: space-between;align-items: center;}header .brand h5{text-transform: uppercase;font-size:18px;line-height:2px;}header img{width:40px;height:40px;}</style>
NB: Image assets were gotten from https://flaticon.com.
Just a couple of styles to beautify the header. Finally, we’ll render the component in the App.vue file. Open the file, replace the contents by rendering the header component.
<!-- /src/App.vue --><template><divid="app"><Header/><divclass="body"><!-- app body here --></div></div></template><script>import Header from"./components/Header";exportdefault{

name:"app",

components:{

Header,},data(){return{

options:[{

value:0,

id:1,

category:"Before 9:00pm"},{

value:0,

id:2,

category:"After 9:00pm before 10:00pm"},{

value:0,

id:3,

category:"Before 11:00pm"},{

value:0,

id:4,

category:"Early hours - 12:00am"}],

voted:false};}</script><style>#app{width:70%;margin: auto;color:#2c3e50;font-family: muli, sans-serif;font-weight:400;}.body{display: flex;}</style>
In the snippet above, we update the App component to import the Header component to be rendered. We also created data values like the options and the voted property. The options array is a list of choices to be selected by the user, and the voted value is used to signify when a user has placed a vote.
Next, we’ll include the link to the external fonts we’ll be using in the project.
Open the public/index.html file and update it to include the link to the external fonts:
<!-- /public/index.html --><!DOCTYPE html><htmllang="en"><head><metacharset="utf-8"><metahttp-equiv="X-UA-Compatible"content="IE=edge"><metaname="viewport"content="width=device-width,initial-scale=1.0"><linkrel="icon"href="<%= BASE_URL %>favicon.ico"><linkrel="stylesheet"href="https://use.typekit.net/dnq8ozh.css"><title>Vue polling</title></head><body><noscript><strong>We're sorry but vue-polling doesn't work properly without JavaScript enabled. Please enable it to continue.</strong></noscript><divid="app"></div><!-- built files will be auto injected --></body></html>If you visit http://localhost:8080 after this update, you should see the header we just created: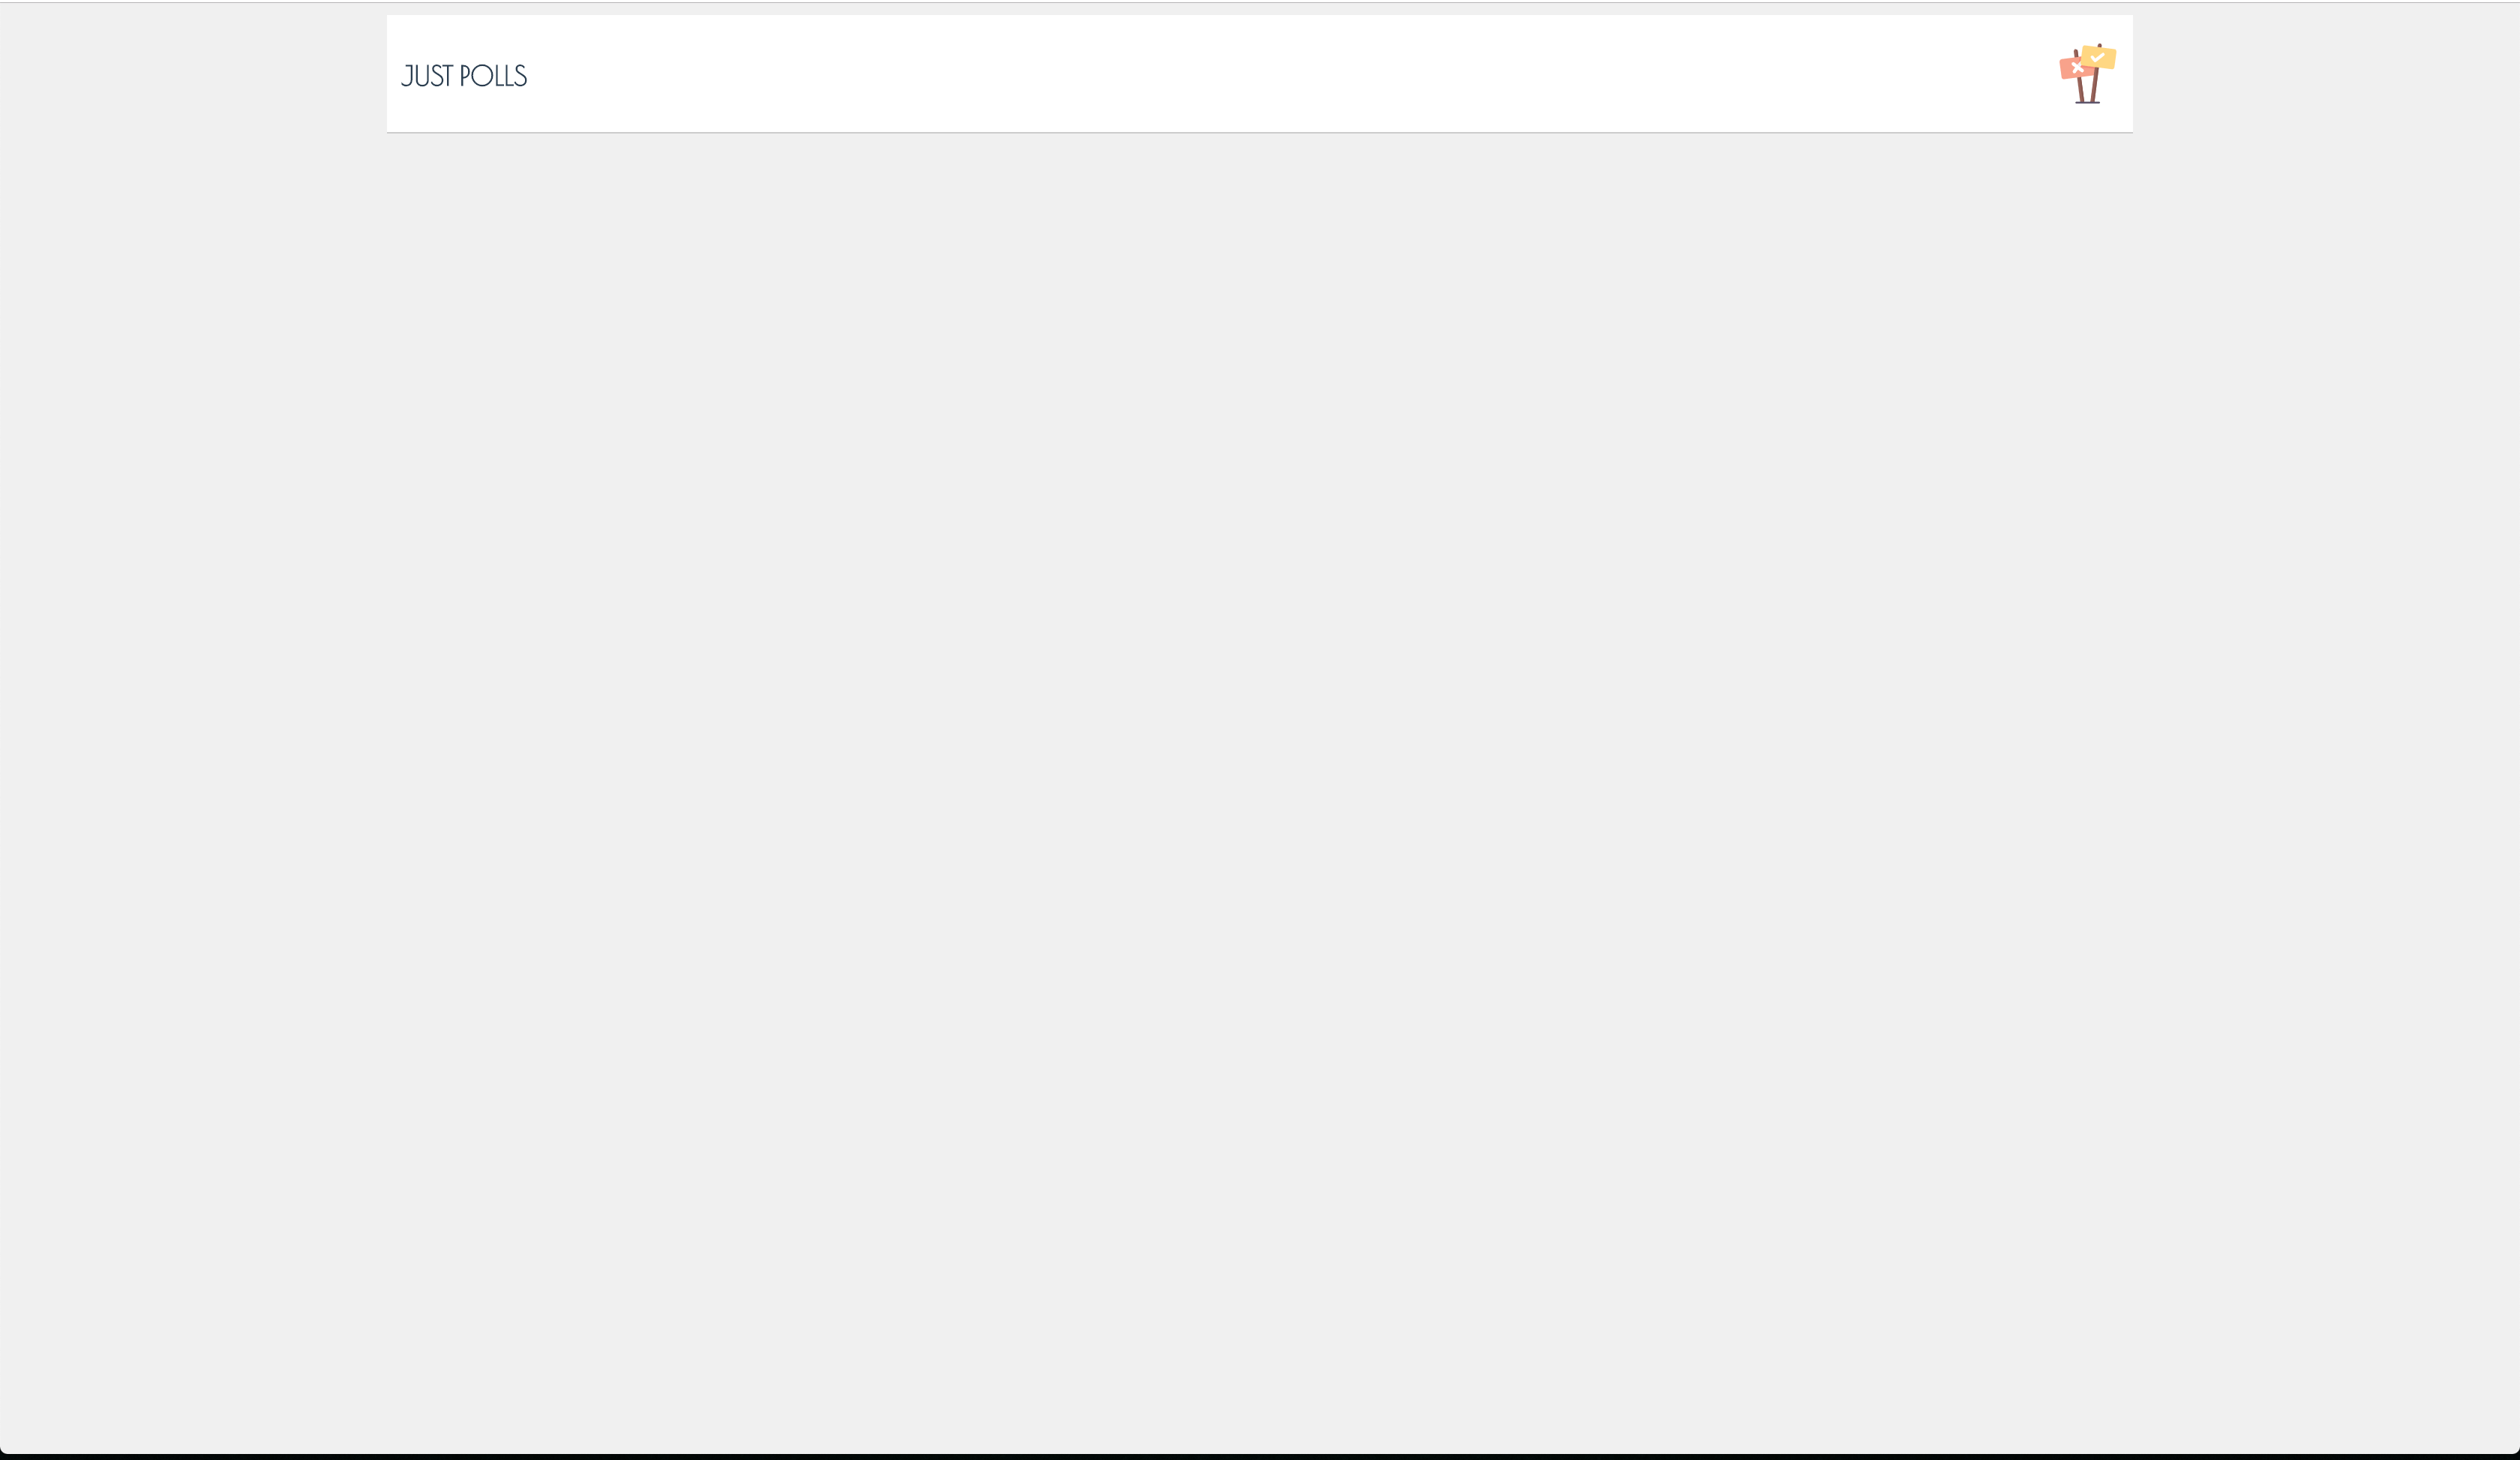

Next, we’ll create the polling component that will render the options for users to make a selection.
Polling View
Create a component file in src/components folder, and name it Poll.vue. Open the file and copy the following content into it:
<!-- /src/components/Poll.vue --><template><section><h4>What time do you head to bed?</h4><ul><liv-for="option in options":key="option.id":class="{ selected: selectedOption.id === option.id }"@click="vote(option)">{{option.category}}</li></ul></section></template><script>exportdefault{

name:"Poll",

props:["options"],data(){return{

selectedOption:""};}

methods:{vote(option){this.selectedOption = option;}}};</script><stylescoped>section {padding:10px 25px;border-radius:6px;box-shadow:010px 24px rgba(0, 0, 0, 0.2);width:40%;display: flex;flex-direction: column;justify-content: center;border-top:5px solid purple;}h4 {font-family: poiret-one, sans-serif;text-transform: uppercase;font-size:16px;letter-spacing:0.7px;margin-bottom:30px;}ul {list-style: none;padding-left:0;}li {padding:22px 17px;border:1px solid rgba(0, 0, 0, 0.1);margin-bottom:15px;border-radius:6px;cursor: pointer;}li.selected{border-left:5px solid purple;}</style>
In the code snippet above, we created the Poll component. The component will take an options property and we’ll loop through the options to create a view to collect a user’s opinion.
Next, we created a selectedOption data property that holds the user’s choice. Using this selection, we’ll flag the matching option and activate the selected class. All this is done in the vote method.
The next step is to render the Poll component in the App.vue file, open the file and update it to render the Poll component:
<!-- /src/App.vue --><template><divid="app"><Header/><divclass="body"><Poll:options="options"/></div></div></template><script>import Header from"./components/Header";import Poll from"./components/Poll";exportdefault{

name:"app",

components:{

Header,

Poll,},data(){return{// ... data properties};},};</script><style>

// ... styles

</style>
After this update, if you navigate to http://localhost:8080, you should see the poll area in all its glory. Your view should be similar to the screenshot below: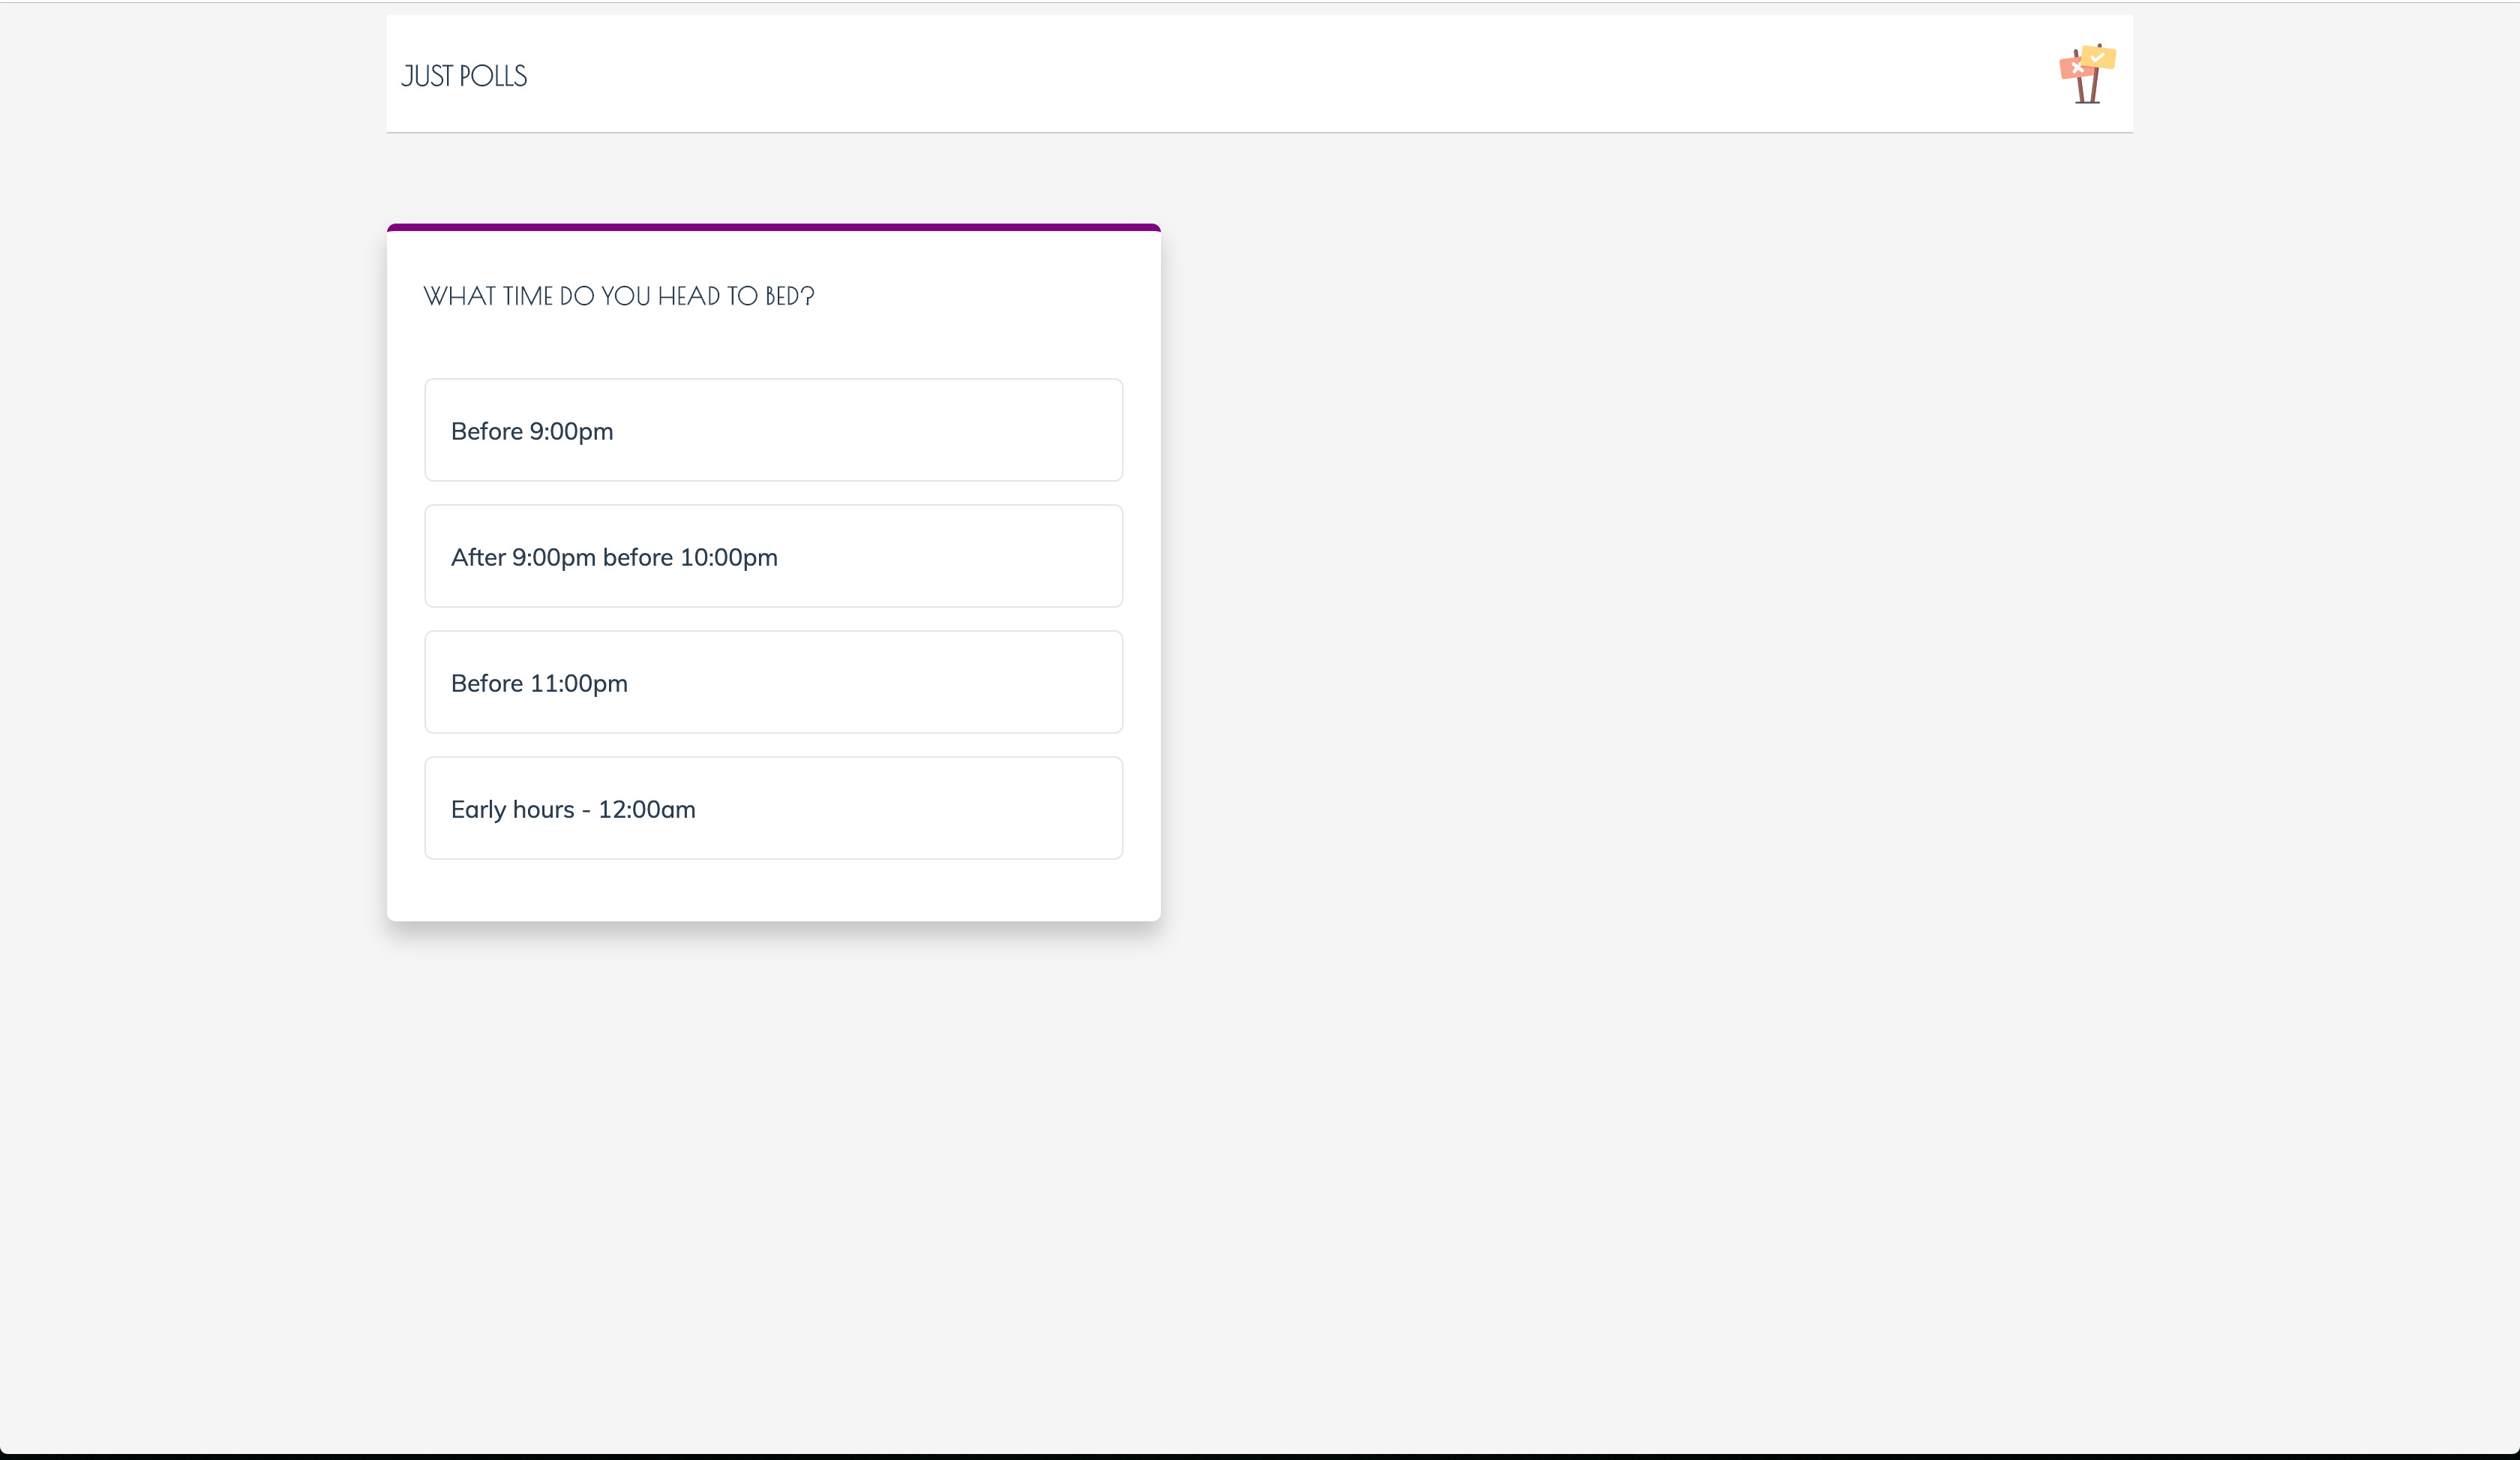

Next, we’ll create the chart component using Kendo UI’s components and also start communicating with the server using Socket.io
Chart Component
The chart component library we’ll be using is Kendo UI. Kendo UI provides UI components for developing applications using frameworks like Vue, Angular and React. To get started, we’ll use the Chart plugin in the main.js file.
Open the src/main.js and update it to be similar to the snippet below:
// src/main.jsimport Vue from'vue';import'@progress/kendo-ui';import'@progress/kendo-theme-default/dist/all.css';import{

ChartInstaller,}from'@progress/kendo-charts-vue-wrapper';import App from'./App.vue';

Vue.use(ChartInstaller);

Vue.config.productionTip =false;newVue({

render:(h)=>h(App),}).$mount('#app');
We import the base Kendo UI package, then we include the stylesheet to include the default styling for Kendo UI in our project. Also, we imported the charts plugin from Kendo UI and call the Vue use method.
Create a file called PollChart.vue in the src/components folder, open the file and copy the snippet below into it:
<!-- /src/components/PollChart.vue --><template><section><kendo-chartref="chart":title-text="'What time do you go to bed?'":legend-position="'top'":tooltip-visible="true":tooltip-template="template":theme="'sass'":style="style"><kendo-chart-series-item:type="'donut'":data="options":labels-visible="true":labels-template="template":labels-position="'outsideEnd'":labels-background="'transparent'":labels-align="'circle'":style="style"></kendo-chart-series-item></kendo-chart></section></template><script>import{ Chart, ChartSeriesItem }from"@progress/kendo-charts-vue-wrapper";exportdefault{

name:"PollsChart",

props:["options"],data(){return{

template:"#= category # - #= kendo.format('{0:P}', percentage) #",

style:{

fontFamily:"muli, sans-serif;",

height:"500px"}};}};</script><stylescoped>section {width:50%;margin-left:5%;font-family: muli, sans-serif !important;}</style>
We’ll be making use of the Chart Series component from Kendo UI. The chart displayed will be a doughnut chart, showing the number of votes for each option. The chart component will receive props like title-text, legend-position etc.
The component itself will receive an options prop from the parent component, this will be passed to the data property of the ChartSeries item.
The template data property is used for the tooltip display. Next, we’ll render the PollChart within the App component. Open the App.vue file and update it to render the PollChart component:
<!-- /src/App.vue --><template><divid="app"><Header/><divclass="body"><Poll:options="options"/><PollsChart:options="options"v-if="voted"/></div></div></template><script>import Header from"./components/Header";import Poll from"./components/Poll";import PollsChart from"./components/Chart";exportdefault{

name:"app",

components:{

Header,

Poll,

PollsChart

},data(){...},};</script><style>...</style>
Next, we’ll set up Socket.io on the client to receive events from the server. We’ll be making use of the vue-socket.io library.
Introducing Socket.io
So far we have an application that allows users to cast votes but we have no way of keeping track of how others voted in real-time. We have also set up a way of visualizing the polling data using Kendo UI chart components. To solve the real-time problem, we’ll include the vue-socket.io library that allows us to communicate with the server in real time.
Open the src/main.js file and register the socket.io plugin:
// src/main.jsimport Vue from'vue';...import VSocket from'vue-socket.io';

Vue.use(newVSocket({

debug:true,

connection:'http://localhost:4000',}));// ... rest of the configuration
This makes the library available to the whole application, which means we can listen for events and emit them. The connection property within the object is the URI of our server and we enabled debug mode for development.
Let’s update the Poll component to emit an event whenever a vote is cast and also the App component to listen for events from the server.
Open the Poll.vue file and update it like the snippet below:
<!-- /src/components/Poll.vue --><template>

...

</template><script>exportdefault{

name:"Poll",

props:["options"],data(){...},

methods:{vote(option){this.$socket.emit("vote", option);this.selectedOption = option;}}};</script>
Installing the library in our application provides a sockets object within the component. It also adds a $socket object for emitting events. Within the vote method, we emit an event containing the selected option as the payload.
Next, update the App component to listen for votes, we’ll add a sockets object to the component, this object lets us set up listeners for events using the object keys. Open the App.vue file and add the sockets object to the component:
<!-- /src/App.vue --><template>

...

</template><script>import Header from"./components/Header";import Poll from"./components/Poll";import PollsChart from"./components/Chart";exportdefault{

name:"app",

components:{

Header,

Poll,

PollsChart

},data(){...},

sockets:{connect(){

console.log("connected");},voted(data){this.options =this.options.map(option =>{if(data.id === option.id){

option.value +=1;return option;}return option;});this.voted =true;}}};</script><style>...</style>
First, we added the sockets object to the component. Within the object we added two methods — event listeners for dispatched events:
<![if !supportLists]>- <![endif]>connect: This method listens for a successful connection to the server.
<![if !supportLists]>- <![endif]>voted: This method is called when a voted event is triggered from the server. Within this method, we get event payload data that contains the selected option. Using the payload, we go through the options and get the option matching the payload. The value property of the matching option is then incremented.
Now when a user selects an option, an event is emitted with the user’s selection as the payload. We can check this new update by visiting http://localhost:8080.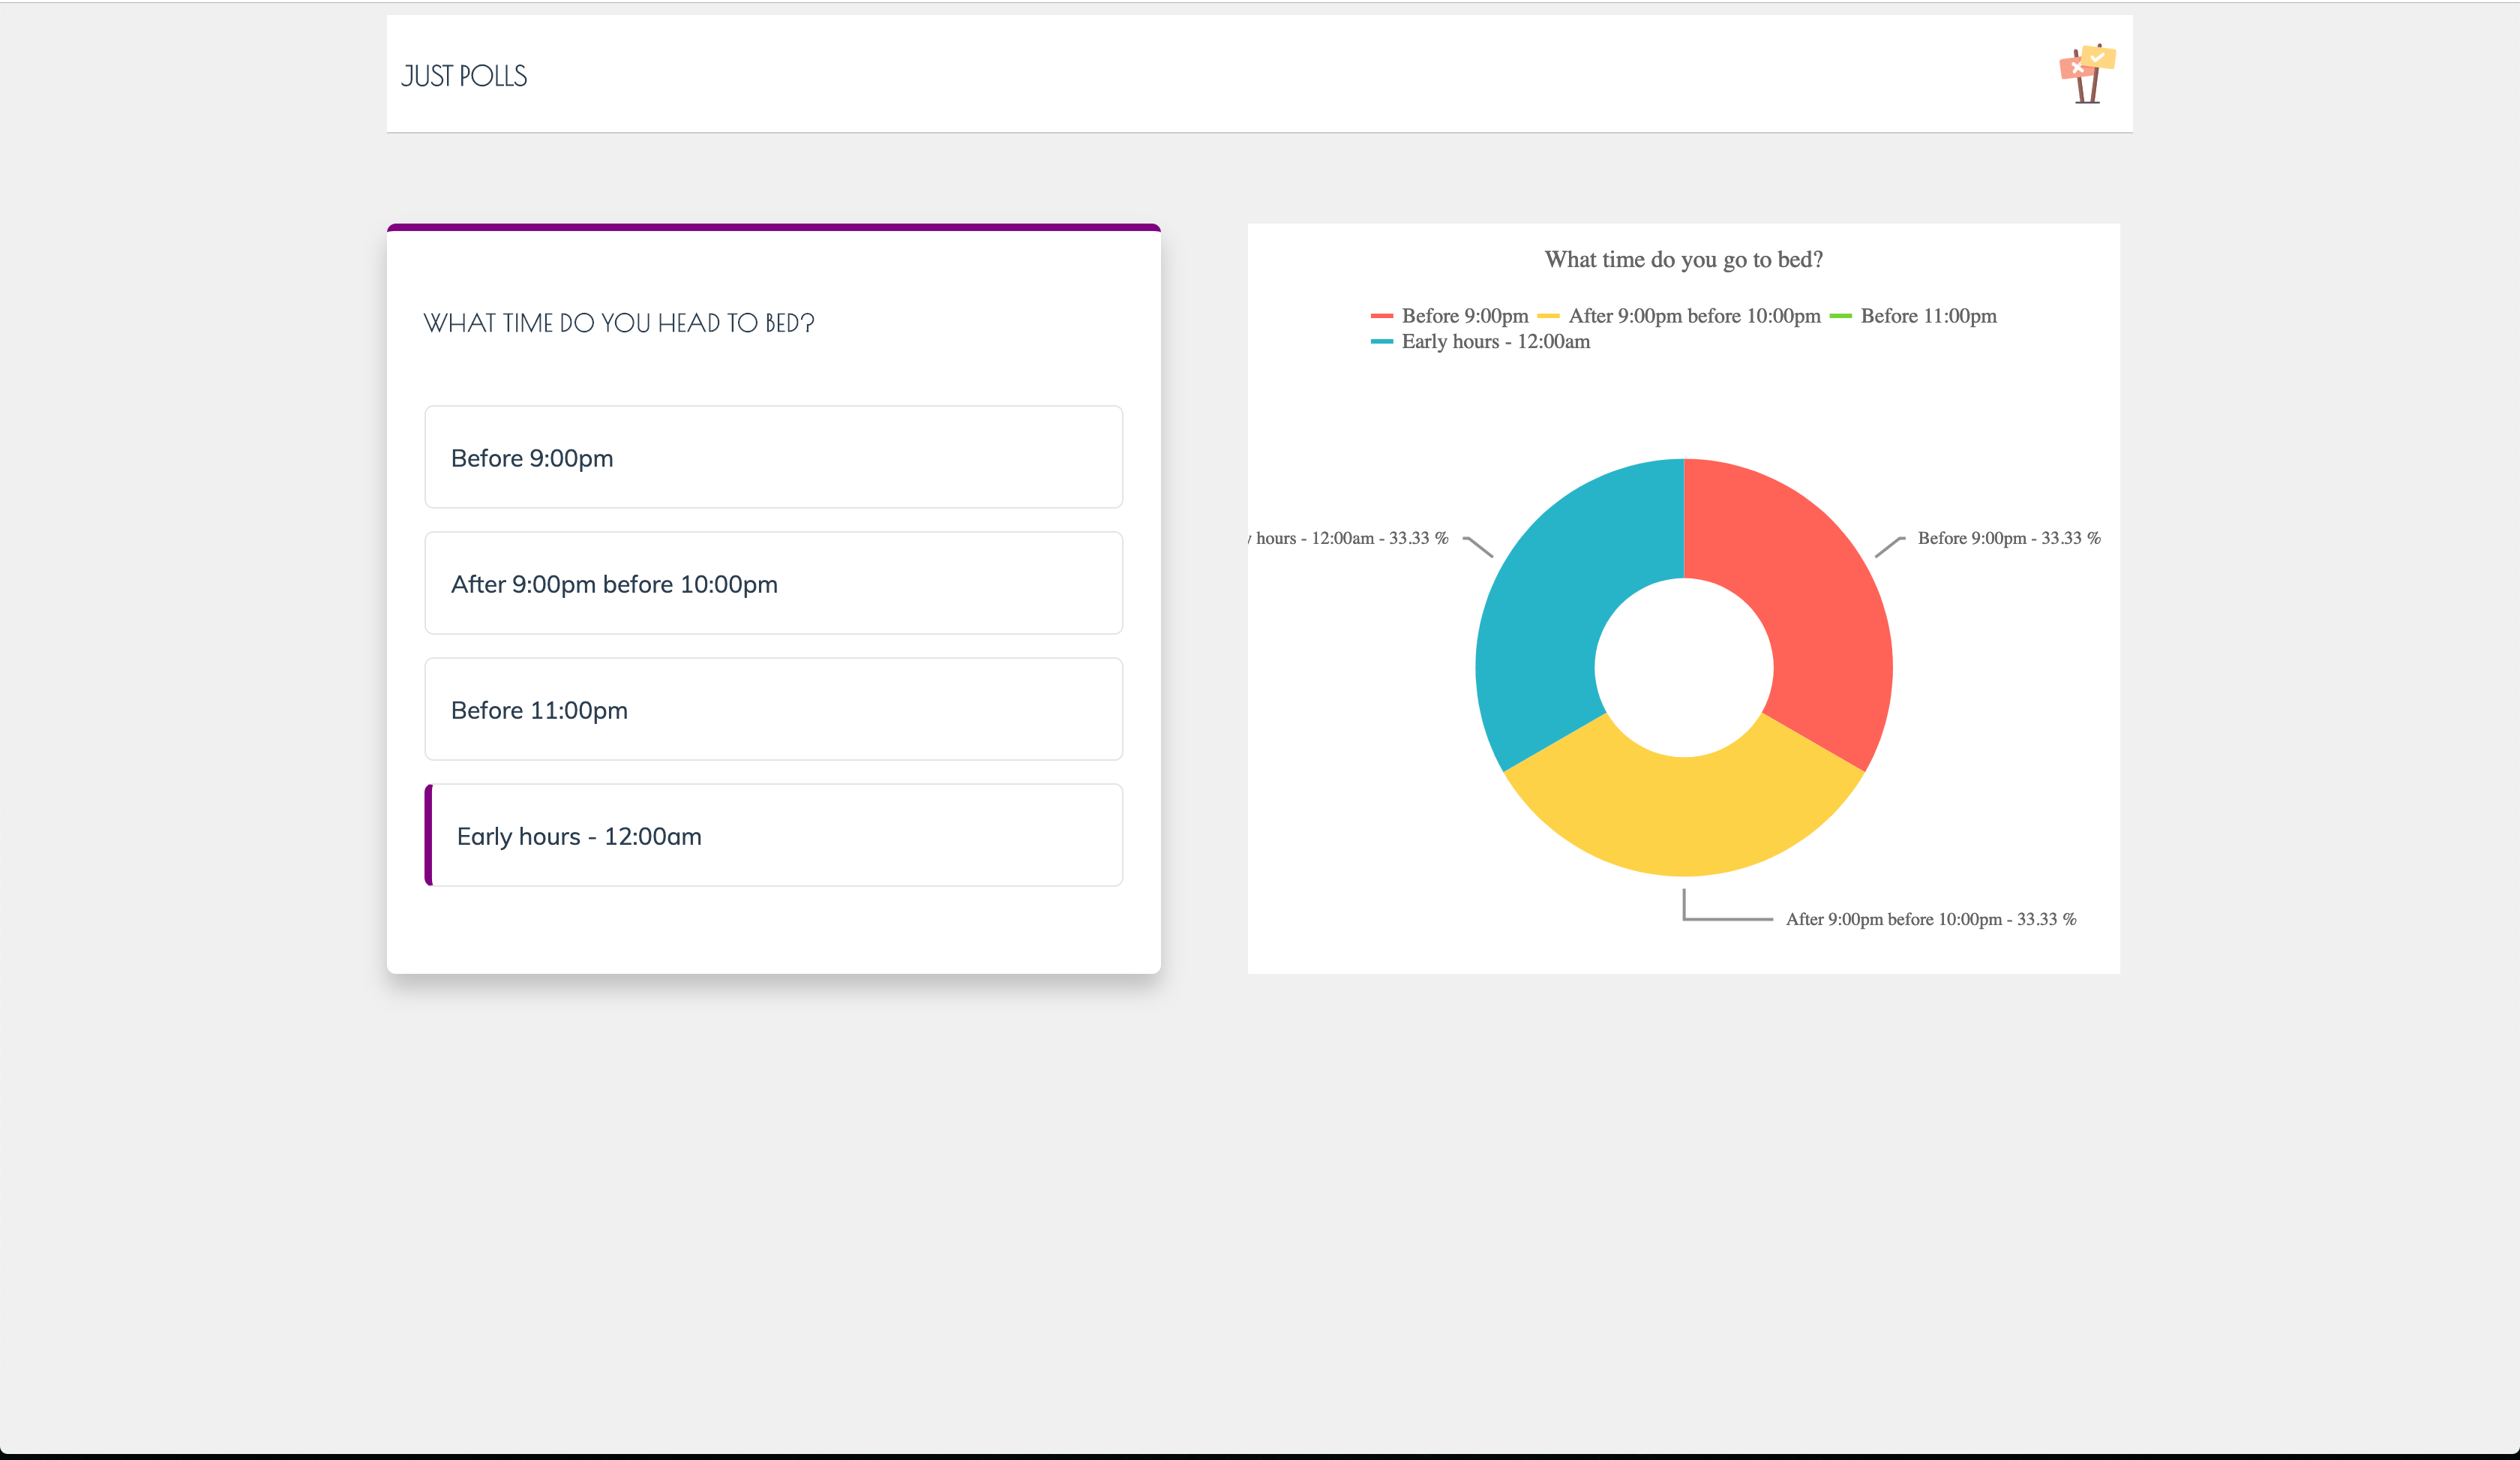

Conclusion
Using Kendo UI, Socket.io and Vue, we’ve built out an application that receives opinions of users and renders the data using charts provided by Kendo UI. Socket.io was introduced into the application to provide real-time functionality when casting votes. You can find the demo for this article on Github.