We'll go step-by-step and build a file upload button for your Angular application using the Upload component provided by Kendo UI. We'll also learn how to utilize the component's API to add extra features.
Introduction
One of the common features of most web applications is the upload functionality. As important as it is, implementing it and handling file submission in any of your web applications shouldn’t be a difficult task to accomplish.
In this post I will show you how to build a file upload button in Angular forms using the Kendo UI Upload component. Furthermore, we’ll also explore and make use of the Upload component API to add few extra features to the upload button.
Install Angular CLI
First you need to install the Angular CLI on your machine in order to start creating an Angular application. Run the following command for that purpose:
npminstall -g @angular/cliThis will add the Angular CLI globally on your machine.
Creating the Angular Application
For the purpose of this demonstration, let’s create a new Angular application by running the command below to generate an application with the name kendo-angular-upload-button:
ng new kendo-angular-upload-buttonOnce the installation process is complete, change directory into the newly-created project as shown below and start the application:
// change directory
cd kendo-angular-upload-button

// start the application
ng serve
You may experience an error with the message below in your console:
ERROR in node_modules/rxjs/internal/types.d.ts(81,44): error TS1005: ';' expected.
node_modules/rxjs/internal/types.d.ts(81,74): error TS1005: ';' expected.
node_modules/rxjs/internal/types.d.ts(81,77): error TS1109: Expression expected.
This is a known issue on GitHub and it’s due to a lack of compatibility between the current version of TypeScript on your machine and rxjs. The quick way to fix this is to delete the node_modules folder. Now, open the package.json file and within the dependencies object, edit the rxjs by removing ^ :
"dependencies":{..."rxjs":"6.0.0",// remove the `^`"zone.js":"^0.8.26"},Save the file and run the npm install command again. Once the installation process is complete, you can now proceed to start the application with ng serve.
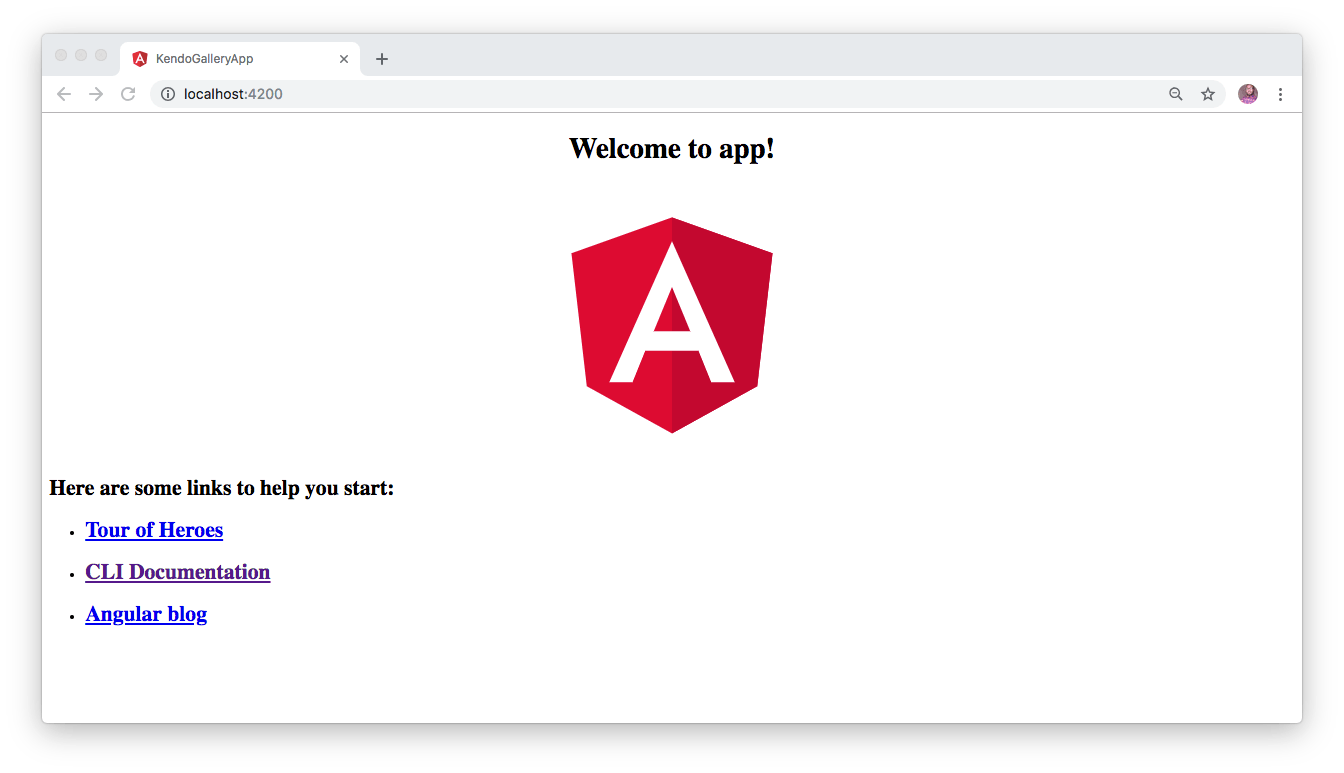
This will compile your application and start the development server. To view the default page of this Angular application, navigate to http://localhost:4200 from your favorite browser and you will see this:

Install Angular Upload Component
Next, we’ll use the ng add command to add and install the Kendo UI for Angular Upload component to our application. Hit CTRL + C to stop the application from running and run the following command to install the upload component:
ng add @progress/kendo-angular-uploadThe preceding command will install the package and import UploadModule, BrowserAnimationsModule and HttpClientModule into the application within the app.module.ts file:
// ./src/app/app/module.ts

import { BrowserModule } from '@angular/platform-browser';
import { NgModule } from '@angular/core';
import { AppComponent } from './app.component';
import { UploadModule } from '@progress/kendo-angular-upload';
import { BrowserAnimationsModule } from '@angular/platform-browser/animations';
import { HttpClientModule } from '@angular/common/http';

@NgModule({
  declarations: [
    AppComponent
  ],
  imports: [
    BrowserModule,
    UploadModule,
    BrowserAnimationsModule,
    HttpClientModule
  ],
  providers: [],
  bootstrap: [AppComponent]
})
export class AppModule { }
Add the Kendo UI File Upload Component
To add the file upload component to our Angular application, we’ll create a div wrapper and then place the <kendo-upload></kendo-upload> inside of it as shown below:
// ./src/app/app.component.html

<div class="wrapper">
  <div class="content">
    <kendo-upload>
    </kendo-upload>
  </div>
</div>
Before you start the application, add the content below to the ./src/app/app/component.css
.wrapper {
  margin-top: 50px;
}
.content {
  width: 800px;
  margin: 0 auto;
  line-height: 20px;
}
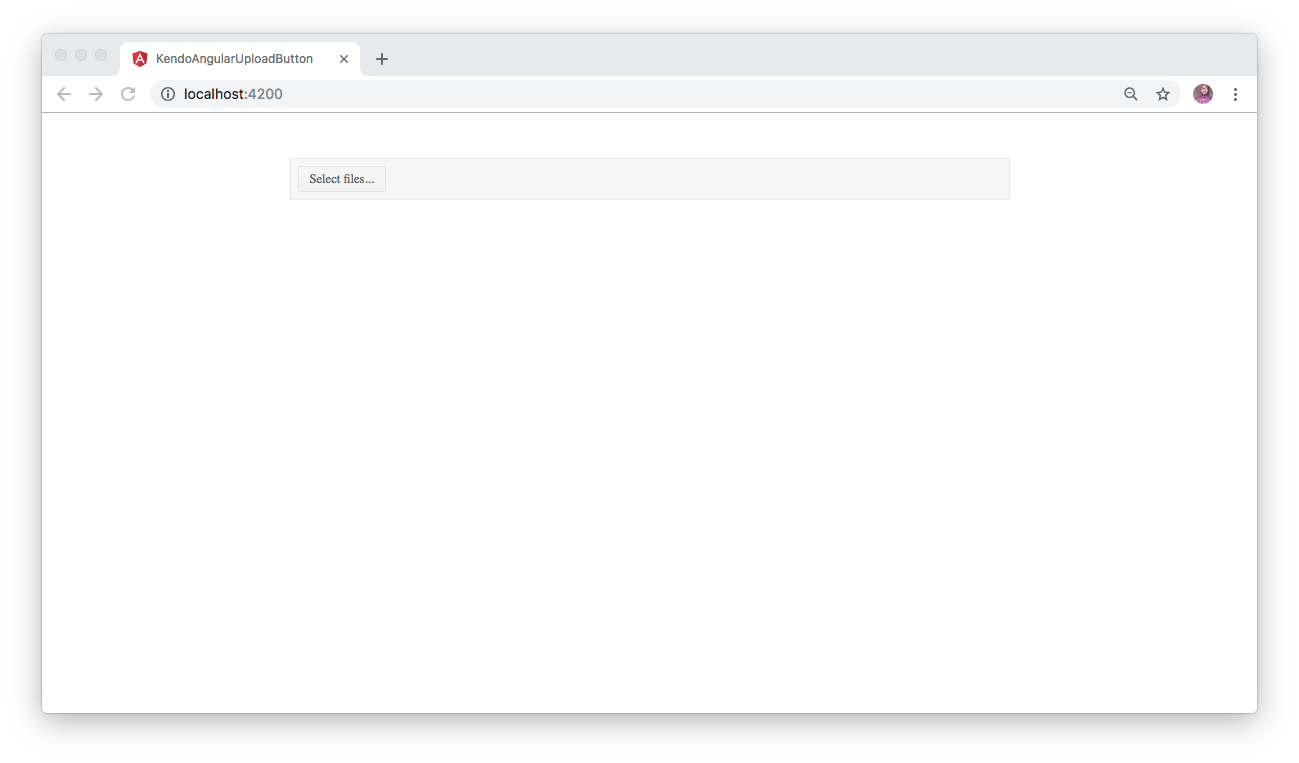
Now proceed to start the application again by running ng serve from the terminal within the application’s directory. Once the application is built and served on http://localhost:4200 you will see this:
 Rendering a proper file upload button in an Angular application is as simple as this. We will leverage the Kendo UI Upload component API to add more functionality to the button. At the moment, if you click on the
 Select files button, it will automatically upload the selected files. This is the default configuration and it can be changed by setting autoUpload to false as shown here:
// ./src/app/app.component.html

<div class="wrapper">
  <div class="content">
    <kendo-upload [autoupload]="false">
    </kendo-upload>
  </div>
</div>
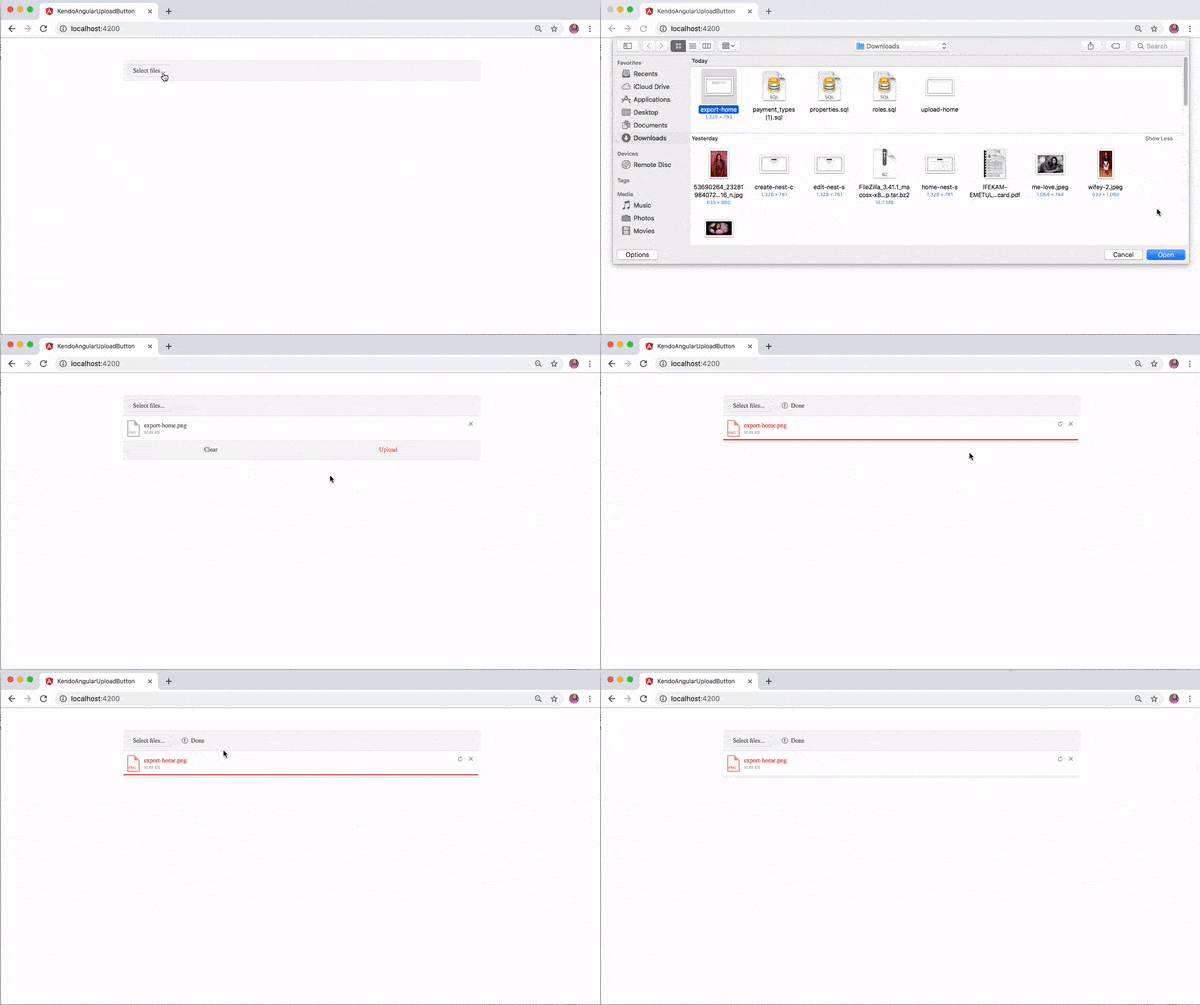
With the autoUpload set to false, the upload of files will occur only when explicitly confirmed by the user through a button-click as shown below:

Restrict File Upload Using Extensions and Sizes
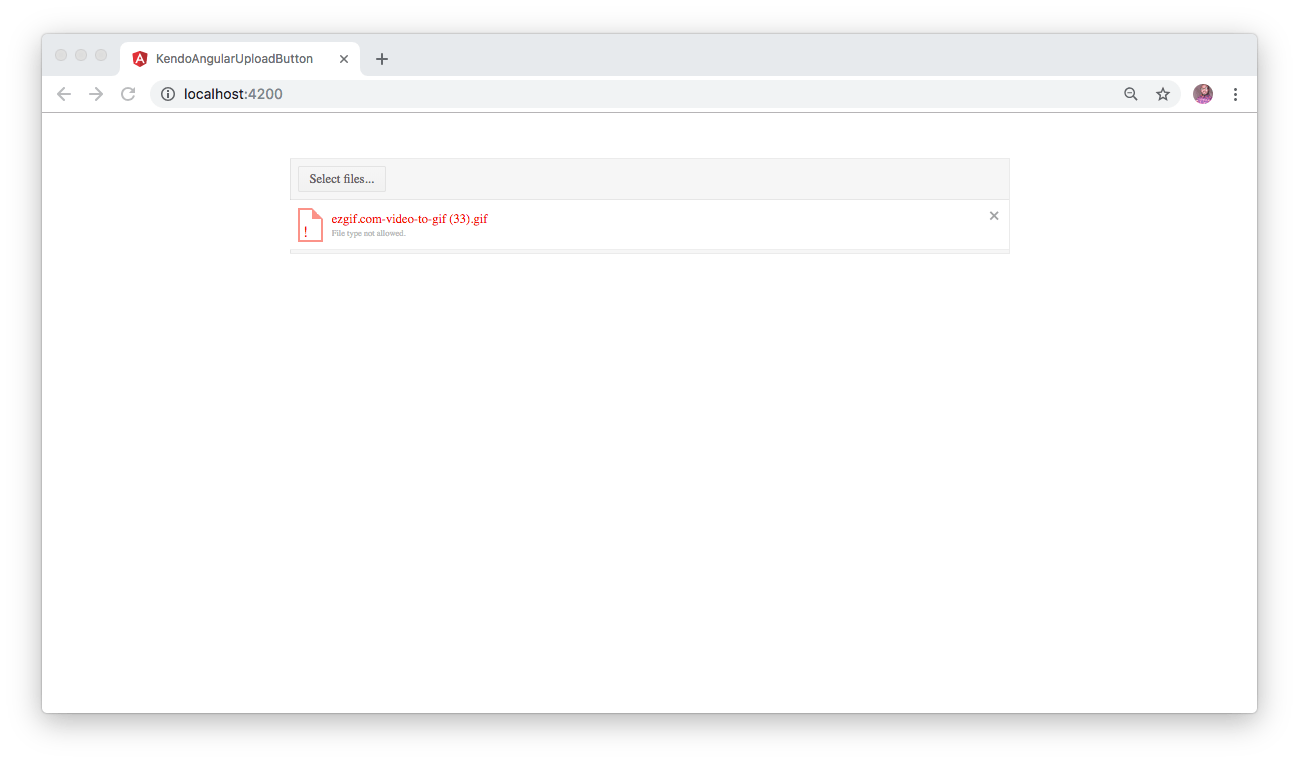
You can also configure the restrictions for files that can be uploaded by specifying allowed extensions. To achieve that, import the FileRestrictions module from @progress/kendo-angular-upload. Update the ./src/app/app.component.ts file as shown below:
// ./src/app/app.component.ts

import { Component } from '@angular/core';
import { FileRestrictions } from '@progress/kendo-angular-upload';
@Component({
  selector: 'app-root',
  templateUrl: './app.component.html',
  styleUrls: ['./app.component.css']
})
export class AppComponent {
  myRestrictions: FileRestrictions = {
    allowedExtensions: ['.jpg', '.png']
  };
}
This will ensure that the files with extensions not defined within the allowedExtensions property will not be uploaded. To make it work, you need to add the restrictions property to your Kendo UI upload component:
// ./src/app/app.component.html

<div class="wrapper">
  <div class="content">
    <kendo-upload [autoupload]="false" [restrictions]="myRestrictions">
    </kendo-upload>
  </div>
</div>
Conclusion
In this post you have learned how to easily build a simple file upload button in an Angular application by using Kendo UI. The official documentation contains details about the Kendo UI file Upload components API and more features that can be added to enhance the upload functionality.
Feel free to explore the source code here on GitHub and add more functionality as you deem fit.

