Sponsored by the Kendo UI for Angular team
Want to learn more about creating great Angular web apps? It all starts out with Kendo UI for Angular - a complete UI component library that allows you to quickly build high-quality, responsive apps. It includes everything you need, from grids and charts to dropdowns and gauges.
We on the Kendo UI for Angular team are committed to bringing you the latest tips and tricks in the world of Angular development. We hope you enjoy the post!
In this post you'll learn about internationalization and localization, the ngx-translate library and how to set it up in your Angular application. You’ll also see step-by-step instructions for how to work with multiple languages or locales.
In this step-by-step tutorial, I will demonstrate how to create an Angular project and use an ngx-translate library for localization. This tutorial covers the following topics.
- What are internationalization and localization
- What is ngx-translate?
- Create an Angular project
- Install ngx/translate library
- Set up the Angular project
- How to use or work with localization
- How to get browser language
What are Internationalization and Localization?
“In computing, internationalization and localization are means of adapting computer software to different languages, regional peculiarities and technical requirements of a target locale.”
—Wikipedia
What is ngx-translate?
ngx-translate is the library for internationalization (i18n) and localization in Angular. It simplifies your Angular application to work for localization. It’s easy to set up and use in an Angular application. (For more details, visit GitHub.)
Create an Angular Project
Following are the steps to create the Angular application using CLI:
- Create an Angular project, using the following CLI command.
> ng new angular-localization-demo
- Once this CLI command executes, next move to the created project path using the following command:
> cd my-localization-demo
- Run your created application easily using the following command. It directly opens the Angular application in the browser.
> ng serve -o
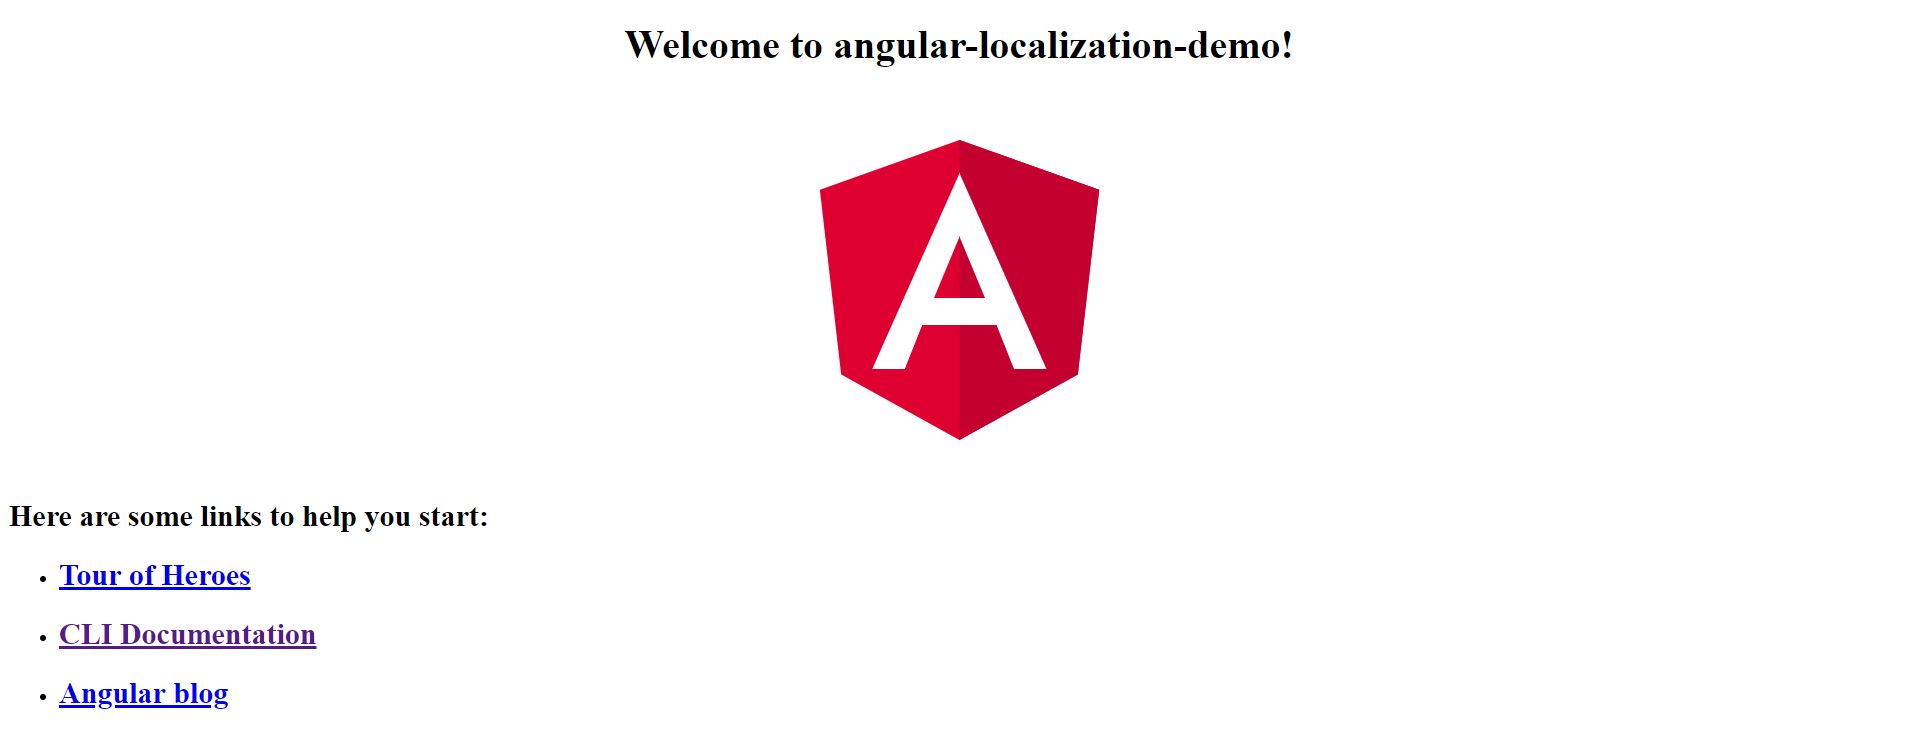
- It will show output as below image in the browser.

Install the ngx-translate Library
Following are the steps to install the ngx-translate library:
- Open a command prompt and move to your application path.
- Type the below command to install the npm module:
> npm install @ngx-translate/core --save
There is no loader available by default. You need to do translation manually by using setTranslation, so it’s better to use a loader. There are two ways you can use loader: You can create your own custom loader or use existing one provided by ngx-translate library. In this example we are using an existing one.
To use the existing loader, type below command to install the module:
> npm install @ngx-translate/http-loader --save
- Finally, we are done with the installation part. Now we can see how to use it in an Angular application.
Set up the Angular Project
To use the ngx-translate library in the Angular application, follow these steps.
- Open app.module.ts file and import the translate and loader modules as shown in the code below:
import { BrowserModule } from  '@angular/platform-browser';
import { NgModule } from  '@angular/core';
import { AppRoutingModule } from  './app-routing.module';
import { AppComponent } from  './app.component';
// localization module import
import { TranslateModule, TranslateLoader, TranslateService } from  '@ngx-translate/core';
import { TranslateHttpLoader } from  '@ngx-translate/http-loader';
import { HttpClientModule, HttpClient } from  '@angular/common/http';

// loader module
export  function  HttpLoaderFactory(http:  HttpClient) {
  return  new  TranslateHttpLoader(http, './assets/i18n/', '.json');
}

@NgModule({
  declarations: [AppComponent],
    imports: [
      BrowserModule,
      AppRoutingModule,
      HttpClientModule,
      TranslateModule.forRoot({
        loader: {
          provide:  TranslateLoader,
          useFactory:  HttpLoaderFactory,
          deps: [HttpClient]
        }
      })
    ],
    exports: [TranslateModule],
    providers: [TranslateService],
    bootstrap: [AppComponent]
})
export  class  AppModule { }
- In the above code, you can see we have used useFactory, provided the HttpLoaderFactory function to it for automate translation, and provided the locale.json file path to load.
- It loads translations from ‘/assets/i18n/[lang].json’. Here ‘[lang]’ is the language we are using; for example, for Dutch it would be nl.
- Create .json file in the above path. Here you can create many files of language you want to support in the application. In this example I have created two files — the first is English(en.json) and second Dutch(nl.json).
- Finally, we have set up ngx-library to be used in our Angular application.
How to Use or Work with Localization
So far, we have seen how to create an Angular project, install ngx-library, and set it up in the Angular project. Next, we are going to learn how to play with it in components using the library. Following are the basic and simple steps for localization.
- Open the app.component.ts file, import TranslateService and inject this service in constructor for translation.
import { Component } from  '@angular/core';
import { TranslateService } from  '@ngx-translate/core';

@Component({
  selector:  'app-root',
  templateUrl:  './app.component.html',
  styleUrls: ['./app.component.css']
})

export  class  AppComponent {
  title  =  'angular-localization-demo';
  constructor(translate:  TranslateService) {}
}
- Next, add the two lines below in constructor for setting the default language for localization and using it.
translate.setDefaultLang('en');

translate.use('en');
- In this step we are going to define the translation in .json file to use in localization. Following is the syntax to add translations in .json file; we are storing in key-value pair format.
- Add in en.json file.
{
  "WelcomeMessage": "Welcome to Angular Localization Demo"
}
- Add in nl.json file.
{
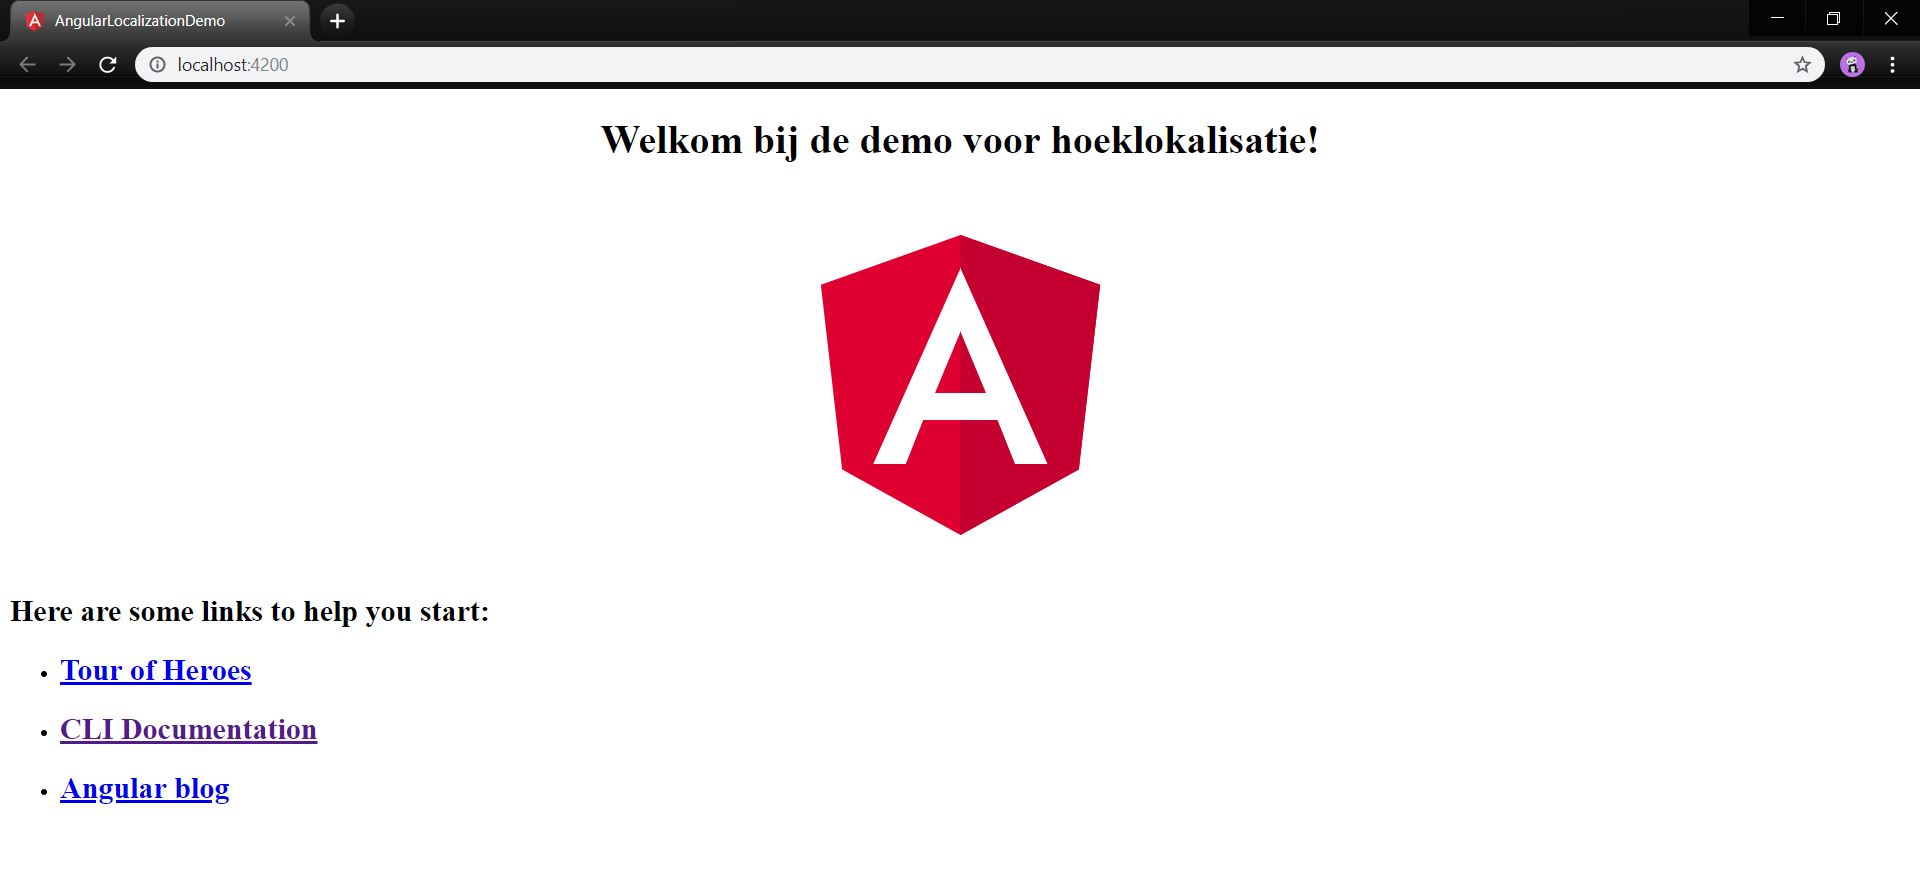
  "WelcomeMessage": "Welkom bij de demo voor hoeklokalisatie"
}
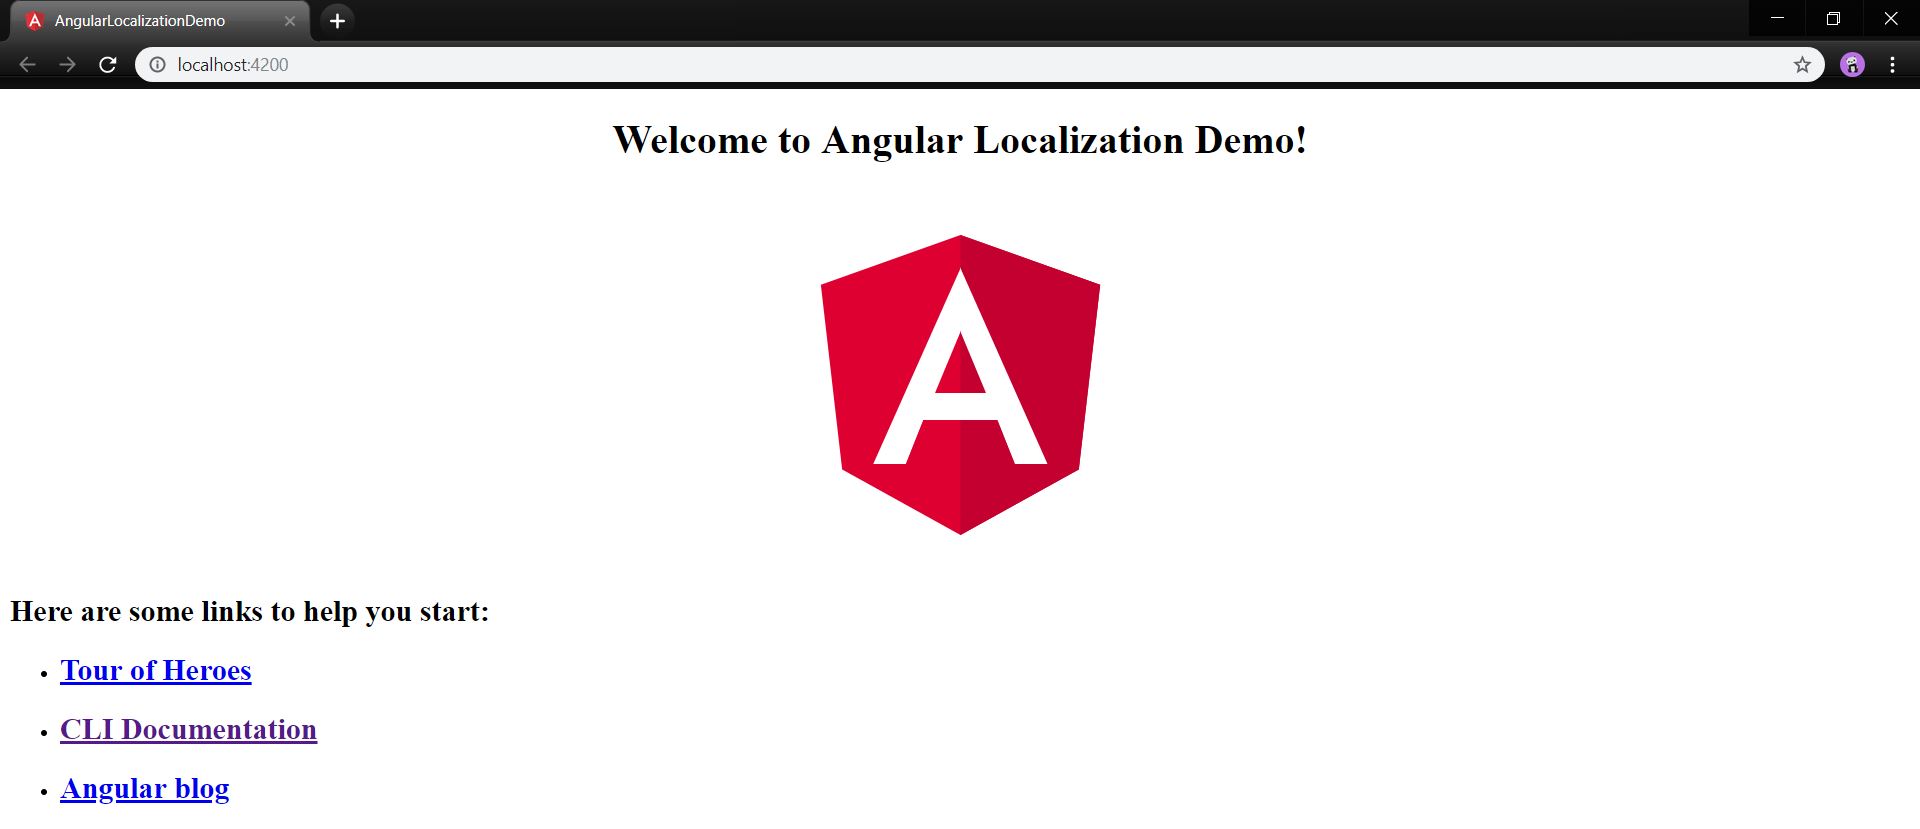
- Next, we are ready to play with it. We are going to change the current title Welcome to angular-localization-demo! to a localized translation. This translation service we are using as a pipe in HTML. The below code shows how to use in HTML; add it in the app.component.html file.
<h1>
  {{ 'WelcomeMessage' | translate }}!
</h1>
In the above code, you can see ‘WelcomeMessage’ is the key of .json file, as we see in the previous step after that pipe symbol and object of translation service.
Finally, we are done with changes. Now run the application with the following command.
> ng serve -o
- Once you run the above command you will see the output as below image in the browser.


- It shows text in English, but now we can change the default language and language to use as ‘nl’ as below code.
this.translate.setDefaultLang('nl');
this.translate.use('nl');
Once you change it as above and check in the browser, you will see the output as below image.

How to Get Browser Language
In the previous steps, we have seen that we have directly set the language in the constructor using the below two statements.
this.translate.setDefaultLang('nl');
this.translate.use('nl');
But, if you want your application localization to work on the basis of browser language, then what? Use the below method of TranslateService to get current browser language to set the default language.
const  currentLanguage  =  this.translate.getBrowserLang();
this.translate.setDefaultLang(currentLanguage);
this.translate.use(currentLanguage);
Once you are done with the above changes, run your application. It will get your first browser language and apply it to the library. If you want to check for other languages, change your browser language from English to Dutch and restart the browser and hit the application URL. It will set Dutch as the language as per browser.
Note: This demo application is only working for English and Dutch language. If you want another language, you need to add that language JSON file and set that language as default.
You can also download this example from here.
Conclusion
In this article, we discussed what ngx_translate is and how to use it in Angular applications. After that we saw how to work with browser languages. If you have any suggestions or queries regarding this article, please contact me.
“Learn it, Share it.”
