Maps are increasingly common in web applications. Learn how you can easily add a customizable map to your Vue.js application in just a few steps with Kendo UI.
The need for maps has grown over time in modern web applications. From rendering locations to addresses of offices, malls, gyms, conferences, and so on, almost every modern web application has a map display rendered somewhere in the app for one reason or another. Given the rise in need of displaying maps, we’ll demonstrate how to implement a map display in our Vue application using the Kendo UI map widget.
Set up a Vue Project
First, we have to create a Vue.js project with which we can demonstrate the implementation of our task scheduler. Without further ado, open a terminal window on your preferred directory and run the command below:
$ vue create map-demo
If you don’t have Vue CLI installed globally, please follow this guide to do so and come back to continue with this lesson afterward.
When you’re done bootstrapping your Vue application, change into the new Vue application directory and start the development server:
$ cd map-demo

$ npm run serve
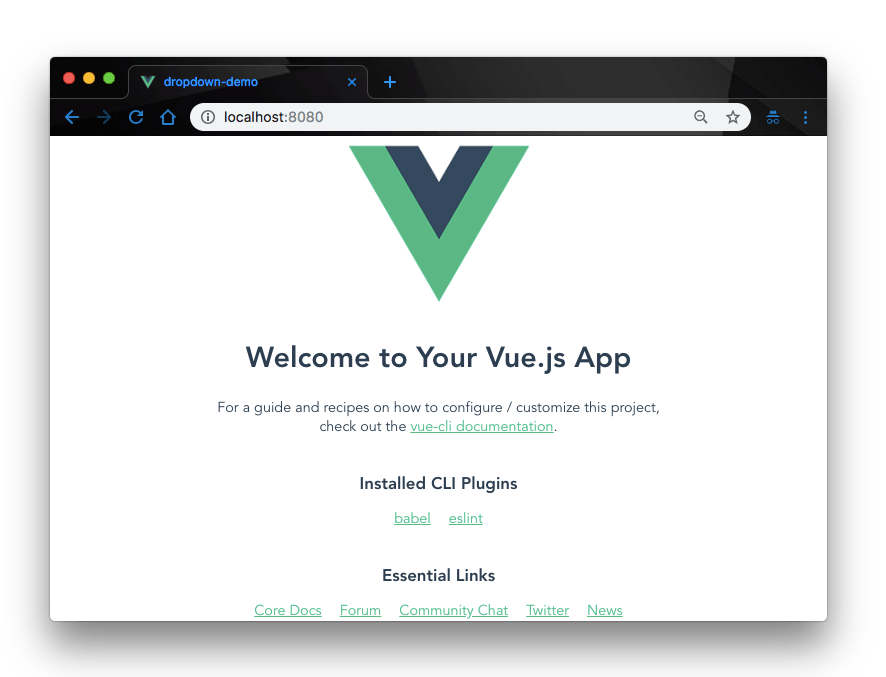
This will serve your Vue application on localhost:8080. Navigate to it on your browser and you will see your Vue application live:

Add Kendo UI to Your Project
Next, let’s add Kendo UI to our new Vue project. For the scope of this demonstration, we’ll need
- The Kendo UI package
- The Kendo UI default theme package
- The Kendo UI Map wrapper for Vue
To do that, open a terminal window in the project’s root directory and run the commands below:
// Install Kendo UI vue package
$ npminstall --save @progress/kendo-ui

// Install Kendo UI map wrapper for vue
$ npminstall --save @progress/kendo-map-vue-wrapper

// Install Kendo UI default theme package
$ npminstall --save @progress/kendo-theme-default
- Finally, we add the necessary Kendo UI packages from the CDN service. Open the
index.htmlfile in thepublicdirectory and add this snippet within the<head>tag:
<!-- public/index.html -->
<!--Load Kendo styles from the Kendo CDN service--><linkrel="stylesheet"href="https://kendo.cdn.telerik.com/2017.3.913/styles/kendo.common.min.css"/><linkrel="stylesheet"href="https://kendo.cdn.telerik.com/2017.3.913/styles/kendo.default.min.css"/><!--Load the required libraries - jQuery, Kendo, Babel and Vue--><scriptsrc="https://code.jquery.com/jquery-1.12.4.min.js"></script><scriptsrc="https://kendo.cdn.telerik.com/2017.3.913/js/kendo.all.min.js"></script><scriptsrc="https://cdnjs.cloudflare.com/ajax/libs/babel-core/5.6.15/browser-polyfill.min.js"></script><scriptsrc="https://unpkg.com/vue/dist/vue.min.js"></script><!--Load the required Kendo Vue package(s)--><scriptsrc="https://unpkg.com/@progress/kendo-map-vue-wrapper/dist/cdn/kendo-map-vue-wrapper.js"></script>
Create the Map Component
Now that we have all the Kendo UI packages we need for our scheduler app, let’s go ahead and modify our Vue app to render the map display. To do this, open the src/components/ folder. You should find an existing file HelloWorld.vue. Rename the file to Map.vue and update it with the code below:
<!-- src/components/Map.vue --><template><div class="hello"><h1>{{ msg }}</h1><div class="card"><div class="card-header">Kendo Vue Map</div><div class="card-body"><kendo-map :center="[30.268107, -97.744821]":zoom="5" style="width: 100%; height: 500px;"><kendo-map-layer
:type="'tile'":url-template="'https://#= subdomain #.tile.openstreetmap.org/#= zoom #/#= x #/#= y #.png'":subdomains="['a', 'b', 'c']":attribution="'©<a href=\'https://osm.org/copyright\'>
OpenStreetMap contributors</a>'"
></kendo-map-layer><kendo-map-marker :location="[30.268107, -97.744821]"></kendo-map-marker><kendo-map-marker :location="[32, -97.744821]"></kendo-map-marker><kendo-map-marker :location="[34, -97.744821]"></kendo-map-marker></kendo-map></div></div></div></template><script>exportdefault{
name:"Map",
props:{
msg: String
}};</script>}</style>Here we have rendered the <kendo-map> widget with all the associating widgets like the <kendo-map-layer> and the <kendo-map-marker>. The map widget defines the center location of the map and some other features like the width, height, zoom level, etc.
The map layer widget defines the map type, template, and subdomains. This layer also gives you access to the attribution property where you can define a custom message or link to an external resource.
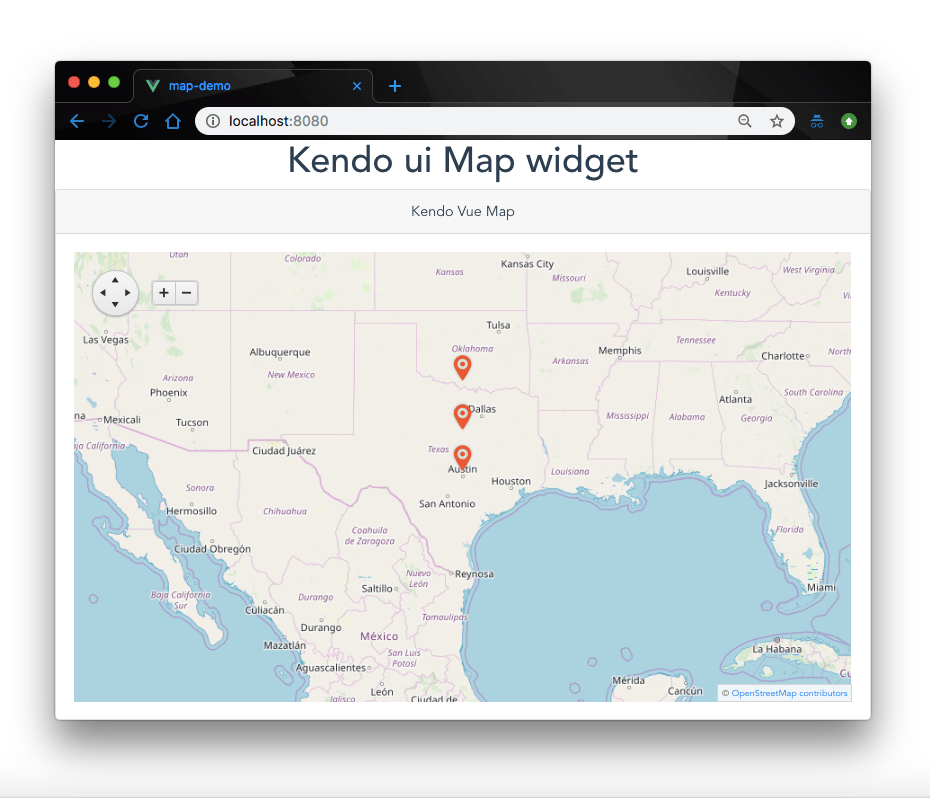
Finally, we use the map marker widgets to identify certain locations on the map. We have added three markers on the map above to point to specific locations when we run the app.
Modify the App Component
Next, let’s update the App.vue file in the src directory to render our Map component when we run the app. Open the App.vue file and update it with the code below:
<!-- src/App.vue --><template><div id="app"><img alt="Vue logo" src="./assets/logo.png"><Map msg="Kendo UI Map widget"/></div></template><script>import Map from"./components/Map.vue";exportdefault{
name:"app",
components:{
Map
}};</script>
<style>
#app {
font-family:"Avenir", Helvetica, Arial, sans-serif;-webkit-font-smoothing: antialiased;-moz-osx-font-smoothing: grayscale;
text-align: center;
color: #2c3e50;
margin-top: 60px;}</style>
Here we simply imported the Map component and rendered it with a custom message from the props we defined earlier in the Map component. Finally, let’s tell Vue.js to use the MapInstaller from the Kendo UI map wrapper for Vue to render our Map by adding it to our Vue instance to make it globally available in our app. Open the main.js file and update it with the line below:
<!-- src/Main.js -->import{ MapInstaller }from'@progress/kendo-map-vue-wrapper'
Vue.use(MapInstaller)
Now when you save all the changes and navigate back to the browser, you should get our map display rendered on the browser like so:

Custom Markers
This is great! We’ve got exactly what we wanted, but we can take it a bit further and customize our location markers. For instance, we can update the markers to display a custom message when you hover over them. Let’s do that. In the Map.vue file, replace the existing <kendo-map-marker> widget with this one:
<!-- src/components/Map.vue --><kendo-map-marker
:location="[30.268107, -97.744821]":tooltip-auto-hide="false":tooltip-content="'Probably a village'"></kendo-map-marker><kendo-map-marker
:location="[32, -97.744821]":tooltip-auto-hide="false":tooltip-content="'Could be a City'"></kendo-map-marker><kendo-map-marker
:location="[34, -97.744821]":tooltip-auto-hide="false":title="'custom location'"></kendo-map-marker>
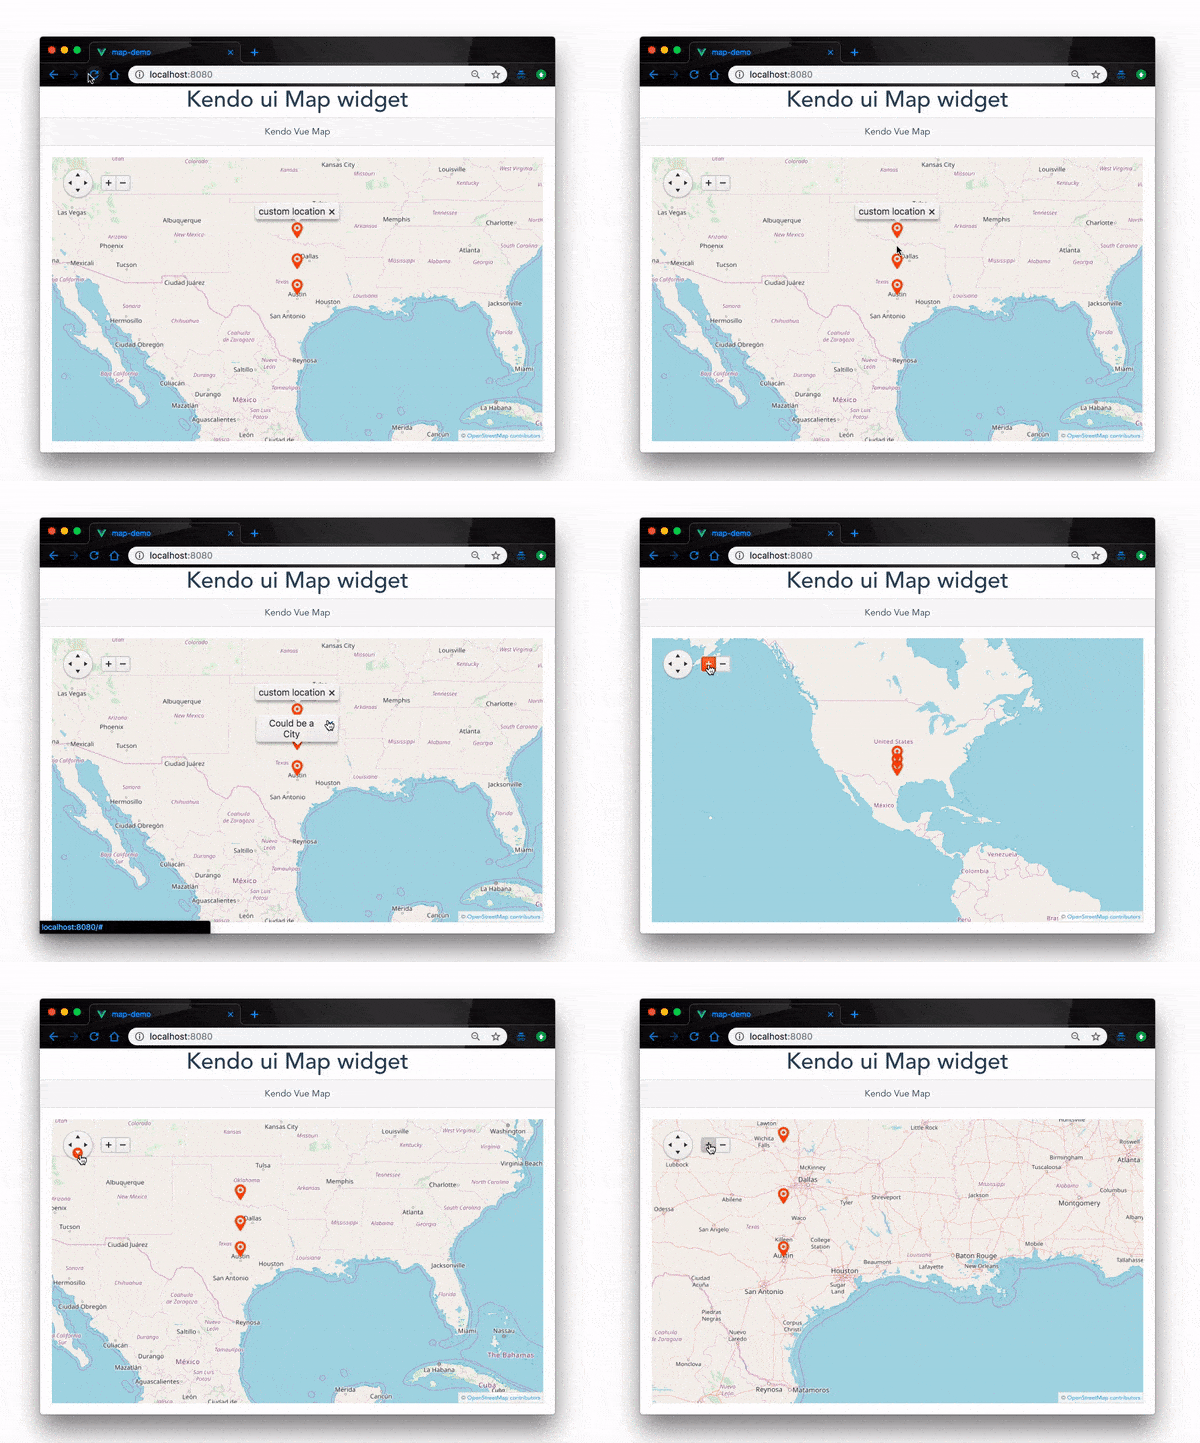
Here, we have updated our map markers to show a custom tooltip when a user hovers over the markers. You could really write whatever you want on the tooltips; however, it is often used to mark out an important location. Moreso, it is worthy to note that the map comes with a built-in navigational system as we’ll see in the image below.

Conclusion
The need for maps on web applications are high and getting higher. One out of every five websites today has maps for location purposes. In this post, we have demonstrated how you can easily render a completely customizable map to your Vue.js application using Kendo UI map widget. Feel free to learn more about it and other cool components on the Kendo UI documentation page.
This blog has been brought to you by Kendo UI
Want to learn more about creating great web apps? It all starts out with Kendo UI - the complete UI component library that allows you to quickly build high-quality, responsive apps. It includes everything you need, from grids and charts to dropdowns and gauges.
