Learn how you can use PdfProcessing in your Xamarin or .NET Core application to easily manipulate PDF documents.
If you are familiar with our web and desktop suites, you most probably have heard about the Telerik Document Processing libraries we provide with the packages. During the last release, we worked hard to port the library enabling you to work with PDF documents – RadPdfProcessing– to .NET Standard. The new binaries are shipped for the first time with Telerik UI for Xamarin. You can now create, modify and export PDF files within your Xamarin application.
In case you still haven’t met the API of this component and haven’t worked with it, I will show you some of the basic and most used features and how you can utilize them.
Start from the Basics
To start working with a document, you will need to first instantiate the RadFixedDocument class. There are two approaches to achieve that, depending on whether you would like to create a document or edit an existing one. For the first scenario it's enough to just instantiate a RadFixedDocument:
RadFixedDocument document = new RadFixedDocument(); When you already have a PDF document and need to translate it to a RadFixedDocument, the PdfFormatProvider class comes to help you do that:
RadFixedDocument document;

using (var stream = File.OpenRead(pathToExistingDocument))

{

Telerik.Windows.Documents.Fixed.FormatProviders.Pdf.PdfFormatProvider provider = new Telerik.Windows.Documents.Fixed.FormatProviders.Pdf.PdfFormatProvider();

document = provider.Import(stream);

}
Have You Ever Seen a PDF Document without at Least a Page? No? Me Either
The RadFixedDocument class exposes the Pages collection allowing you to add, remove and iterate the pages inside the document. Here is how you can add an empty page to a document:
RadFixedPage page = document.Pages.AddPage();
 foreach (var page in document.Pages)

{

// Modify the page...

}
Let’s Edit It
No matter if you create the document from scratch or just modify an existing one, in both cases you will need to interact with the content and most probably add something additional. Here comes the FixedDocumentEditor class which allows you to draw content and control its positions in the fixed document.
Let’s start by creating an editor. The constructor requires a parameter of type IContentRootElement, which will be our RadFixedPage:
FixedContentEditor editor = new FixedContentEditor(page); I am now going to define several fields so I can use them across the class for easier position tracking:
private static readonly double defaultLeftIndent = 50;

private static double currentTopOffset = 120;
Now we have everything defined to start drawing our content. In the following code snippet, I will introduce you the Block class. This class is responsible for making easy the basic layout of text. It might sound like something pretty simple but in the PDF document format only text fragments are supported. In other words, if you pass some long text, it will be just clipped by the boundaries of the page. When using the Block class, it can measure the content and arrange it on different lines so that all the content can be visible when rendering the page.
double currentXOffset = defaultLeftIndent;

editor.Position.Translate(currentXOffset, currentTopOffset);

Block block = new Block();

block.GraphicProperties.FillColor = RgbColors.Black;

block.HorizontalAlignment = HorizontalAlignment.Left;

block.TextProperties.FontSize = 14;

block.TextProperties.TrySetFont(new FontFamily("Helvetica"), FontStyles.Italic, FontWeights.Bold);

block.InsertText("RadPdfProcessing");

block.TextProperties.TrySetFont(new FontFamily("Helvetica"));

block.InsertText(" is a document processing library that enables your application to import and export files to and from PDF format. The document model is entirely independent from UI and allows you to generate sleek documents with differently formatted text, images, shapes and more.");

// Define a size in which you would like to accommodate the content

double maxWidth = page.Size.Width - defaultLeftIndent * 2;

Size contentMaxSize = new Size(maxWidth, double.PositiveInfinity);

editor.DrawBlock(block, contentMaxSize);

currentTopOffset += block.DesiredSize.Height;
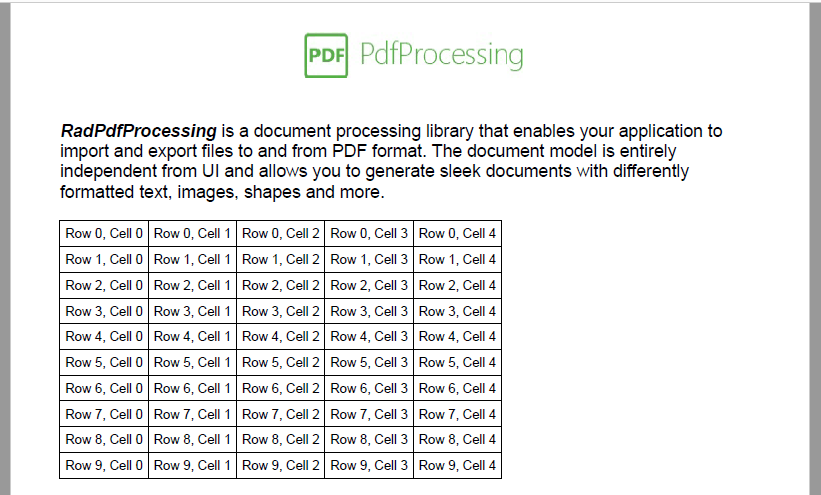
Are you curious about what this content looks like? I will show you an image of the current result but in case you would like to test it, at the end of the post you will find how to save the file.

Yeah, we have some content inside our document. But… it looks a bit… let’s say simple, doesn’t it? Here comes the time to introduce the logo of the library to you. And, of course, the API for inserting images:
editor.Position.Translate(300, 40);

ImageSource source = new ImageSource(File.OpenRead(@"../../pdfProcessing.jpg"));

editor.DrawImage(source);
It is simple like that – define the image source and draw it on the page. And voila! Now we have an image on the top of the page, like you would insert it in the header of a rich-text document.

The next shiny functionality I would like to show you is the drawing of tables. In the PDF format, there is no concept for similar elements – they are defined as a bunch of lines and text fragments. That is why generating a table using the PDF primitives is not a trivial task. PdfProcessing makes it easy, though. This is what the code would look like if you need to insert a table with several rows and columns:
Table table = new Table();

table.Margin = new Thickness(0, 20, 0, 0);

table.DefaultCellProperties.Padding = new Thickness(5);

Border border = new Border(1, RgbColors.Black);

table.DefaultCellProperties.Borders = new TableCellBorders(border, border, border, border);

for (int rowIndex = 0; rowIndex < 10; rowIndex++)

{

TableRow row = table.Rows.AddTableRow();

for (int columnIndex = 0; columnIndex < 5; columnIndex++)

{

TableCell cell = row.Cells.AddTableCell();

Block cellBlock = cell.Blocks.AddBlock();

cellBlock.InsertText($"Row {rowIndex}, Cell {columnIndex}");

}

}

editor.Position.Translate(currentXOffset, currentTopOffset);

editor.DrawTable(table);

// Keep the position up to date

currentTopOffset += table.DesiredSize.Height; 
Do You Want to be Interactive?
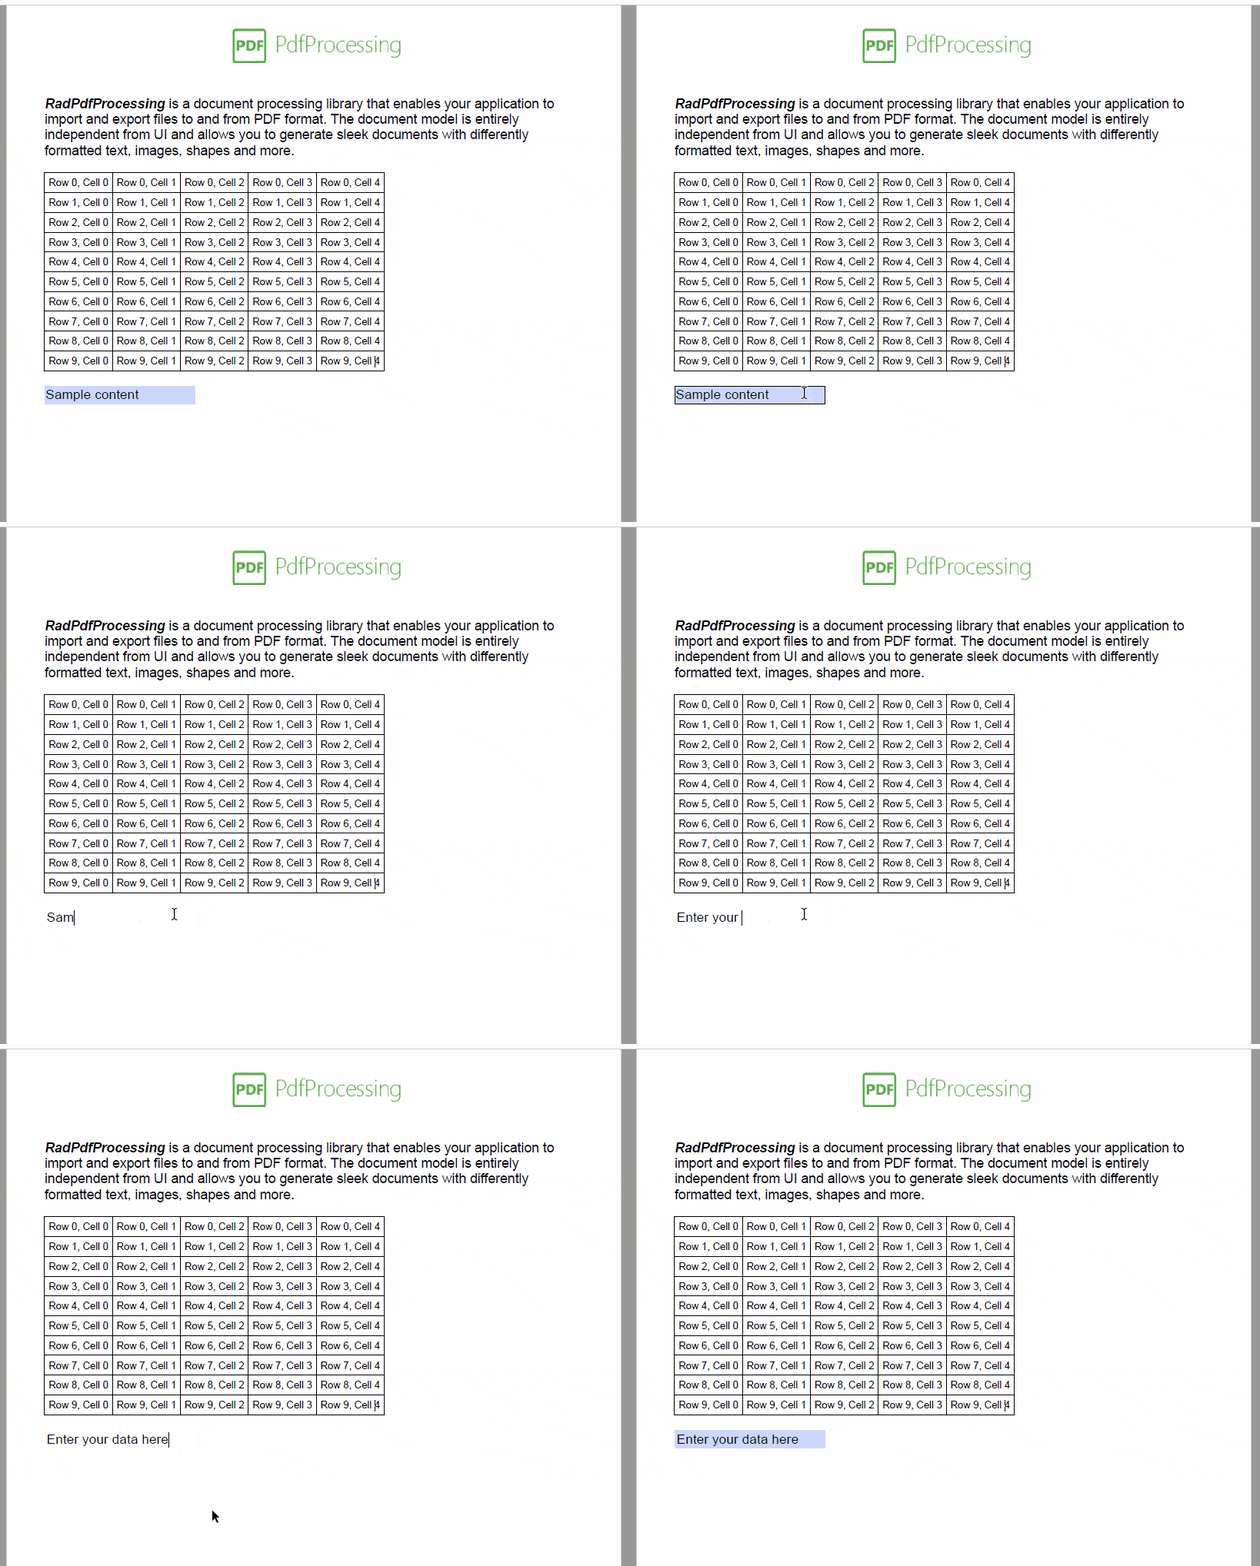
At this point, we discussed the most recently used and basic elements in a PDF document. Are you curious about the more advanced options the PDF format provides? The Interactive Forms are one of the most used features of the format and are supported by our library as well. You can create a document from scratch and use the forms to allow the users enter their data or import an existing document and change the values of the forms inside. For a full list of the supported form fields and more details about the API, you can check our Interactive Forms Overview documentation article. If you would like to directly test the feature and dive into the code, our SDK examples are a good starting point to do so: Create Interactive Forms and Modify Forms.
And let’s see some code for inserting a Text Box field with an initial value in our sample document:
TextBoxField textField = document.AcroForm.FormFields.AddTextBox("SampleTextBox");

textField.MaxLengthOfInputCharacters = 500;
textField.IsMultiline = true;
textField.IsPassword = false;
textField.IsFileSelect = false;
textField.ShouldSpellCheck = true;
textField.AllowScroll = true;
textField.Value = "Sample content";

currentTopOffset += 20;
editor.Position.Translate(currentXOffset, currentTopOffset);

editor.DrawWidget(textField, new Size(200, 25));
Preserve Your Data
Once you are done with the generation and modification of the content, you will need to save it. This is achieved through the PdfFormatProvider class and its methods allowing you to export the document to a Stream instance or to a byte[].
using (Stream stream = File.OpenWrite("sample.pdf"))

{

Telerik.Windows.Documents.Fixed.FormatProviders.Pdf.PdfFormatProvider pdfFormatProvider = new Telerik.Windows.Documents.Fixed.FormatProviders.Pdf.PdfFormatProvider();

// Save the document to a Stream

pdfFormatProvider.Export(document, stream);

}
That’s it! Now you have a PDF document using the most popular of the format’s functionalities.
Conclusion
Working with PDF documents is now easier with the functionalities and API provided by RadPdfProcessing. You can quickly generate or modify documents as well as fill their form fields or protect the data with a password.
In this post I showed only the most used functionalities. PdfProcessing, however, can cover many more cases. Check our documentation for a full list of the supported features and elements. And don’t forget that all of that is .NET Standard 2.0 compatible so you can run it on any platform supporting it.
If you have any questions for the team, feel free to post your comments here. In case you need more technical assistance, you can always open a support ticket or post in the forums. The same folks who build the components also answer the questions from our customers. As always, we will be more than happy to also hear your feedback for the components.
Still haven't tried Telerik UI for Xamarin? The free trial is right here waiting for you to give it a try and explore all the components provided in the suite.