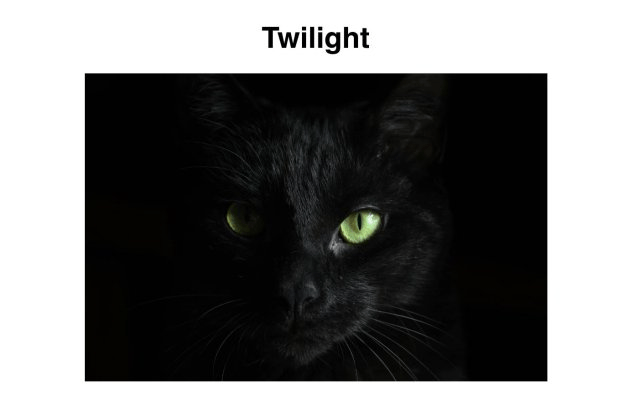
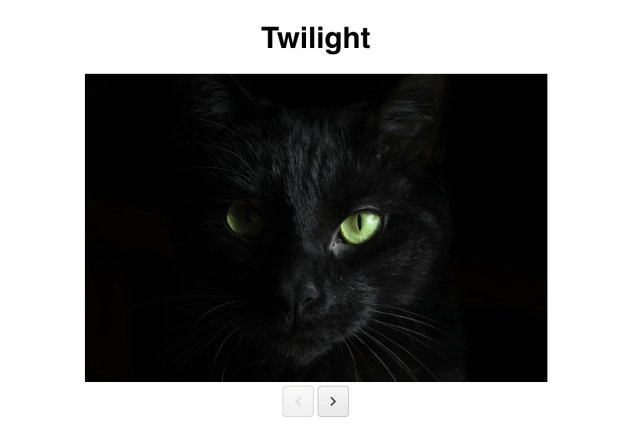
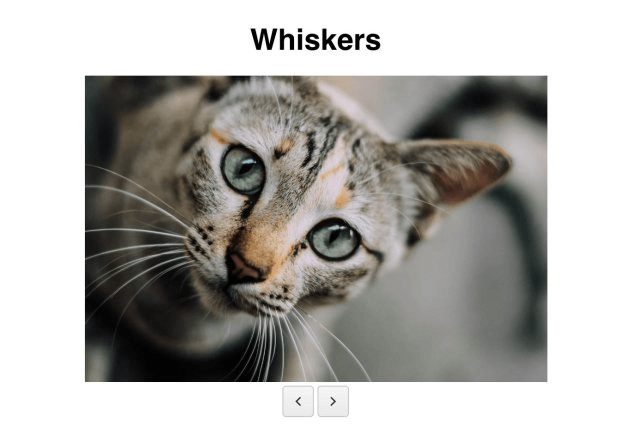
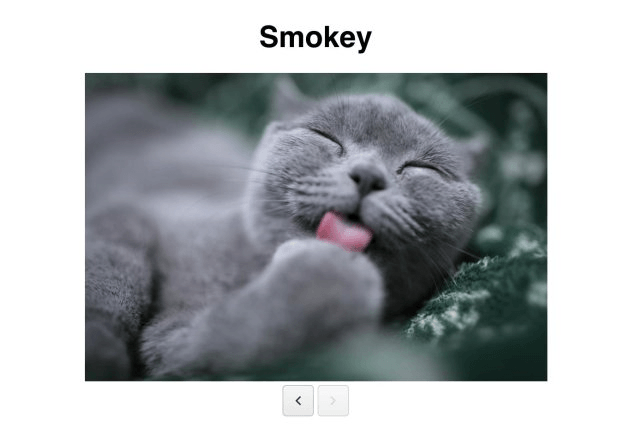
In this article, you will learn how to use the Kendo UI Button component with Vue. To illustrate how the button works, we will be building pagination for a list of cat pictures. Each page will have a title and an image as well as a next and previous button. Clicking the buttons will move you forward and backward through the pages respectively. When you reach the end of the posts, the next button will become disabled. When you reach the beginning post, the previous button will be disabled.
First, we will initialize our project with the data for our pages. Then we will add the buttons and implement their click handlers.
Getting Started
We will install Vue by adding a link to the CDN to the head of our HTML file. Because we are using the Vue CDN, we will need to link to the Kendo UI CDN for Vue. Kendo UI Vue Components are packaged together in different files. The following is the link to the file we will use to load the button component.
<scriptsrc="https://unpkg.com/@progress/kendo-buttons-vue-wrapper/dist/cdn/kendo-buttons-vue-wrapper.js"></script>In the body of our page, we will create an element to mount the Vue instance on. Inside this element is a header for the title and an image element that will be bound with data from our Vue instance. The data will be an array of post objects that have a title and src attribute. To get started, we will create a Vue instance that points to the ID of our root element, initializes the data with post data and has an index to keep track of the current post selected. Then, we will add the computed property post to retrieve a post from the list. The following code shows the first post.
<!DOCTYPE html><html><head><metacharset="utf-8"><title>Button Vue</title><linkrel="stylesheet"href="https://kendo.cdn.telerik.com/2018.3.1017/styles/kendo.common.min.css"><linkrel="stylesheet"href="https://kendo.cdn.telerik.com/2018.3.1017/styles/kendo.default.min.css"><scriptsrc="https://code.jquery.com/jquery-1.12.3.min.js"></script><scriptsrc="https://kendo.cdn.telerik.com/2018.3.1017/js/kendo.all.min.js"></script><scriptsrc="https://cdn.jsdelivr.net/npm/vue@2.5.17/dist/vue.js"></script><scriptsrc="https://unpkg.com/@progress/kendo-buttons-vue-wrapper/dist/cdn/kendo-buttons-vue-wrapper.js"></script><style>#app{margin-top:10%;font-family: helvetica;}img {width:75%;}.text-center{text-align: center;}</style></head><body><divid="app"class="text-center"><div><h1>{{ post.title }}</h1><img:src="post.src"alt="cats"/></div></div><script>var posts =[{
        title:'Twilight',
        src:'https://images.unsplash.com/photo-1503431128871-cd250803fa41?ixlib=rb-1.2.1&ixid=eyJhcHBfaWQiOjEyMDd9&auto=format&fit=crop&w=1500&q=80'},{
        title:'Whiskers',
        src:'https://images.unsplash.com/photo-1448222993383-a2fff2914d27?ixlib=rb-1.2.1&ixid=eyJhcHBfaWQiOjEyMDd9&auto=format&fit=crop&w=1510&q=80'},{
        title:'Smokey',
        src:'https://images.unsplash.com/photo-1511275539165-cc46b1ee89bf?ixlib=rb-1.2.1&auto=format&fit=crop&w=1650&q=80'}];newVue({
        el:'#app',
        data:{
          posts: posts,
          index:0},
        computed:{
          post:function(){returnthis.posts[this.index];}}});</script></body></html>
Adding the Buttons
To toggle the disabling and enabling of the buttons, they are given a disabled attribute that will be equal to a boolean property in our Vue instance. For the previous button, we will add the property hasPrevious to our data and initialize it to false. Since the index is initialized to zero, the previous button needs to be disabled. For the next button, the hasNext property will be added to the data and initialized to true. The next button will be disabled when the last element is selected. This is the updated code:
<divid="app"class="text-center">
  ...
<kendo-button:disabled="!hasPrevious"@click="onPrevious"icon="arrow-chevron-left"></kendo-button><kendo-button:disabled="!hasNext"@click="onNext"icon="arrow-chevron-right"></kendo-button></div>newVue({...
data:{
posts: posts,
index:0,
hasPrevious:false,
hasNext:true},});Next, we will walk through the implementation for both buttons’ click handlers. The onPrevious method decrements the index property. The hasNext property is set to true because if the next button were disabled, it should now be enabled. Then we will check if the current index is zero. If it is, the hasPrevious property will be set to false to disable the previous button. The following code creates the onPrevious method:
methods:{
  onPrevious:function(){this.index -=1;this.hasNext =true;if(this.index ==0){this.hasPrevious =false;}}}
The onNext method increments the index and sets the hasPrevious property to true. IfhasPreviouswerefalse, clicking the next button should make it true and enable the previous button. Then we will check if the current index is two, the last index of our post data. If it is,hasNext` will be set to false, disabling the next button. This is the additional code and what the final project looks like:
methods:{...
  onNext:function(){this.index +=1;this.hasPrevious =true;if(this.index ==2){this.hasNext =false;}}}


You can see the code for the final project here: https://dojo.telerik.com/oBEqItIZ
Summary
We created pagination for our cat pictures with a previous and next button to page through the posts. You saw how to disable the buttons and attach event listeners. You also learned the basics of how to create a Vue app, including creating a Vue instance and specifying the el and data properties at a minimum. We used the computed property to get the selected post. And we used the methods property to define our click handlers. In the next post, we will create a mini app using the Kendo UI ButtonGroup Vue component.
Try out Kendo UI for Yourself
Want to start taking advantage of the 70+ ready-made Kendo UI components, like the Grid or Scheduler? You can begin a free trial of Kendo UI for Vue today and start developing your apps faster.
Angular, React and jQuery Versions
Looking for UI components to support specific frameworks? Check out Kendo UI for Angular, Kendo UI for React or Kendo UI for jQuery.