An introduction to Vue with a focus on the environment and covering the use of Single File Components and the build process.
Editors note:
This article is a good companion piece to article "Hello Vue: A Quick Tutorial on Getting Started with Vue" which is a more basic introduction to Vue syntax. This article goes into more detail on some of the more advanced aspects of the Vue environment but less about the actual code structure.
I've been working with Vue for a little over six months now and the number one thing that impresses me about it so far is how easy it to use. In ways, it reminds me more of a modern jQuery than Angular or React. The fact that you can just drop a script tag on a page and go crazy has made me much more inclined to "play" with Vue compared to other frameworks out there. (And to be clear, I know that's possible with other frameworks, my point is that Vue really enables this in an easy way.)
While I've used Vue to build a lot of demos, pretty much everything I've built so far has been based off that particular use case - adding a script tag and then some code to add interactivity to a page. There's nothing wrong with that, but Vue supports building full applications (Single Page Applications, or SPAs as the cool kids call em) as well. This is an area I've avoided because - and I'll be honest here - it feels a bit overwhelming. I decided to write this post up to help others who may be in the same boat and to help me get over my own fear as well.
As always, this is a "What Ray thinks" type of post so take my opinions as, well, opinions, but I hope this helps! Also, I want to give a shout out to my buddy Robert Zehnder. He started picking up Vue after seeing me blog about it so much and has gone on to surpass me in the kind of cool stuff he's doing with it. Thanks Robert!
Ok, But Why?
If I like the simple 'drop a script tag and go' approach, why would I ever want to do anything more complex than that?
The first answer to that is that there is a big difference between building simple interactivity into a page versus building an application. While you can build a complete app with just the script tag approach, it might get a bit unwieldy after a while.
The second biggest reason, in my opinion, is the use of Single File Components. This is a method of writing Vue apps that just feels dang wonderful when you first see them.
You do have a build process now and that may be somewhat of a barrier if you aren't used to em (I'm not!), but as you'll see, it isn't too scary of a change. Let's walk through an example.
First - The CLI
The first thing you'll want to do is get the CLI. This is an incredibly powerful tool that just got a major update, but I'm going to keep this post focused on the basics.
Now be warned - the Vue CLI has been around for a while now but as I said, it just had a major update. How you install it is different now so most likely you will encounter older blog posts talking about the CLI and you should not expect them to work as is. (Technically they will since you install a completely different binary but - yeah - just be careful.) Be sure to follow the installation instructions on the official site and you'll be good to go.
Second - Make a Project
Once installed, you can then create a new Vue project (and yes, "project", we aren't just building a Vue file, we're doing real web dev work now!) with the following command:
vue create app1
You'll first be asked if you want to take the defaults or select options. Just take the defaults. It will then start doing a whole crap ton of stuff. Depending on your platform you can maybe go grab a coffee. I'm using the Windows Subsystem for Linux which is awesome, but somewhat slow for large file operations. When done, go ahead and take a look at what it created:
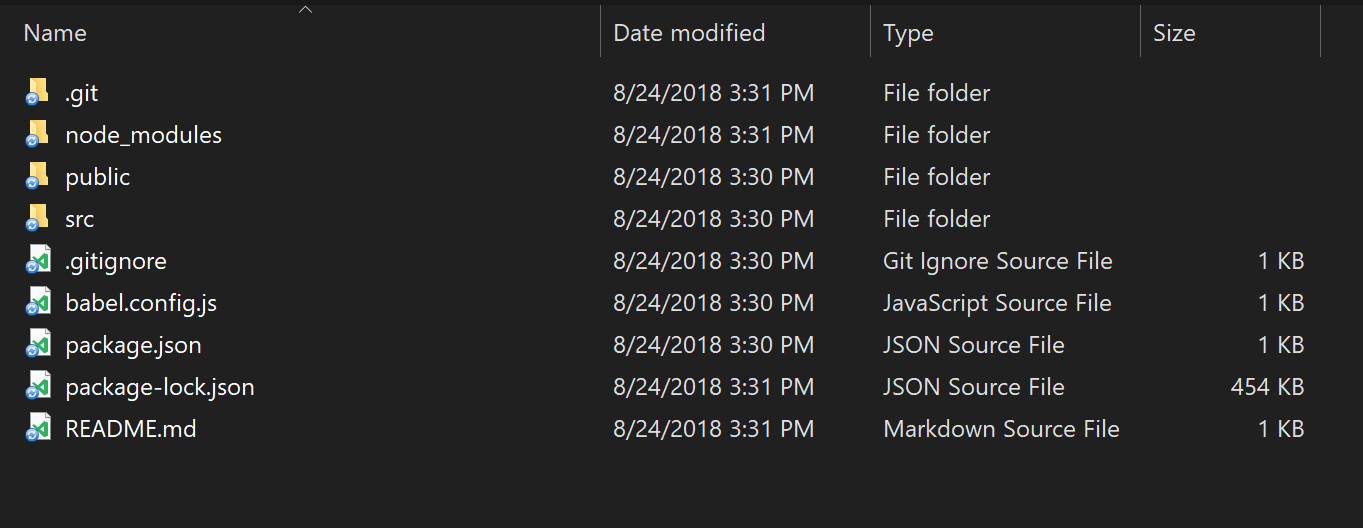
List of Files
I'm not going to assume you know what any of this means, but I'll quickly cover the things that most people will know.
- The
.gitfolder is where Git will store version control information and.gitignoreis a configuration file for things to Git to ignore. (Some things you don't want checked into source control.) node_modules,package.json, andpackage-lock.jsonare all related to modules loaded via NPM. Basically this is where all the support stuff for the project is stored. The CLI figured out what you needed by default and added everything.babel.config.jstells how the project should use Babel to create backwards compatible JavaScript. This lets you use fancy hipster JavaScript without worry.
Ok, how about the rest?
The README.md file is a quick recap of the commands you can use to work with the project. We'll start using that in a bit.
The src folder is where your app really lives. That's where we'll do work and I'll go into that in a bit too.
The public folder is a weird one.
The public folder is used in a few ways. First, there is an index.html file there that is used as a template for your final application. When you create your production builds, it's going to use that as a - well - template. You can also use that folder for storing images and the like. I had some trouble finding docs on this, but you can read more here: HTML and Static Assets
Next - Work with the Project
Before we get into the various bits of the project, let's look at how you work with it. All of this comes from the README file so if you forget, just check there.
To run the project, which means set up a local webserver so you see your code in action, you do: npm run server.
To create a production release of your project that can be uploaded to a live webserver, you run: npm run build.
There's more commands, but those two are all you need at first. Let's start up the webserver with that first command:

Starting the Webserver
Opening that up in the browser will give you:
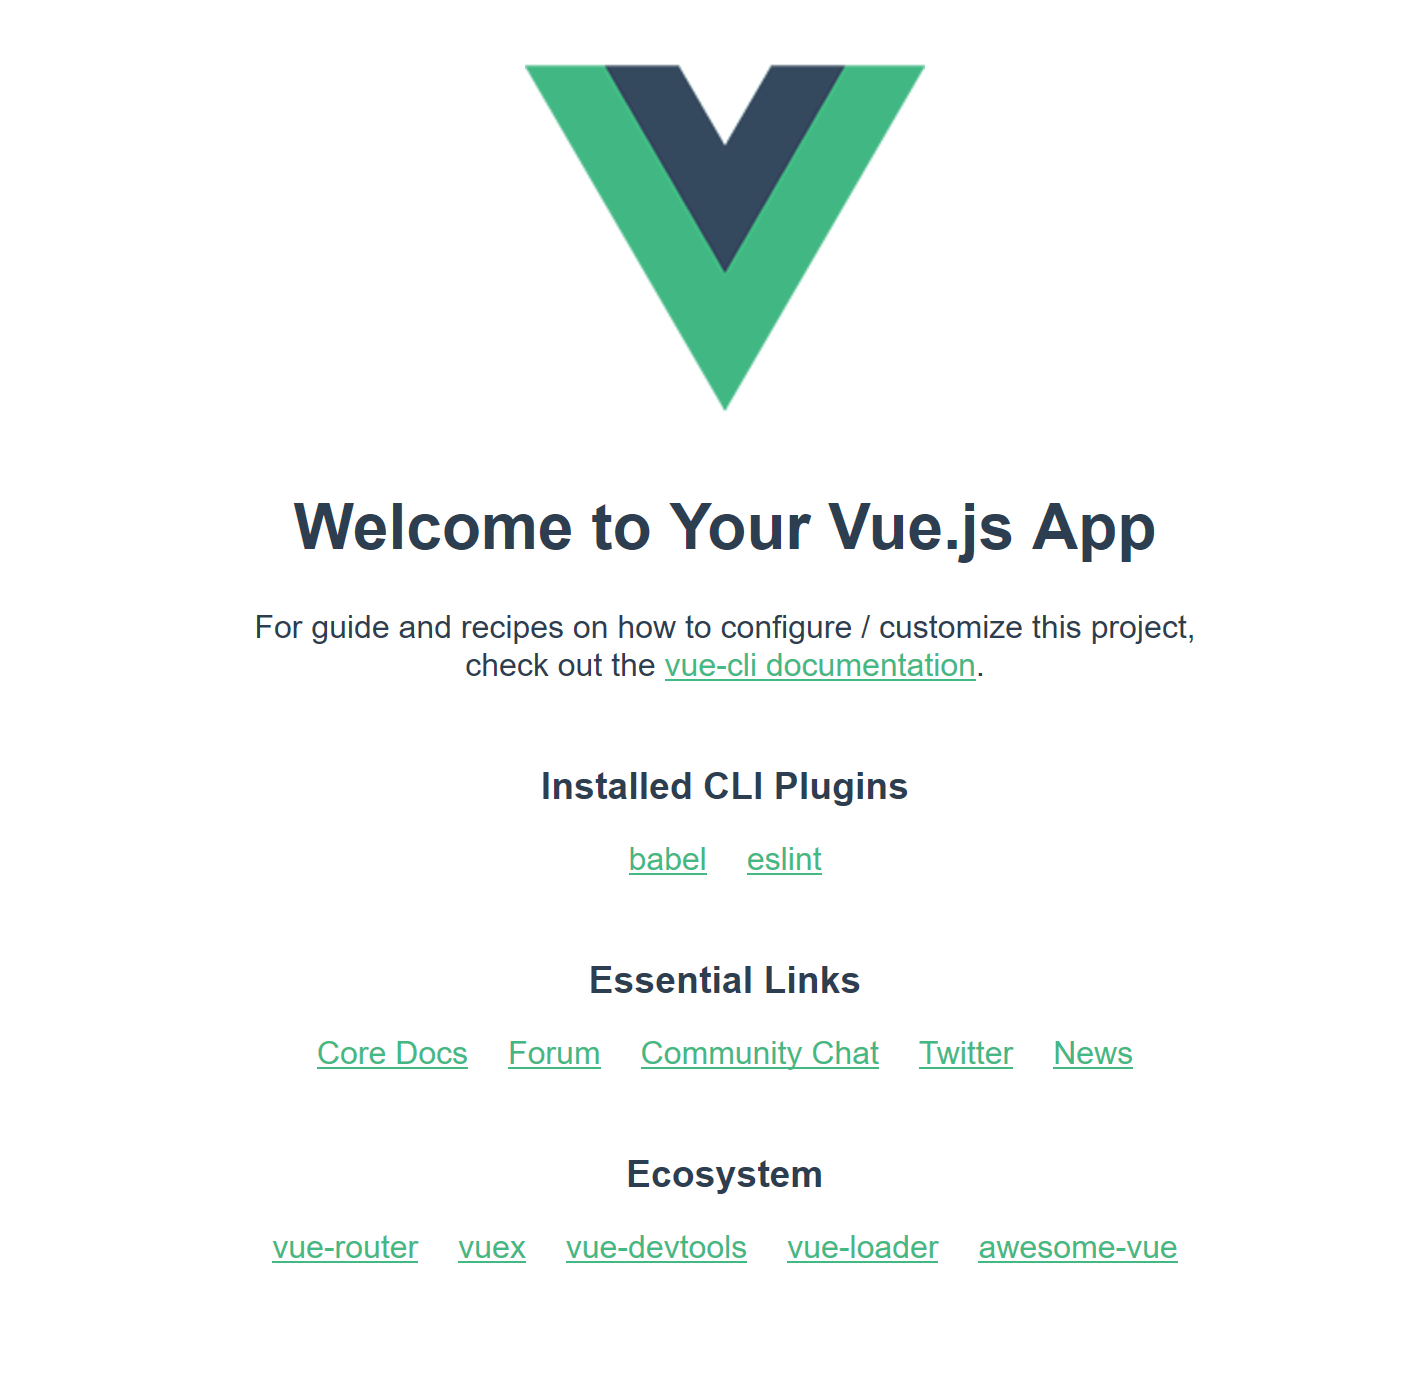
Screenshot of Default App
Cool! And even better, it's using an auto-reload system. That means as you write code and save your changes, the CLI will rebuild what it needs to and the browser will reload itself. That makes development go quite a bit quicker. In the screenshot above you can see it took nearly seven seconds to build, but later updates are much quicker. (My last one showed a time of 400ms.)
Alright, so what's actually in the project?
Digging into the Project Files
Alright, so this can be a bit much, especially if your familiarity with Vue matches mine - dropping a script tag in and just writing JavaScript and template stuff in your HTML file. The default template will have the following files.
main.js: This is the main (heh get it) entry point into your application It loadsApp.vue(I'll talk about that in a second) and handles setting up the association between Vue and the template frompublic/index.html. If you look at theindex.htmlyou'll see<div id="app"></div>and if you look atmain.jsyou'll see:$mount('#app'). From what I know right now, you probably won't need to modify this when you are first starting up.App.vue: Woot, this is your first look at a Single File Component. If you've never worked with one of these, they basically let you combine the UI, code, and styling, of a component all in one file. It "feels" like a great way to write Vue code. Now - don't worry if you haven't been using components a lot. Personally I've only used them a bit. Generally if I have a Vue app that renders something in a list, like search results, I like to build a component to handle the display of that item. The difference here is that everything you do is going to be a component. From the 'top' of the app (which is what you have here) to every thing rendered. In this particular example, the app consists of an image and then another component,HelloWorld. You can open up that too if you want - and you'll find it in thecomponentsfolder. So my gut tells me that a typical project will make use ofApp.vueas a "root" home page and then everything inside your app will come from components you define.- Also make note of the
assetsfolder which contains - you guessed it - assets. In this case, a png file. I believe, stress believe, by putting the image here, you can use Webpack to do some automatic optimizations on them. Actually - I just double checked, and the docs for the public folder actually do a good job of talking about this:
Any static assets placed in the public folder will simply be copied and not go through webpack. You need to reference to them using absolute paths.
Note we recommended importing assets as part of your module dependency graph so that they will go through webpack with the following benefits:
- Scripts and stylesheets get minified and bundled together to avoid extra network requests.
- Missing files cause compilation errors instead of 404 errors for your users.
- Result filenames include content hashes so you don’t need to worry about browsers caching their old versions.
Let's Build an App!
So in this blog post, I'm going to build a fairly simple "one page" app, and to be clear, this is overkill for going the full Vue project route. In my opinion anyway, and this is definitely something where different people will have different opinions. I've got a good idea for a follow up application that will make use of the router, a UI library, and more, but I don't want to go too far in this post and confuse people.
For this simple application, I'm going to build a search engine that hits an API that returns… APIs. The awesome Todd Motto created a great GitHub repo of public APIs. And then Digital Ocean built an API on top of that: https://github.com/davemachado/public-api. So basically it's an API that returns APIs.
As I said, this will be a simple one page application. I'll have a search field that's bound to an Ajax call to load results based on your search. I'll use a component to render my search results.
To start, I cleaned up the default code a bit. First, I edited App.vue like so:
<template> <div id="app"> </div></template><script>import Search from './components/Search.vue'export default{ name: 'app', components: { Search }}</script><style>#app { font-family: 'Avenir', Helvetica, Arial, sans-serif; -webkit-font-smoothing: antialiased; -moz-osx-font-smoothing: grayscale;}</style>The changes were to remove most of the layout from the template, change the HelloWorld component to Search, and I removed most of the CSS. What I left just - I don't know - felt right. I didn't think about it much.
I renamed HelloWorld.vue to Search.vue and also removed most of the code:
<template> <div class="hello"> <h1>Search</h1> </div></template><script>export default{ name: 'Search', props: { }}</script><!-- Add "scoped"attribute to limit CSS to thiscomponent only --><style scoped></style>I kept a h1 in there just to ensure stuff worked. And speaking of, if you ran npm run server, you'll get live feedback as you work. So for example, if I add an intentional error to my code, I see it in my terminal:
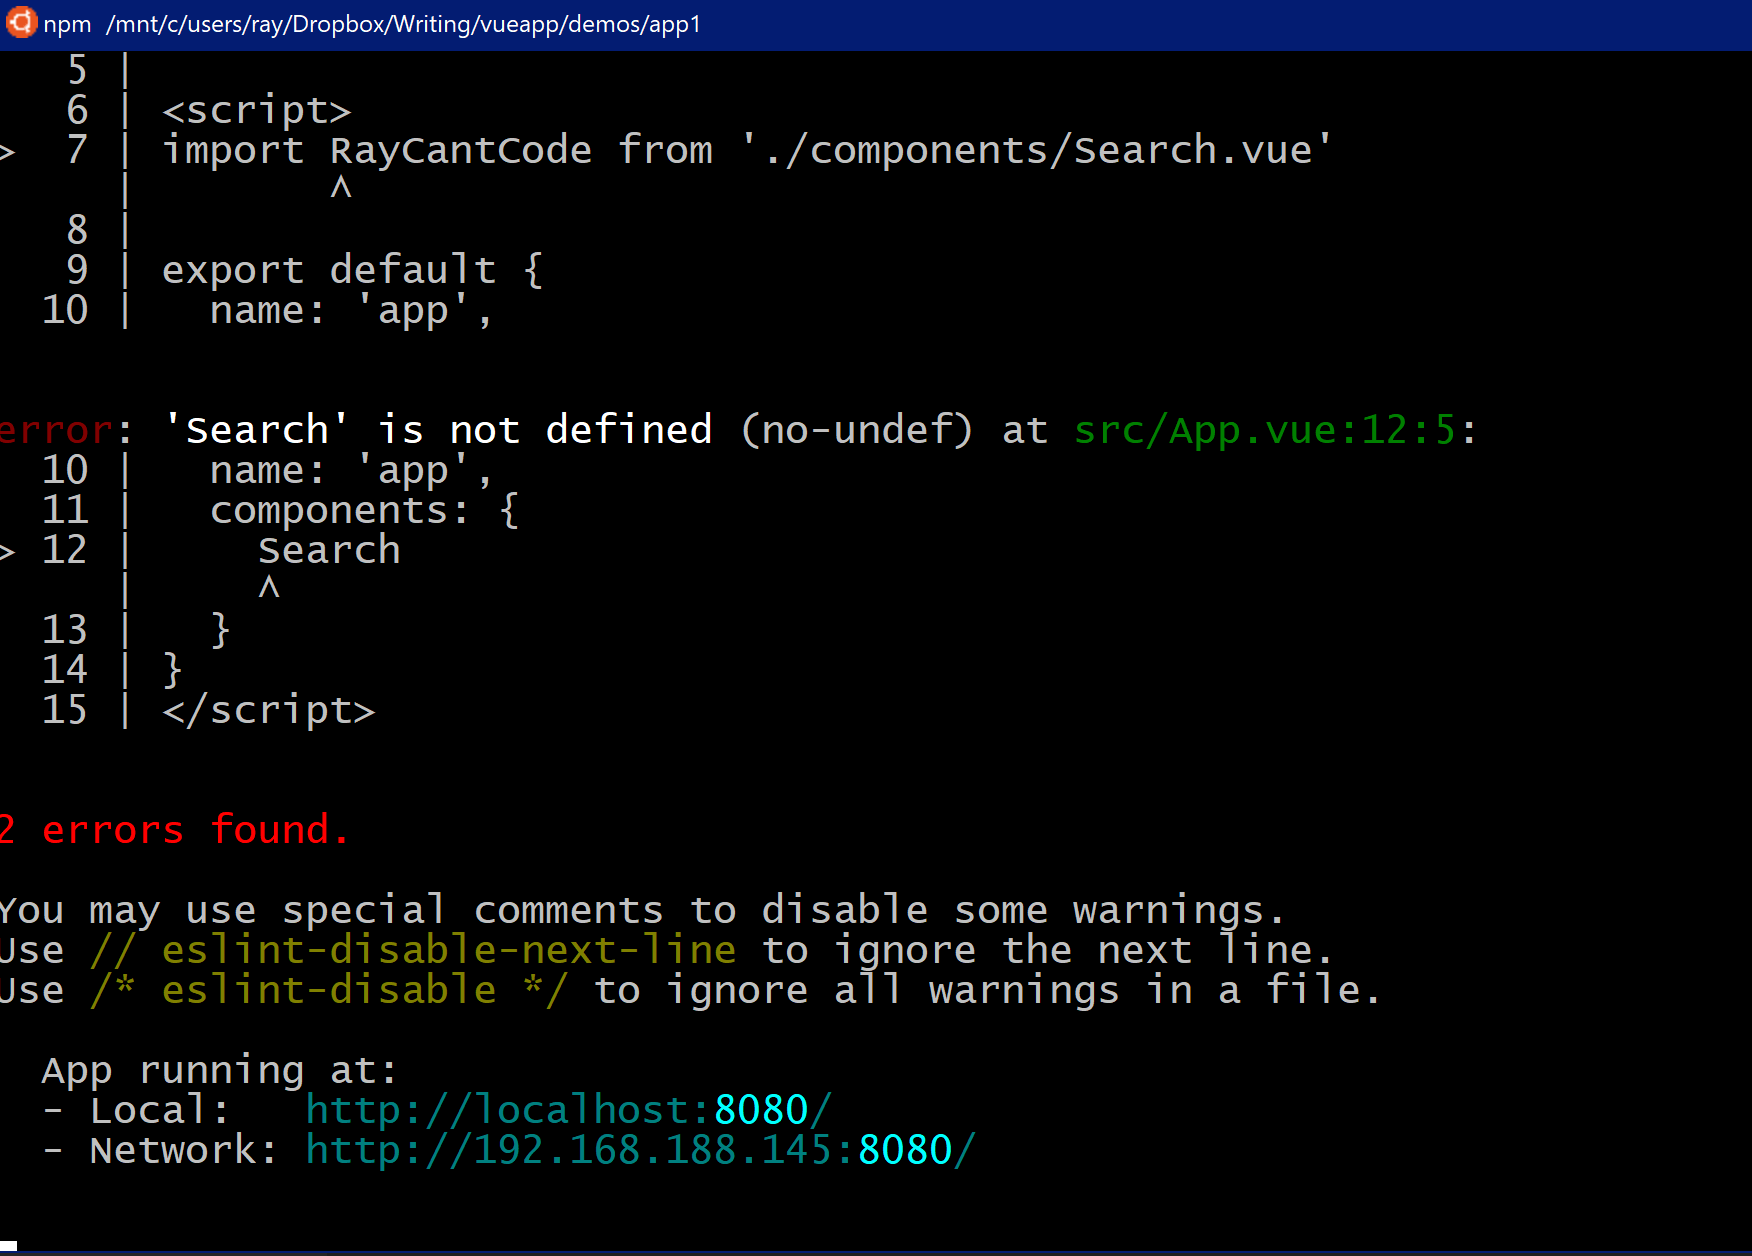 An Error with your Build
Alright, so after this is done, we've got a bare bones app:
White Screen
What the heck? Oh yeah, I forgot to add my Search component in. Here's the new template block for App.vue:
<template> <div id="app"> <Search/> </div></template>There we go!
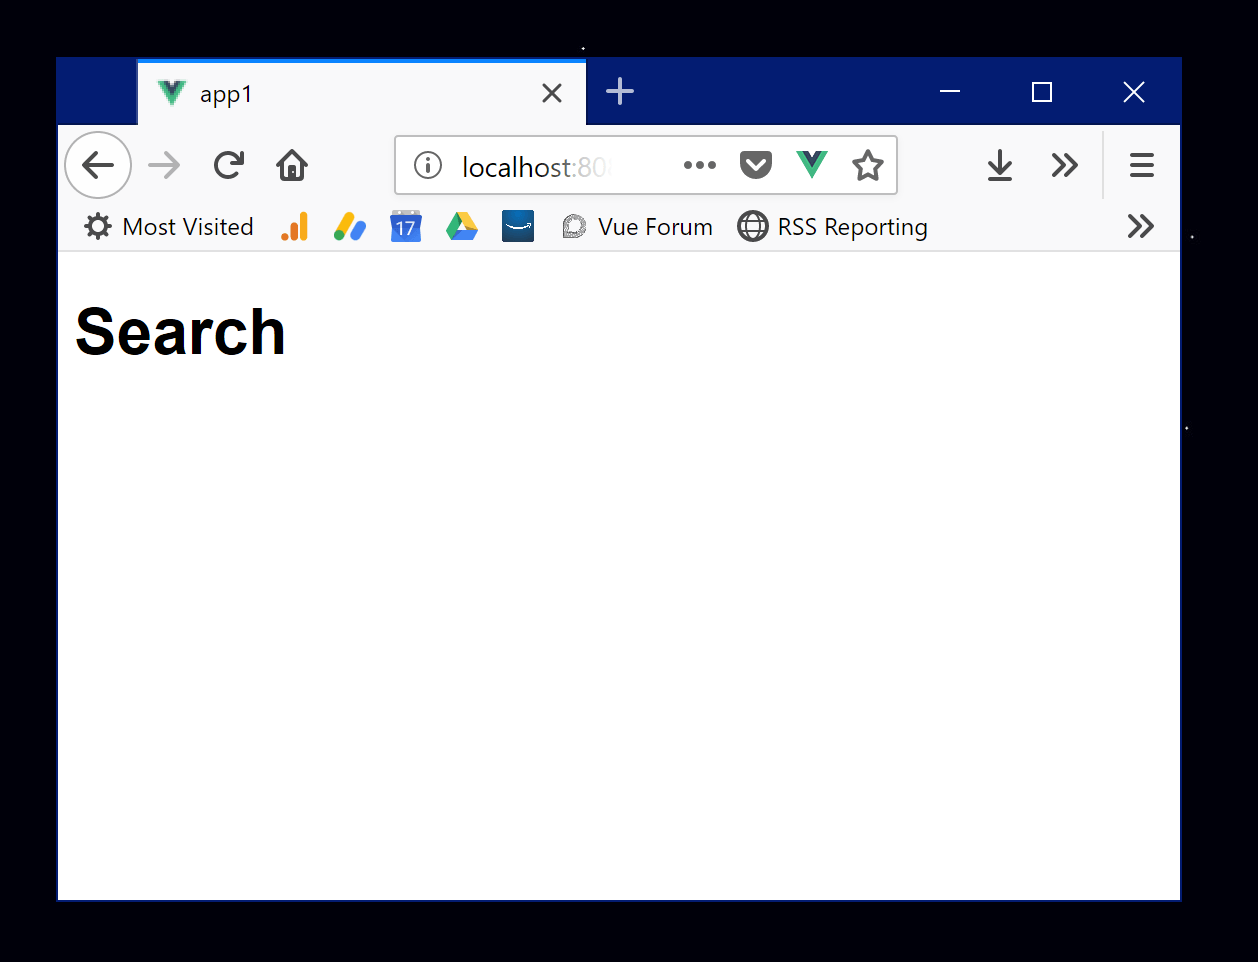
Fixed app
Alright, now let's actually build it, at least an initial version. Here's the updated Search.vue file with most of the work done:
<template> <div class="hello"> <h1>Search</h1> <input v-model="term"type="search"> <button @click="search">Search</button> <div v-if="results"> <ul> <li v-for="result in results":key="result.Link"> <a :href="result.Link"target="_new">{{result.API}}</a> - {{result.Description}} </li> </ul> </div> </div></template><script>export default{ name: 'Search', data() { return{ term:'', results:null } }, methods:{ search() { if(this.term.trim() === '') return; console.log('search for '+this.term); fetch(`https://api.publicapis.org/entries?title=${encodeURIComponent(this.term)}`) .then(res => res.json()) .then(res => { console.log('results', res); this.results = res.entries; }); } }}</script><!-- Add "scoped"attribute to limit CSS to thiscomponent only --><style scoped></style>We've got a lot going on here so let's cover it bit by bit. You'll first notice a search field and button top. This is how we'll drive the search. Beneath that is a simple rendering of results. We'll update this later.
Now go on down to the script block and you can see two main portions. My data block defines the variables I need - in this case just one for the search term and one for results. And my methods block contains my one method, search. In this case it's just a simple Ajax call to the API I mentioned before.
And that's it! If you test it now, you can search and see results. I could add a bit of code here to show a "loading" widget and some more code to handle no results, but I want to keep the code pretty simple for now. (But absolutely ask me in the comments if you want to see this!)
Feel free to modify the code of course, and here is where you may find one of the absolutely coolest things about using the CLI and the build process. Like, I literally just discovered this and I'm jumping out of my seat.
Whenever I build a "forms based" JavaScript app, a lot of times I'll set a default value for my input fields so I can hit submit right away. I hate having to type in test search code every time I modify the page.
Well what I found is that the Vue CLI's "automatic reload" is so freaking smart, that I could enter text, hit the search button, and then modify the template block and it actually updated the display without reloading everything. By that I mean my search input didn't change, it didn't refire the Ajax request, it literally just updated the UI. Now that's probably just for the display parts, but wow is that incredibly helpful! (In fact, I had to gush about it on Twitter.)
Holy crap! When using the vue cli and `npm run serve`, you can modify template layout, it hot reloads, and your input doesn't change. Ajax calls aren't repeated - it just... changes the freaking layout. Holy crap holy crap is that cool!
— Raymond Camden (@raymondcamden) August 26, 2018
At this point, we've got a simple search application, be sure to give it a try before going on.
Now let's enhance the application a bit by adding a new component to handle results. I'll call this… Result.vue. Yes, yes, I'm brilliant, I know. Here's the file I created for that:
<template> <div class="hello"> <h1>Search</h1> <input v-model="term"type="search"> <button @click="search">Search</button> <div v-if="results"> <ul> <li v-for="result in results":key="result.Link"> <a :href="result.Link"target="_new">{{result.API}}</a> - {{result.Description}} </li> </ul> </div> </div></template><script>export default{ name: 'Search', data() { return{ term:'', results:null } }, methods:{ search() { if(this.term.trim() === '') return; console.log('search for '+this.term); fetch(`https://api.publicapis.org/entries?title=${encodeURIComponent(this.term)}`) .then(res => res.json()) .then(res => { console.log('results', res); this.results = res.entries; }); } }}</script><!-- Add "scoped"attribute to limit CSS to thiscomponent only --><style scoped></style>Pay attention to the props block. This is where I'm defining what I expect to be passed in. You'll notice I'm using lowercase because I'm not a sadist. You'll see how this works in a bit. The actual rendered part is mostly the same except I switched to a <p> tag. Now let's look at the updated Search.vue:
<template> <div class="hello"> <h1>Search</h1> <input v-model="term"type="search"> <button @click="search">Search</button> <div v-if="results"> <Result v-for="result in results":key="result.Link" :link="result.Link":api="result.API":desc="result.Description" /> </div> </div></template><script>import Result from '../components/Result';export default{ name: 'Search', components:{ Result }, data() { return{ term:'', results:null } }, methods:{ search() { if(this.term.trim() === '') return; fetch(`https://protect-us.mimecast.com/s/ZOf9CG6A4AS1ZojYTrk0Ah?domain=api.publicapis.org`) .then(res => res.json()) .then(res => { this.results = res.entries; }); } }}</script><!-- Add "scoped"attribute to limit CSS to thiscomponent only --><style scoped></style>The first change is in the results area. You can see I'm using the Result component and specifically note how I "map" the weirdly named API results to proper ones. Technically I could have done that in the method too. Finally, note that I had to import and declare the component in the script block.
Publish This Thing!
As a final step, how do I get this thing into a publishable format? If you remember earlier on, I mentioned the README.md file told you how to do this: npm run build. You may have to kill the server before you do this of course. Remember that the CLI will drop this in the dist folder. I used Surge to quickly deploy this code at lumpy-pancake.surge.sh
What's Next?
As I said earlier, this is a fairly trivial app that definitely could have done the "simple script tag" way, but it was rather enjoyable using the CLI and the auto reload turned out to be an incredibly nice feature. For the next article, I'm going to add in proper routing and build a "list/detail" type application along with adding in a cool UI library.
As always, let me know what you think and if this was helpful by dropping a comment below. You can download a copy of the code here: https://github.com/cfjedimaster/webdemos/tree/master/vuecliarticle/app1.