Progressive Web Apps (PWAs) are increasingly important for web developers. We covered the basics before—now we'll tackle the "discoverable" aspect of PWAs.
In the previous article, I introduced you to some of the basics of what makes up a progressive web app (PWA). I helped define a PWA as well as listed the various components of what makes up a PWA. In this article, I'm going to focus in on the "discoverable" aspect of PWAs. This comes down to how a website can describe itself. It will cover things like how it can be added to the home screen (or desktop) and how it behaves when opened by the user. The main way this will be handled is with a feature called the App Manifest.
Enter the Manifest
Adding an app manifest to your site is probably one of the easiest things you can do. Why? It's just a JSON file! In fact, the only part of this process that may take you some time is setting up the icons for your site. Outside of that you can probably knock out this feature in a few minutes.
Setting up the manifest allows you to:
- Control the icon a user sees when the site is added to their home screen (or again, their desktop).
- Control the UI of the site when opened from the home screen, specifically in terms of the "browser chrome" you see on a typical website. This covers the ability to both remove that chrome or provide custom colors to match your site's style.
- Control the orientation - both locking it to a particular orientation or simply suggesting a particular orientation. (In other words, your site may support any orientation, but provide a better experience in landscape.)
- In certain circumstances, this will allow the browser to actually prompt the user to add this site to their device. To be clear, the user can always do this themself. But most "casual" users probably aren't even aware of this feature. With the browser prompting them to do so, you may see more people actually adding your site to their device.
The code below, and all code listings for this series of articles, may be downloaded here.
Let's begin with a simple manifest:
{"name":"My App"}In the JSON file above, only one field is defined, name. The app manifest supports many more properties and I'll list them in a bit, but for now we'll keep it simple. As you can probably guess, the name value simply provides a name for the PWA. In theory, it could match what you have in the title tag. This file can be named anything you want, but I'll call it manifest.json.
To actually use the manifest, your HTML has to include a reference to it in the HEAD portion of your HTML. It uses a simple link tag:
<link rel="manifest"href="/manifest.json">If you aren't using a fancy SPA (single page app) then you would want to ensure that every page in your site includes this tag. You can find a "complete" version of the listings above in the folder, demo1, in the zip file mentioned above.
Congrats, you're done! Ok, so by itself this isn't going to do much. If you were to actually add a site using this code to your device home screen, the label for the icon would be "My App" in browsers that support PWAs. (The final article in this series will discuss what happens in iOS. While iOS 11.3 adds initial support for PWAs, I'll definitely cover what can be done to support older browsers.)
Let's ramp up how well our site describes itself by adding more properties. First, let's list all supported properties in the manifest file. I'm going to reference the excellent MDN Web Docs article on the feature. First, let's look at the fields related to what you will see when added to the home screen.
- name: As described above, it gives a name to be used for the icon.
- short_name: A shorter version of the name! Ok, sorry, that probably wasn't too helpful. Essentially, this lets you provide multiple versions of the name such that the operating system can decide which to use based on the amount of space it has to display it. So if your site's name was: "The Awesome Cat Namer!". A good short_name could be "Cat Namer".
- icons: An array of values specifying the icons to use on the desktop. This is where you can define different sized icons such that the device can pick the one best for its display.
- dir and lang both provide support for the name/short_name options. You would use dir if you need to support "right to left" languages and lang to set an explicit language for the text.
Now let's cover fields that impact what happens when the app is opened:
- start_url: Provides a URL to be used when the app is opened from the home screen or desktop. Note that a common thing to do here is to add a query string variable that can be used as a "flag" to recognize the fact that it was launched from the home screen. For example, you could use ?utm_source=homescreen to let Google Analytics recognize the launch. You could also detect this in your own code and do whatever may make sense for your site.
- display: Display modified the "browser chrome" visible around the site when it is launched. Four values are supported: fullscreen, standalone, minimal-ui, and browser. The default is browser and matches what you see in a web browser normally. Standalone will launch the app in its own window with some UI related to the status bar, but no UI related to navigation. This means, for example, that you can't rely on the browser's back button. Fullscreen is like standalone but with absolutely no UI outside of what your HTML, CSS, and JS provides. Finally, minimal-ui is like standalone, but provides some UI for navigation.
- orientation: This specifies what orientations are supported and preferred. Available options are any, natural, landscape, portrait, landscape-preferred, landscape-secondary, portrait-preferred, portrait-secondary. Using landscape or portrait will lock the app in those orientations. In case you're curious, the "secondary" versions refer to the flipped version of each orientation..
- background_color: Specifies a color to use while the application is loading. This helps prevent a "flash" of one color versus another. If your site is using a specific background color, simply make this match.
- theme_color: Technically not related to start up, but this also provides clues to the operating system for which colors to use for the app, for example, when the user is using the "app switcher".
And then there are a few more options as well:
- description: Simply provides a place to add additional text about the app.
- related_applications and prefer_related_applications: These values let you specify native apps that the user may want to install instead of using the website. You can use the prefer_related_applications value to make it clear that the native apps are better. Most likely though if you are investing in a PWA you don't want to use these.
- scope: Scope lets you specify what URLs the user can navigate to and stay in the app. Why would you use this? Your app may have links to other sites, like Facebook, and you want to ensure those links "pop out" of the app and go into a normal browser.
Embracing the Manifest
Wow, that's a lot! Luckily you don't need to specify all of them, only the ones that make sense. Technically nothing is "required," but the more you provide the better the operating system can work with your site.
In order to support the "add to home screen" prompt (what Google calls Web Install Banners), there are certain requirements. You'll need the short_name, name, an icon, and a start_url. That's just for the app manifest though - it also requires a service worker and more. You'll see how to test for this later in the article.
Let's start with a more advanced example so we can begin seeing how it impacts what is saved to the device. (The following file may be found in "demo2" from the zip file.)
{ "short_name":"Manifest Test", "name":"Manifest Test of Destiny", "description":"This simply demonstrates app manifest stuff.", "icons":[ { "src":"images/icons/cat.png", "type":"image/png", "sizes":"144x144" } ], "start_url":"/index.html?utm_source=homescreen", "display":"fullscreen"}Let me call out a few things here. First, I already said icons is an array, but here you can see an example of the fields to use within each defined icon. In this case, I have a src, a type, and a sizes value. The use of "images/icons" as a path is completely arbitrary. Note the use of a query string variable in the start_url value. Again, this is optional. And finally, display is set to fullscreen.
Lastly, here is the HTML, which is pretty minimal:
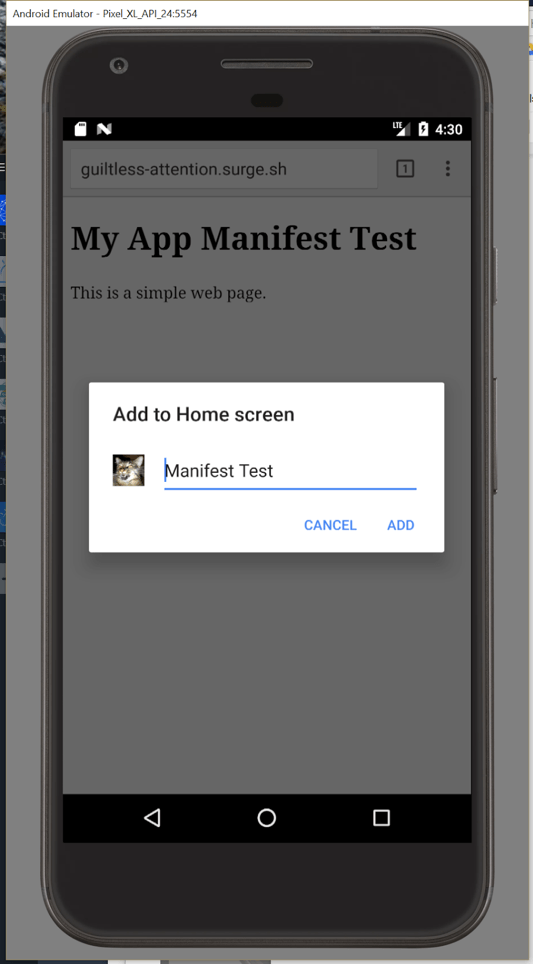
<!DOCTYPE html><html> <head> <meta charset="utf-8"> <title>MTest</title> <meta name="description"content=""> <meta name="viewport"content="width=device-width"> <link rel="manifest"href="manifest.json"> </head> <body> <h1>My App Manifest Test</h1> <p> This is a simple web page. </p> </body></html>Literally the only thing you need to concern yourself with is the manifest loaded in via the link tag. If you want to test this simple site yourself, open your browser to https://guiltless-attention.surge.sh. I loaded this up in an Android emulator and selected the "Add to homescreen" option. Note I'm prompted to select a name for the app. The default comes from the app manifest and my icon is present as well.

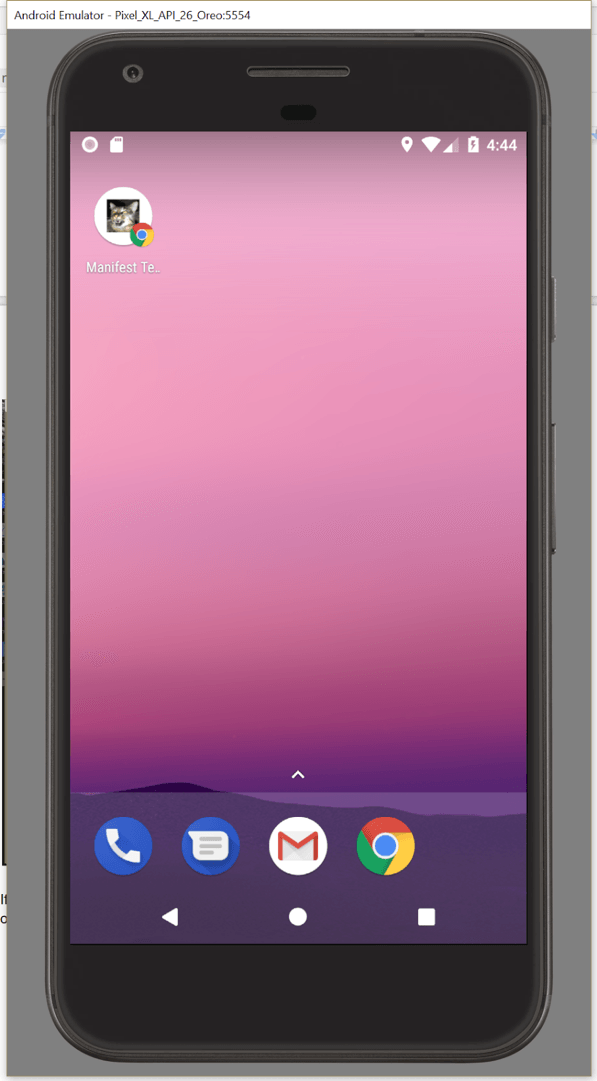
And now I can see it on my device:

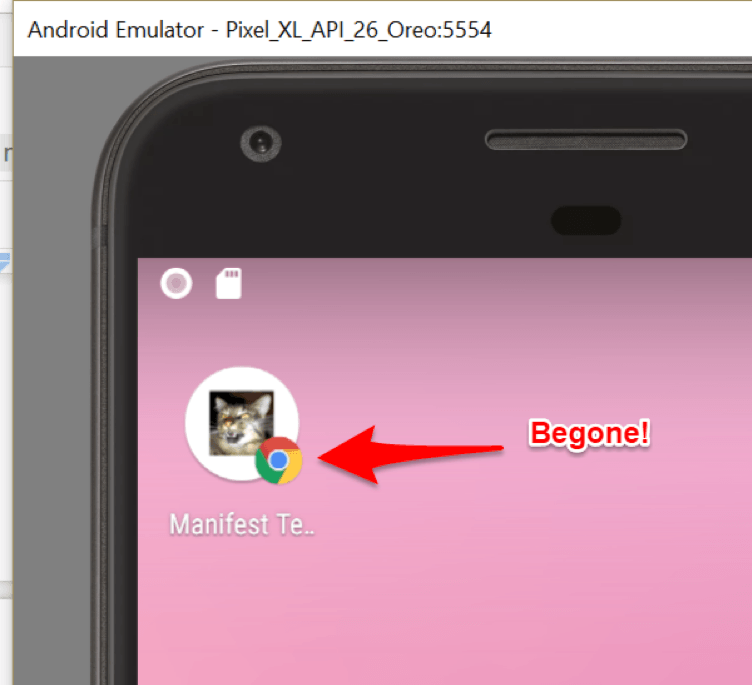
Notice that there is a little Chrome icon "attached" to my icon. I call this the "Not a Real PWA Badge of Shame" and as you can imagine, I'm not a fan. Earlier versions of Android would display the icon as is, but for some reason the powers that be at the big G decided that a website saved to the desktop not using a service worker and without offline support should be marked. I… disagree with this, but there isn't anything you or I can do about it. Just don't be surprised by it and if you have older Android devices, expect it to look a bit different.
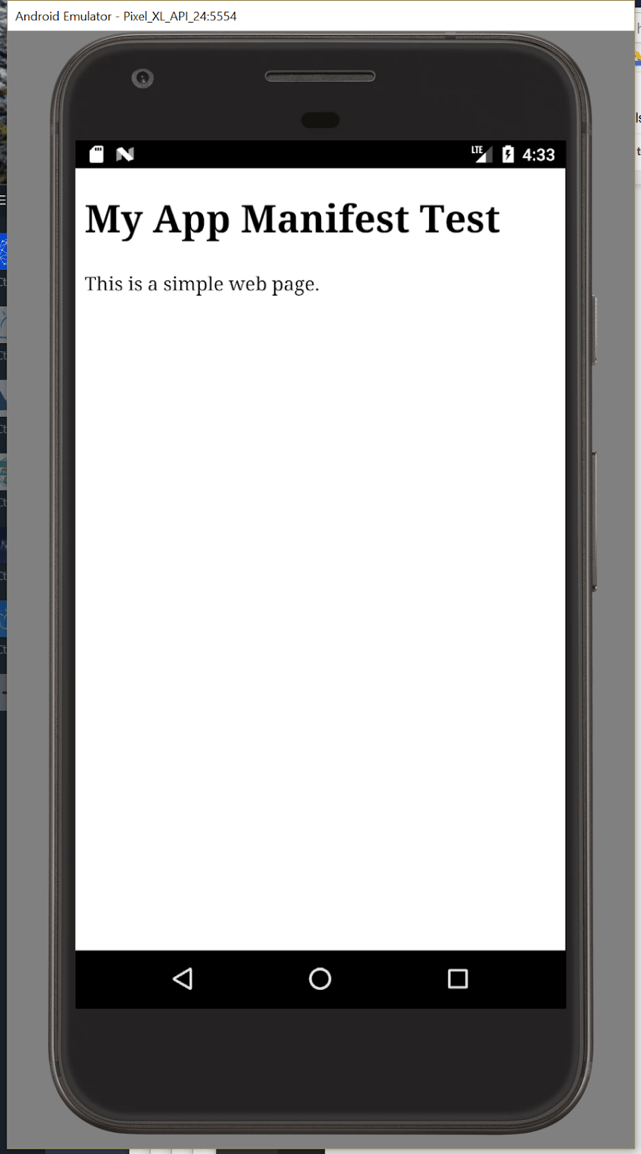
If I open it, notice how the UI looks more like a real app. As an example, there isn't a URL bar on top:

Is… that it?
Well, yes, kinda. Obviously we could supply more values to the manifest to further customize the experience and of course the big question is - how do we get rid of this disgusting little turd attached to the icon:

That will all come next in the next article in the series where we finally tackle the service worker! Stay tuned, and feel free to let me know what you think so far in the comments below.